System Settings
Overview
Easyweb 2.0 is a web interface that allows users to configure parameters of cMT X Series HMI. Additionally, with its WebView feature, users can monitor HMIs through a web browser. This user manual explains the cMT X Series HMI features that can be configured using Easyweb 2.0.
Ways to Log In Easyweb 2.0
Connect an HMI via an Ethernet cable, and log in system settings in one of the following ways:
- Via Internet Browser
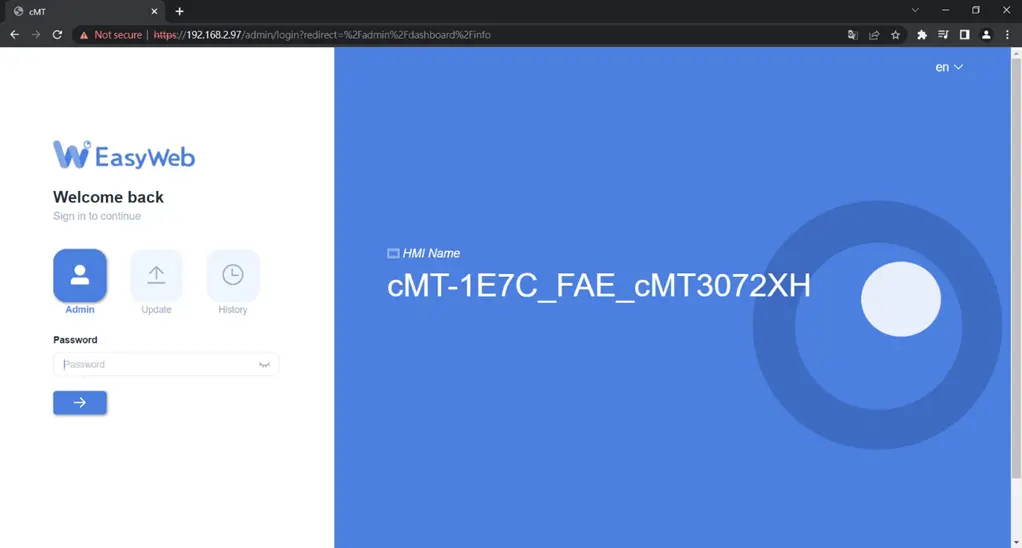
- Open internet browser (Windows Edge, Chrome, or Firefox), and enter HMI’s IP address (e.g.: 192.168.2.121). The web page below opens. If WebView interface is shown after entering the IP address, please enter https://HMI_IP/admin to open Easyweb 2.0 system login page.
- Set on cMT Viewer devices
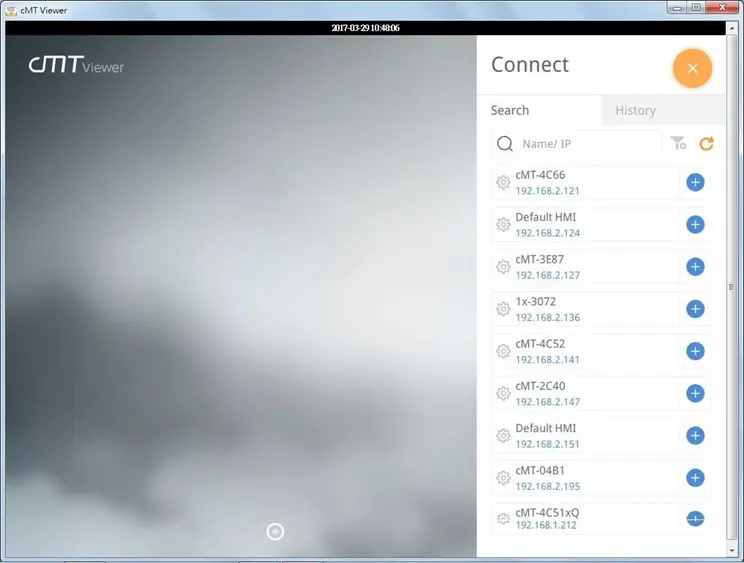
- Launch cMT Viewer App, tap Search, select the HMI and tap Gear icon (Settings) to configure.
Easyweb 2.0 Login Identities
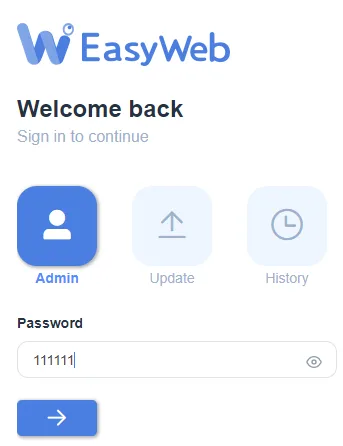
Three identity levels exist in Easyweb 2.0: [Admin], [Update], and [History]. [Admin] controls all the settings while [Update] controls limited items. For safety, specify a password before configuration. A password is needed for opening [History] settings, and the historical data can be backed up after logging in with password.
The default password is 111111. After successful login, the password for each identity level can be changed in [System Password] page.
Easyweb 2.0 Interface
Dashboard
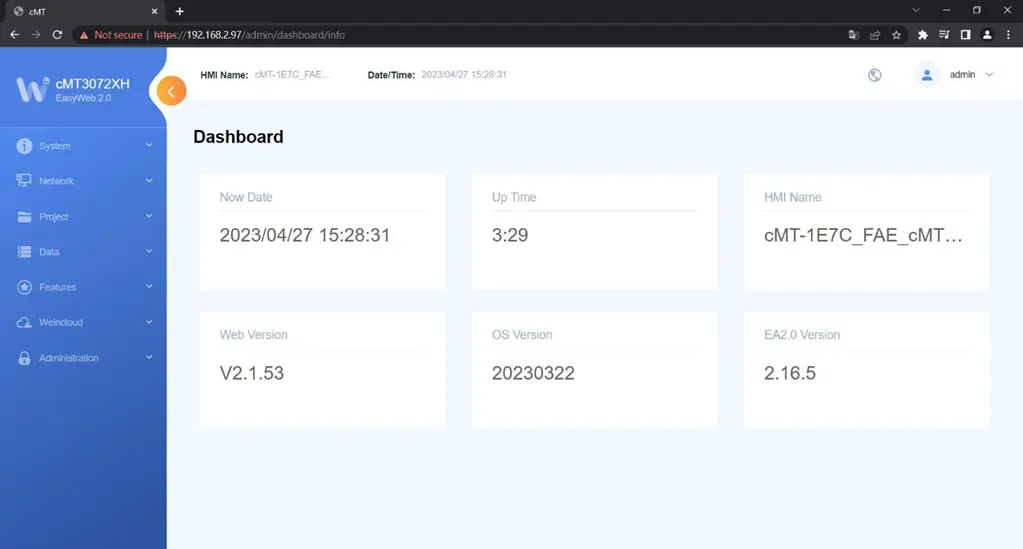
System status and HMI status are displayed in Dashboard after login.
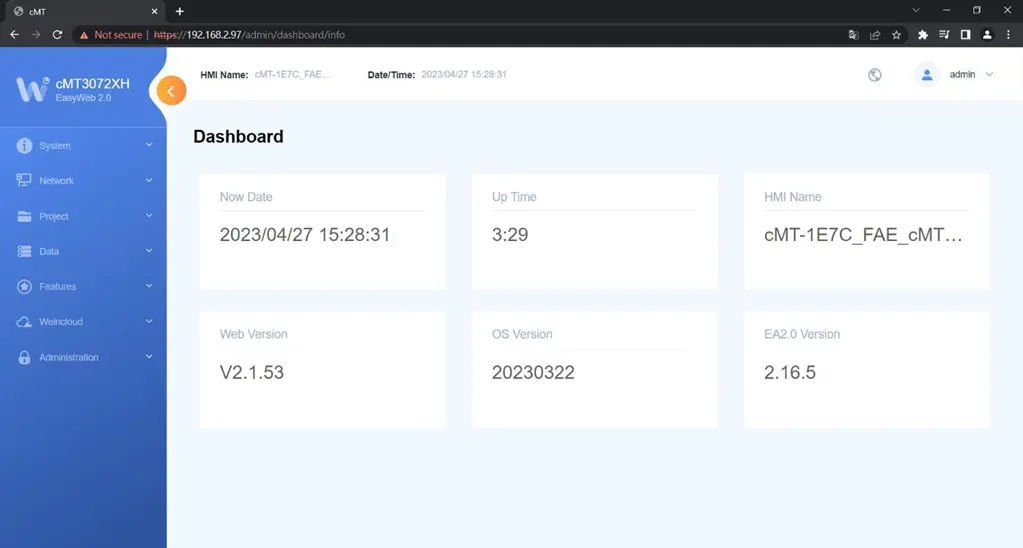
System » Info
In this page the user can edit HMI Name / Date / Time.
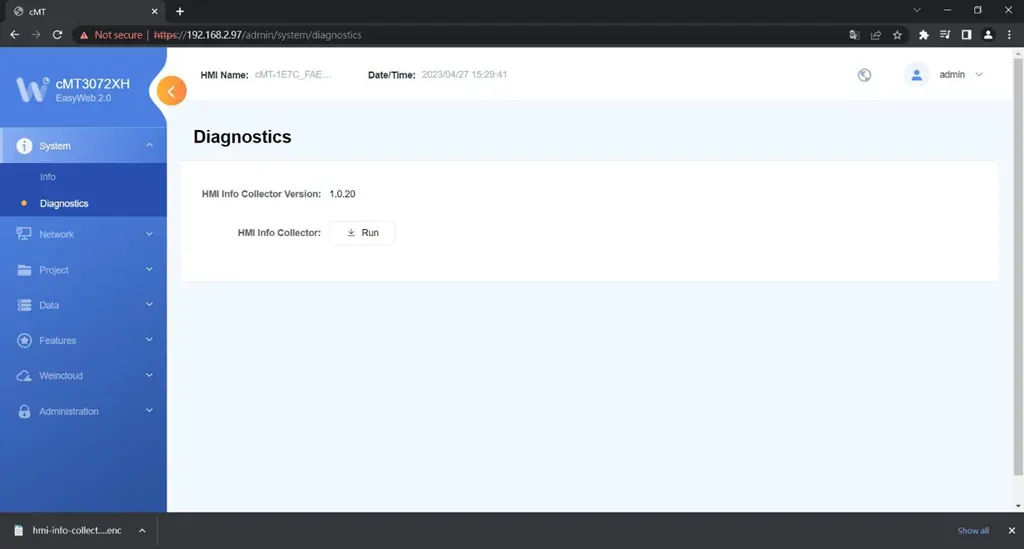
System » Diagnostics
In this page the user can collect information about any errors that occur during HMI operation.
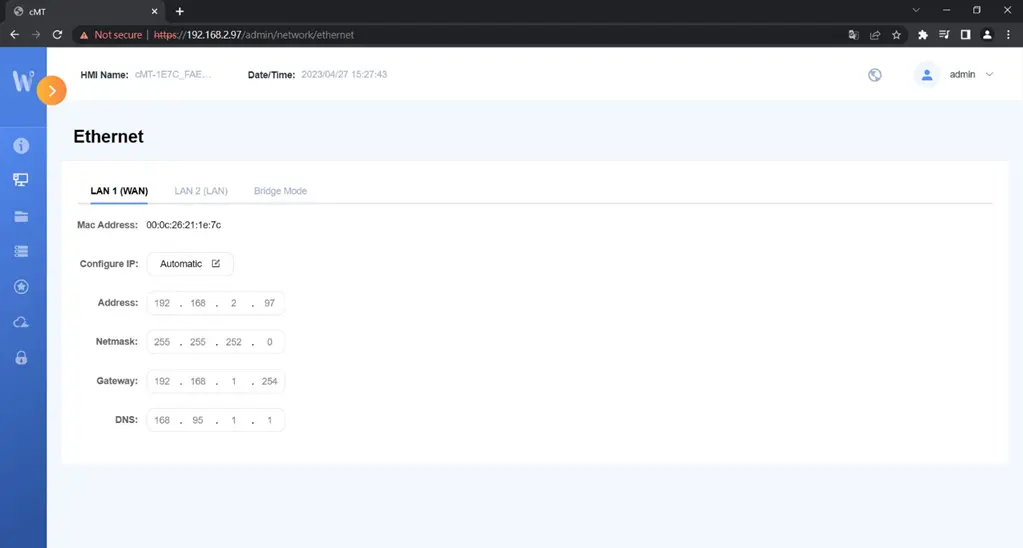
Network » Ethernet
In this page the user can set the IP address of each Ethernet port.
Bridge Mode
Dual Ethernet port models can be configured in Bridge Mode to allow LAN1 and LAN2 to operate in the same network segment, providing switch-like functionality.
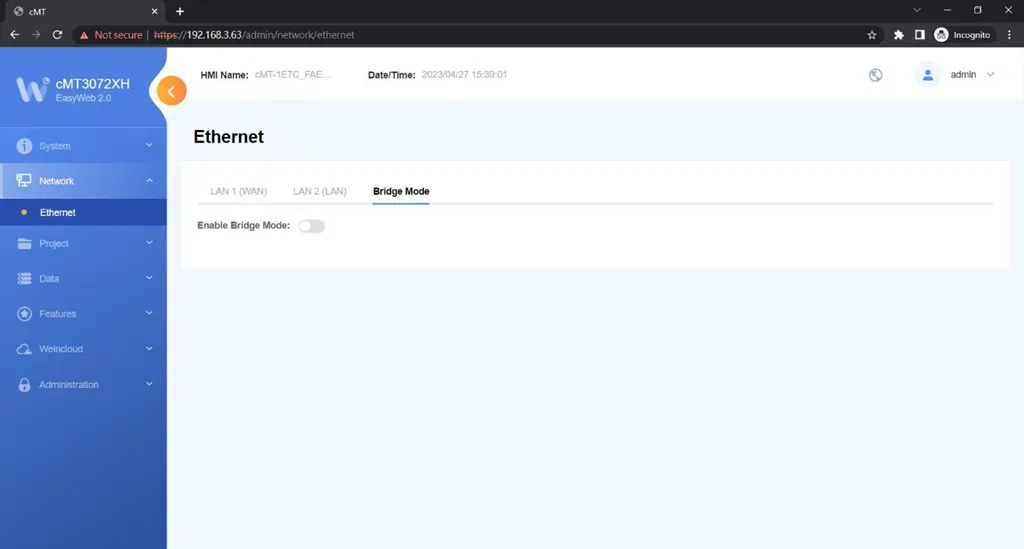
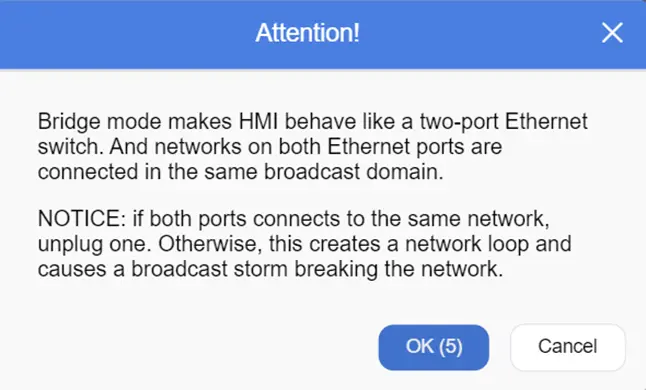
Enabling Bridge Mode triggers a confirmation window, which prompts users to verify the proper connection of the two Ethernet ports. Failure to do so could lead to a network loop and a broadcast storm. Once the connection is confirmed, click OK to proceed with the operation.
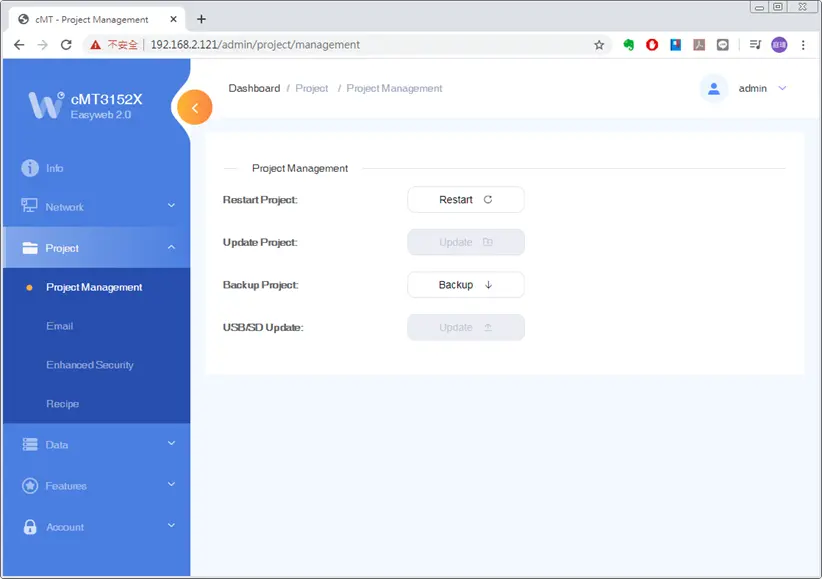
Project » Project Management
In this page the user can restart / update / back up the project file.
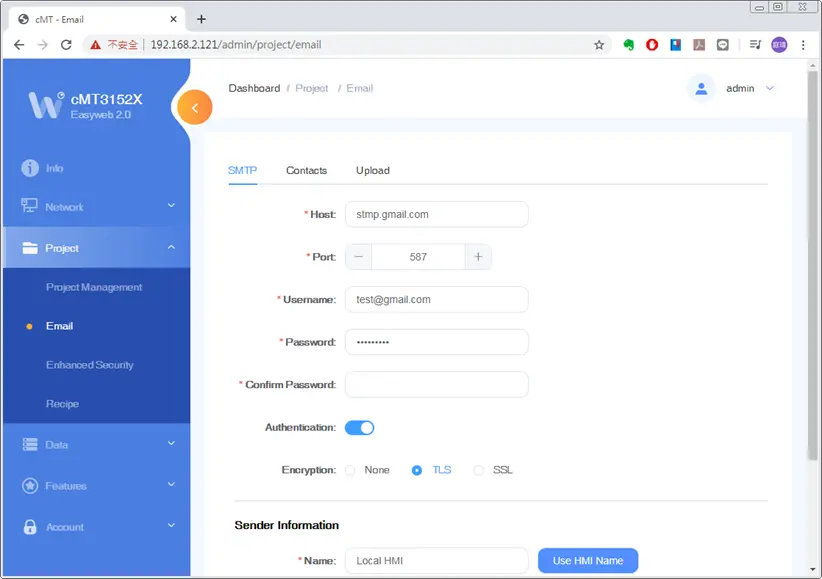
Project » Email
In this page the user can edit email contacts; e.g., the groups a contact is in, and email addresses.
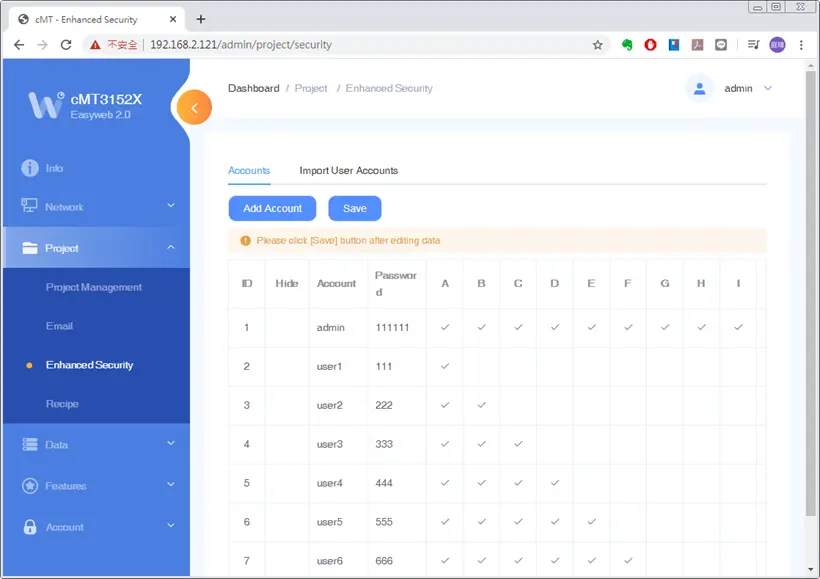
Project » Enhanced Security
In this page the user can set operable classes and password for each account.
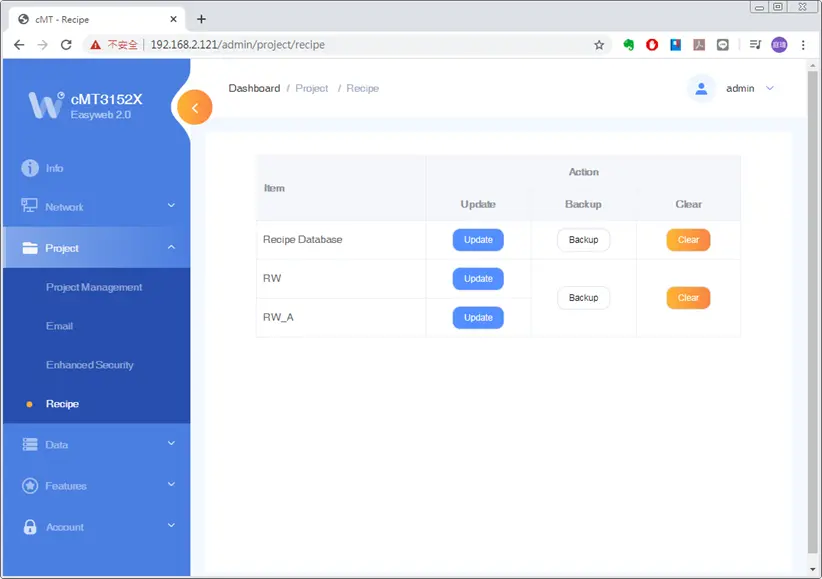
Project » Recipe
In this page the user can update, back up, or clear recipe data on HMI.
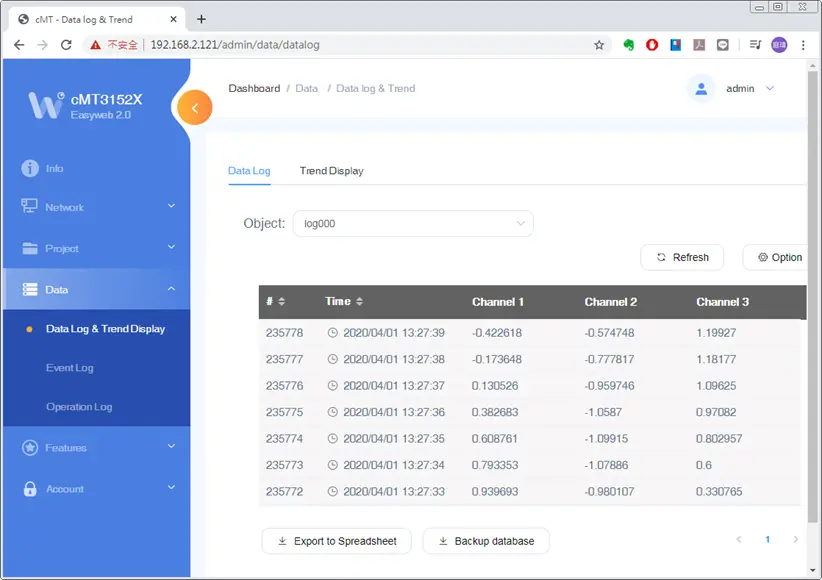
Data » Data Log & Trend Display
This page displays data log and the corresponding trend. The data can be exported or backed up.
Please note that decimal places are not displayed, exported or backed up in Easyweb 2.0; however, this can be achieved by creating a History Data Display object and a Backup object in the HMI project and connecting the HMI using cMT Viewer.
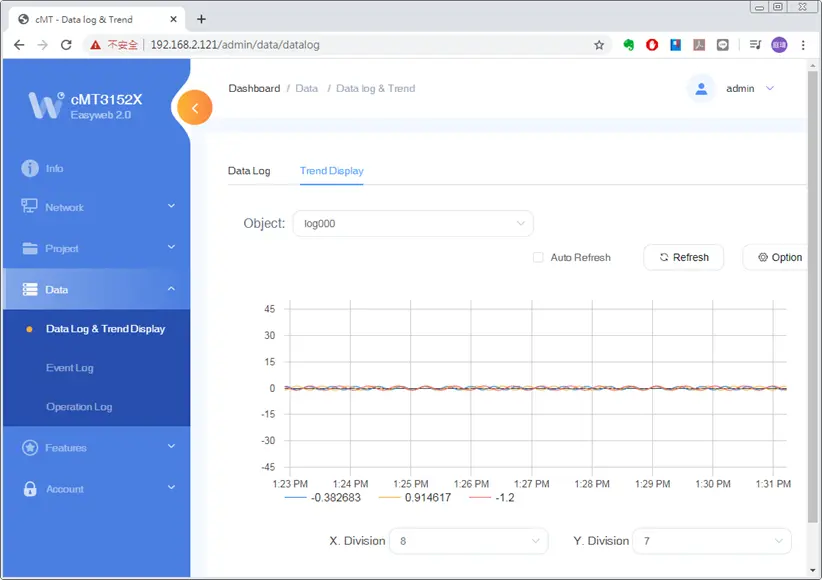
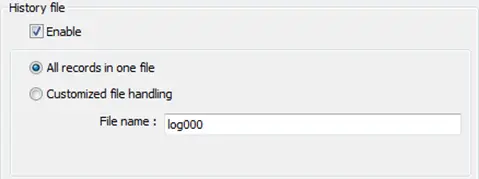
The display feature can work properly only when in EasyBuilder Pro, [All records in one file] is selected in Data Sampling’s History File setting. The display feature is currently not supported for [Customized file handling] mode.
Data » Event Log
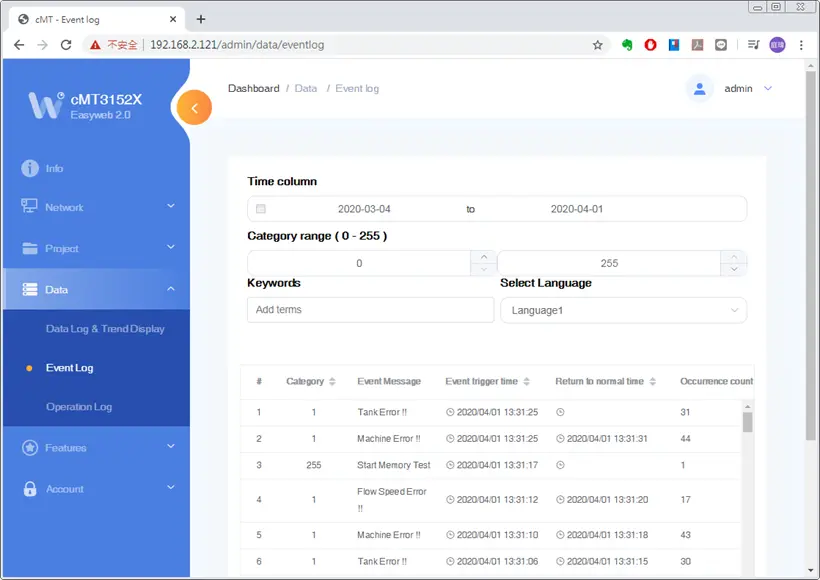
This page displays event logs, and the data can be exported or backed up.
Data » Operation Log
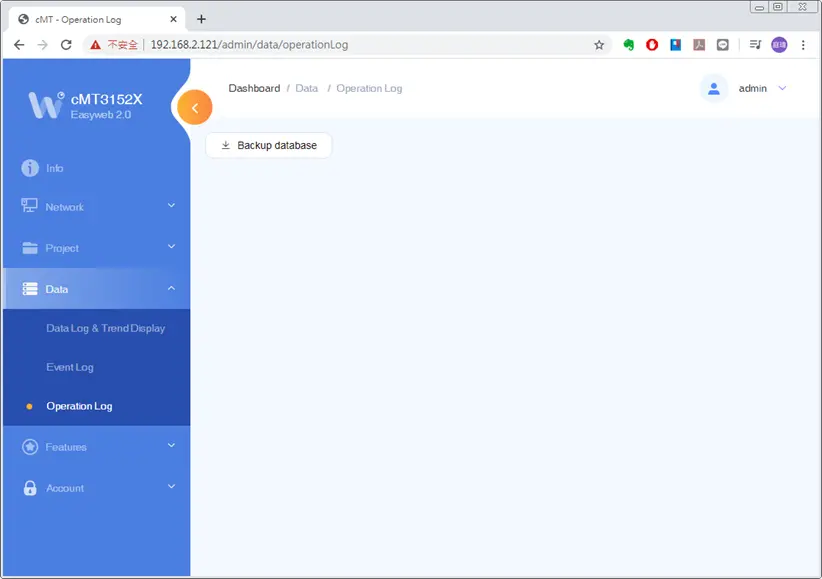
In this page the user can back up operation logs.
Features » WebView Setting
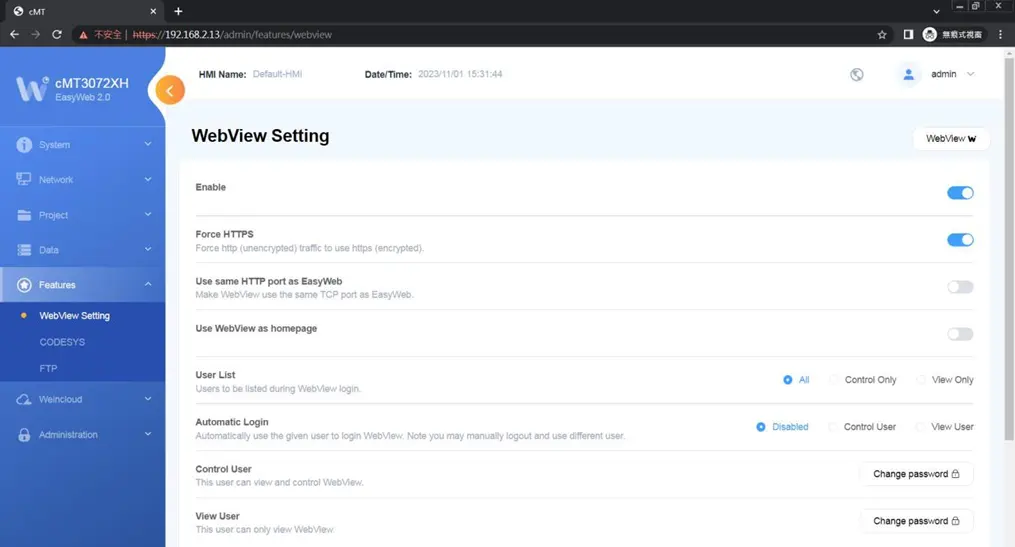
In this page the user can enable WebView and set password. Please see the WebView Setup page for more details.
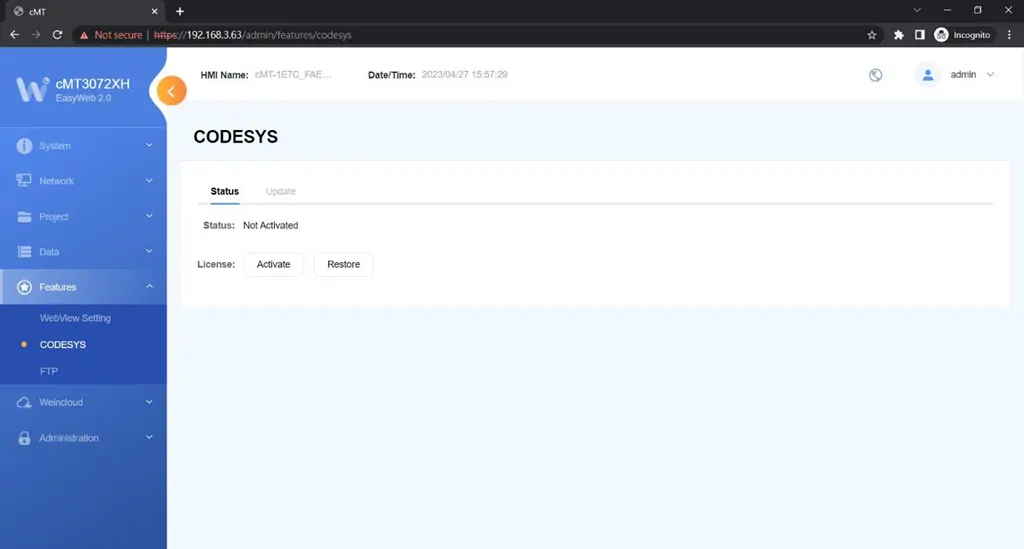
Features » CODESYS
In this page the user can activate CODESYS® and manage settings for firmware updates.
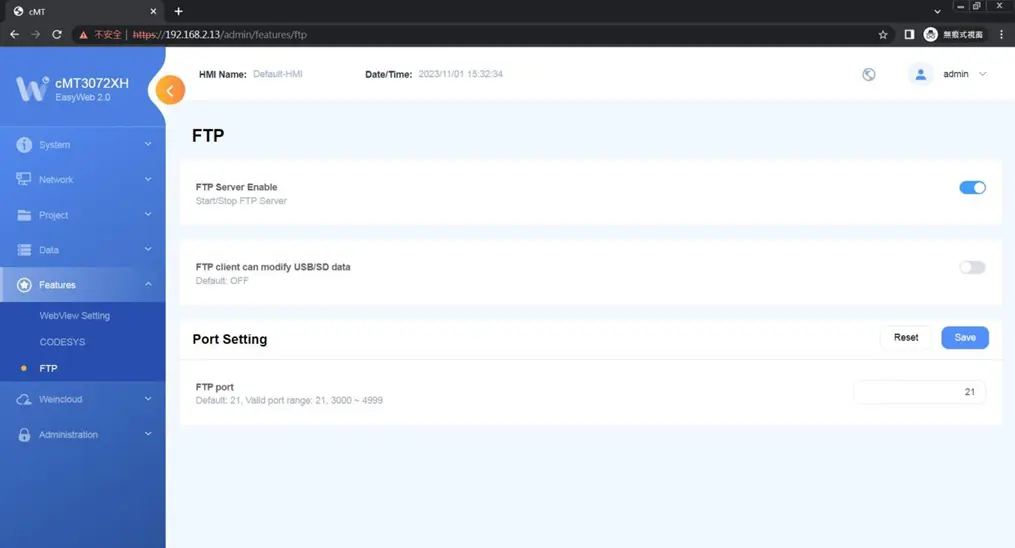
Features » FTP
In this page the user can modify FTP server related settings.
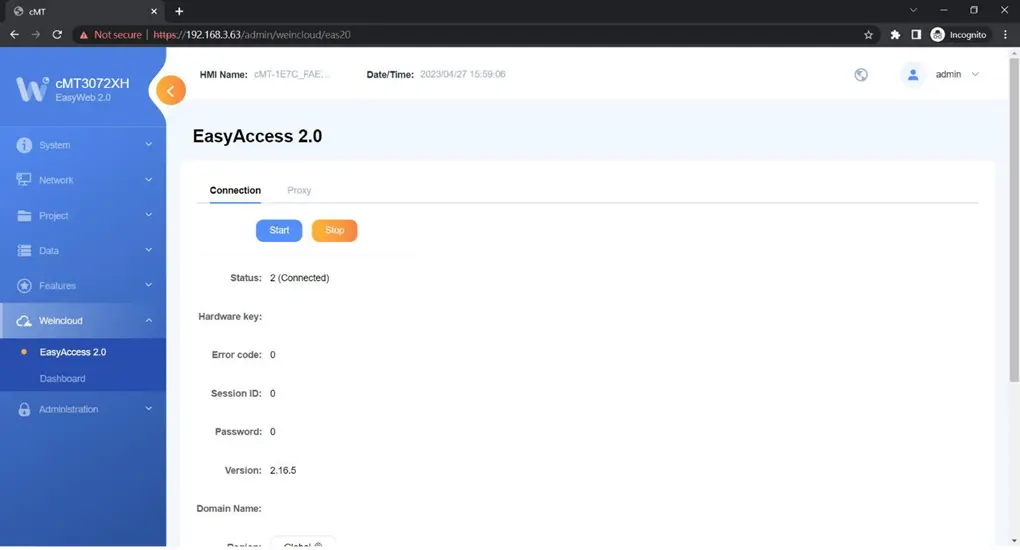
Features » EasyAccess 2.0
In this page the user can activate EasyAccess 2.0 and configure the proxy server.
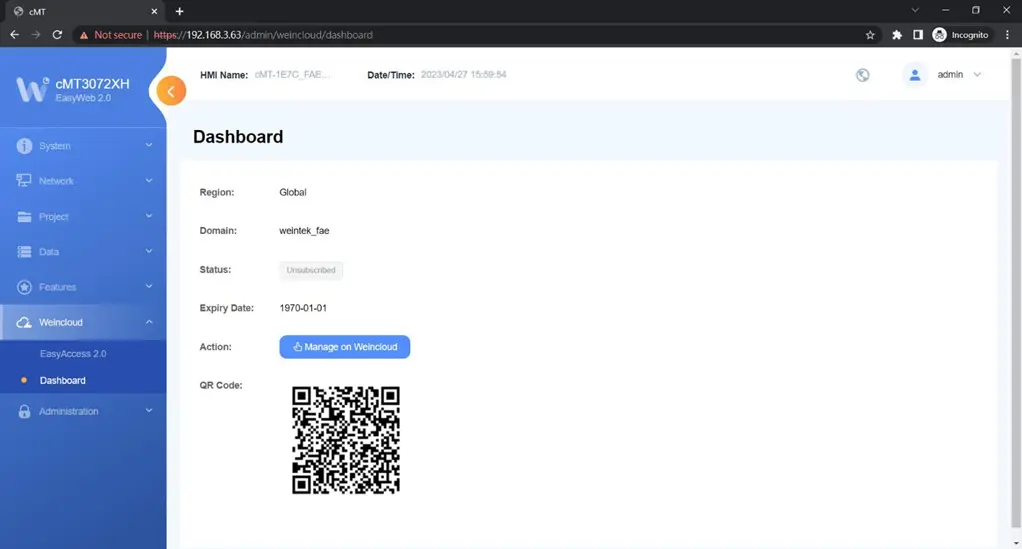
Weincloud » Dashboard
In this page the current subscription status of Dashboard can be viewed.
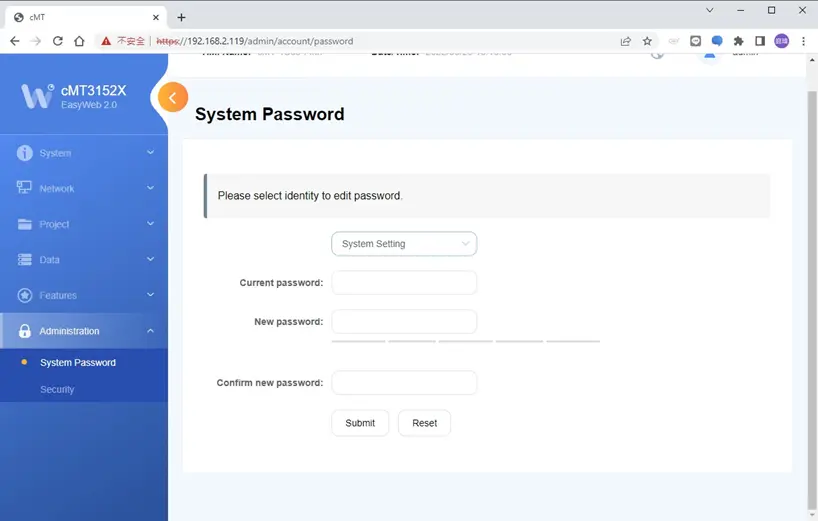
Administration » System Password
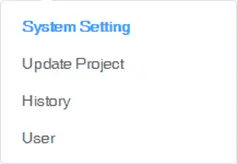
There are four different levels of password protection: System Setting, Update Project, History, and User, and in this page the user can change the passwords. The default passwords are 111111.
- [System Setting]: This is the highest level. It has an access to change all system settings, download, upload project, back up historical data, or change passwords for other levels.
- [Upload Project]: This level can download, upload project, and back up historical data.
- [History]: This level controls FTP access and it can back up historical data.
- [User]: This level can operate cMT X projects via cMT Viewer. Other three levels above can all do this.
Administration » Security
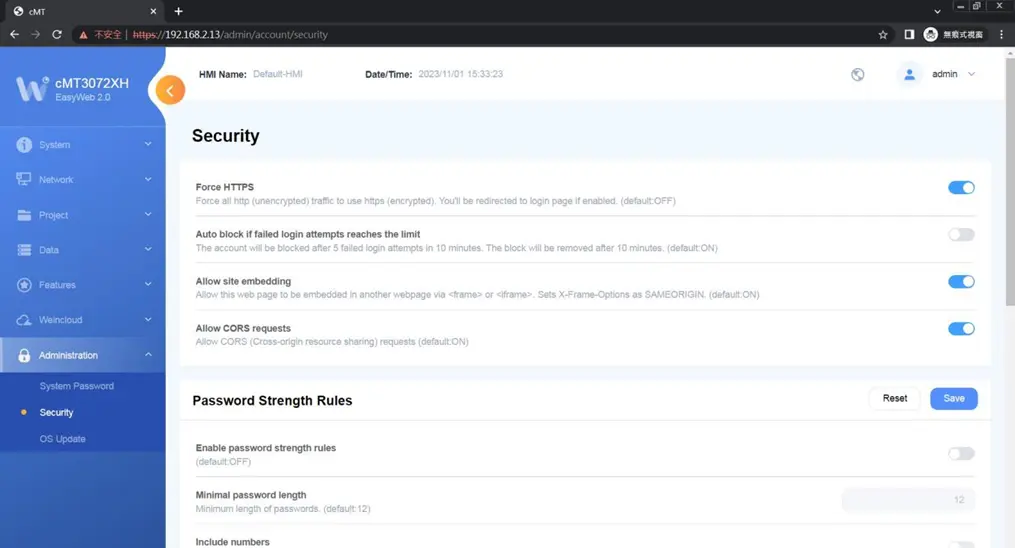
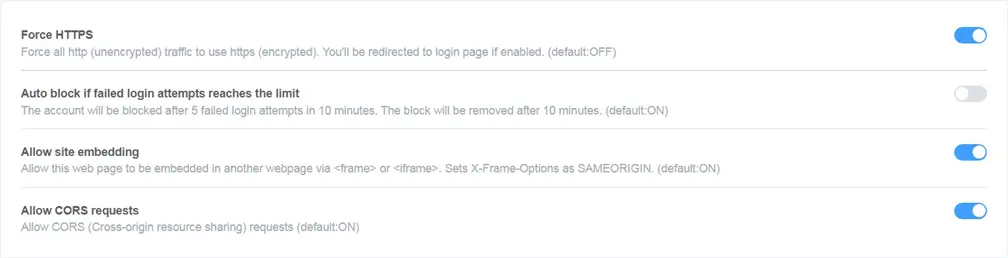
- [Web Security]
- Encrypt communication with EasyBuilder Pro, block the account when the number of failed login attempts reaches the limit, or allow this web page to be embedded.
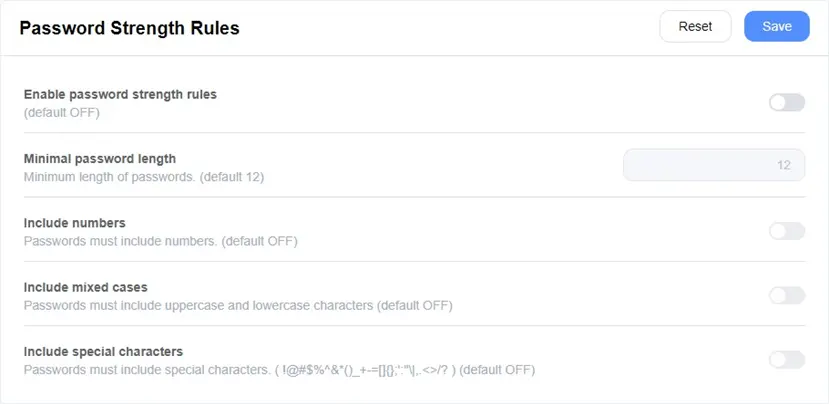
- [Password Strength Rules]
- Set password strength rules that EasyWeb uses to determine whether a password is valid.
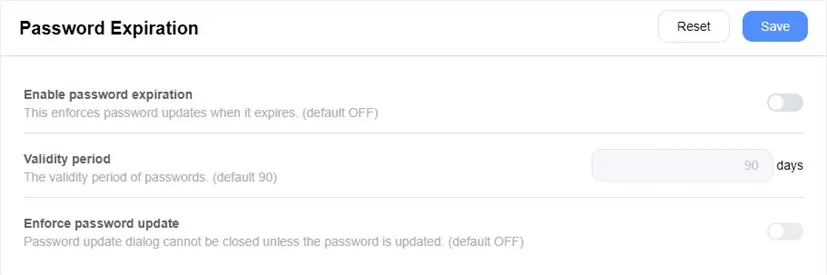
- [Password Expiration]
- Set the password expiration policy.
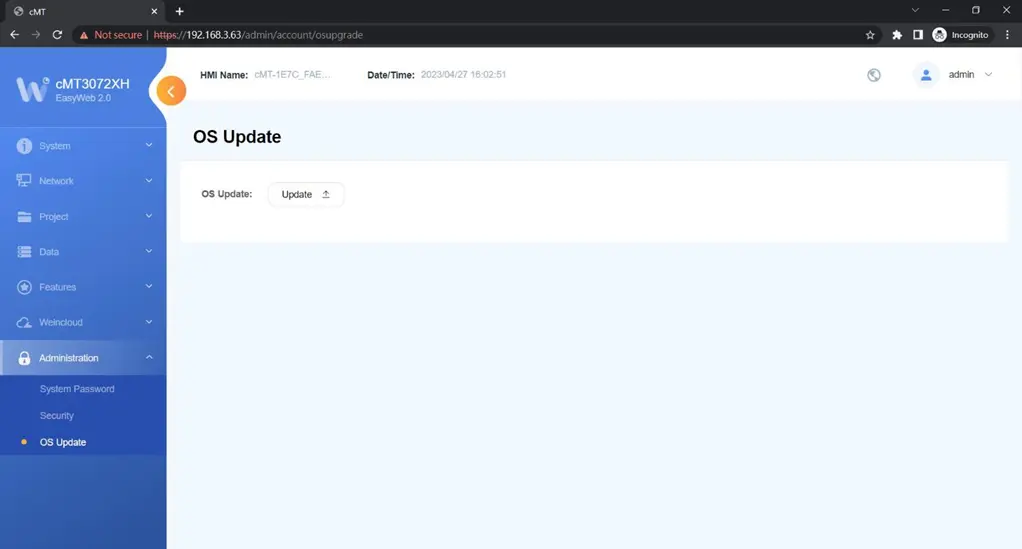
Administration » OS Update
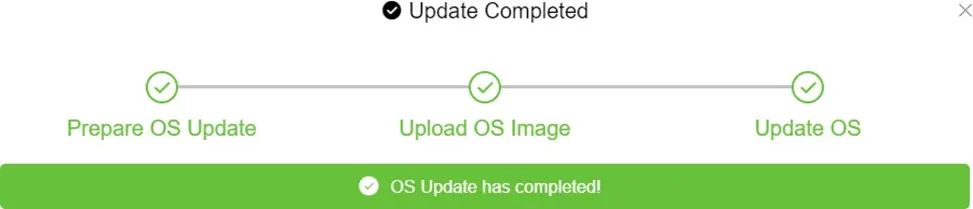
The OS can be updated by using EasyWeb 2.0.
During the update process, please do not turn off the HMI.
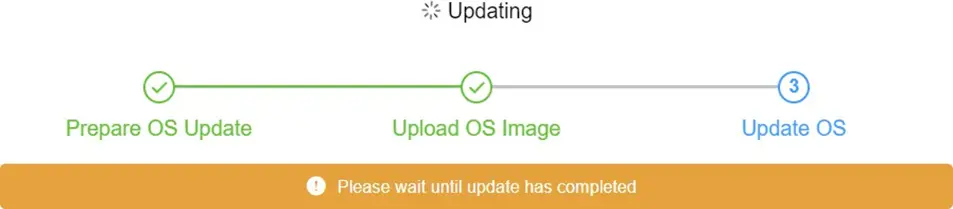
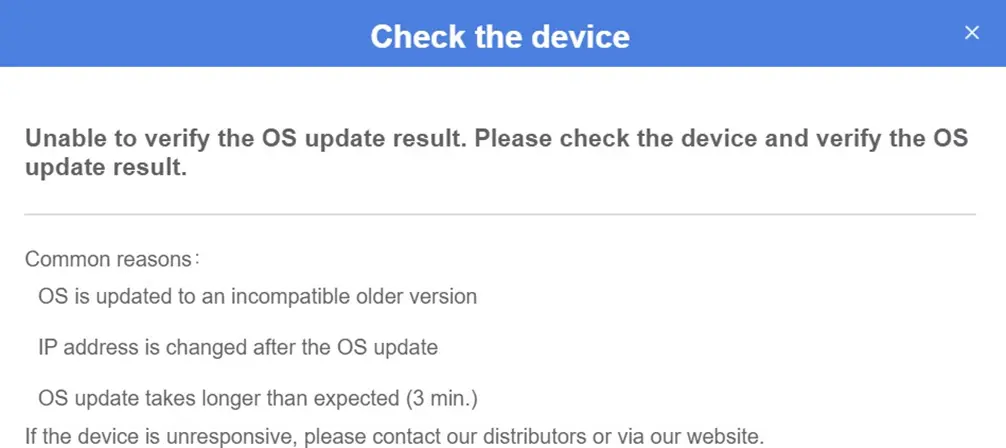
Once the update is complete, the system will display the following window.
The window below may appear for the following reasons:
- Incompatible OS version.
- IP address changed after OS update.
- The OS update process took too long.