Overview & Concepts
Picture Libraries in EasyBuilder Pro provide collections of prebuilt graphical images that can be inserted into an HMI project. These images typically include icons, machine components, symbols, and interface graphics that help developers quickly build visual elements within the HMI interface. Using a picture library allows common graphics to be reused across multiple windows without needing to import the same image repeatedly.
Developers can select images from the library and place them onto a window as picture objects. Once inserted, the images can be resized or positioned to match the layout of the interface.
Common uses of picture libraries include:
- Displaying machine components or process equipment graphics
- Adding icons or visual indicators to operator screens
- Maintaining consistent graphical elements across multiple windows or projects
Difference Between Picture Libraries and Shape Libraries
While both picture libraries and shape libraries provide reusable graphical elements, they serve slightly different purposes. Shape Libraries contain vector-style drawing elements that can be easily modified, resized, or recolored within EasyBuilder Pro. Picture Libraries, on the other hand, contain image-based graphics that are typically used as visual assets rather than editable shapes. As a result, shapes are often used to construct interface graphics or diagrams, while pictures are commonly used for icons, illustrations, or imported visual elements.
Implementation: Building the Picture Library
EasyBuilder Pro provides Picture Library for visual effects on objects.
Picture Manager provides two modes: [Project] and [Library]. Pictures in [Project] mode will be stored in .cmtp project file. Pictures in [Library] mode will be stored in EasyBuilder Pro libraries, or the user-defined directory.

Picture Manager
Click [Project] » [Picture] button in the toolbar and the [Picture manager] dialog box appears.
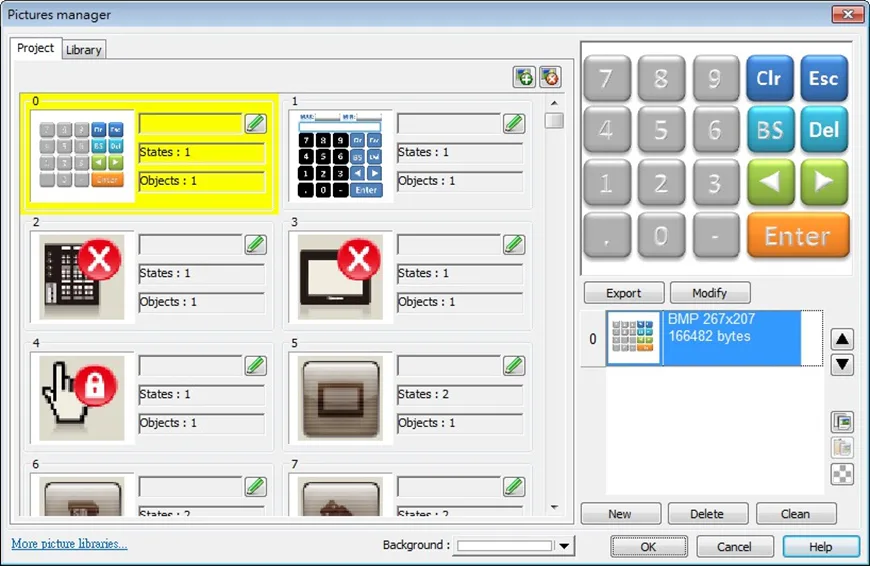
| Setting | Description |
|---|---|
| Project | The Picture edited here will be saved in .emtp. Up to 1000 Pictures can be added. |
| Library | The Picture edited here will be saved to the library directory on PC and will not be saved to .emtp project file. |
| New library | Add the existing .flbx and .flb picture library files. To add a new library that does not exist, enter a new file name and click [Open], an empty library file is created. Up to 40 library files can be added. |
| Unattach library | Delete the currently selected library. |
| Browse libraries | Search for path and view the pictures in the path. |
| Copy to project | Copy the Picture to [Project]. |
| Background | Select the background color of the Picture. The color is only displayed in [Picture manager] dialog box, and is not displayed when placing the object in the screen. |
| More picture libraries | Log in to Weintek Official Website to download more libraries. |
| Export | Export the selected Picture. |
| Modify | Modify the settings of the selected Picture. |
| Up/Down Arrows | Move the Picture to the previous / next state. |
| Copy | Copy the selected Picture. |
| Paste | Paste the copied Picture. The Picture copied to the clipboard can be imported to the library by pasting. |
| Insert transparent state | Insert a blank state after the selected state. |
| New | Add a new Picture. |
| Delete | Delete the selected Picture. |
| Clean | Delete all the Pictures listed here. |
| OK | Confirm to save the edited Shape. |
| Cancel | Cancel the editing event. |
| Help | Open help files. |
Note:
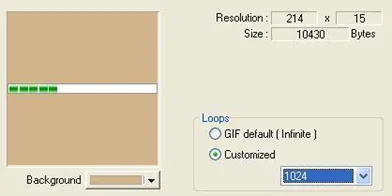
- The supported picture formats are .bmp, .jpg, .gif, .dpd, .svg and .png. When adding a gif animation file in Picture Library, the loop times of this animated Picture can be set.
Building and Adding to Picture Library
The following example explains how to create a new Picture Library and add a Picture with two states into the library.
Instructions: Building and Adding to Picture Library
Create a new picture library
Click [New library] and enter the name of the new Picture Library.In this example we’re naming it “new_lib”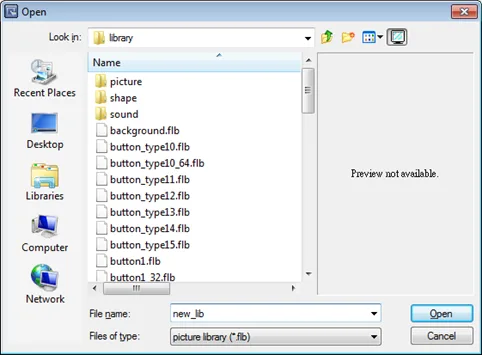
Click Open and confirm
Click [Open], a popup dialog appears; click [Yes] to create the file.New Library Built – now to add something to it.
A new Picture Library [new_lib] is added in [Picture manager]. This library is empty as shown in the following figure.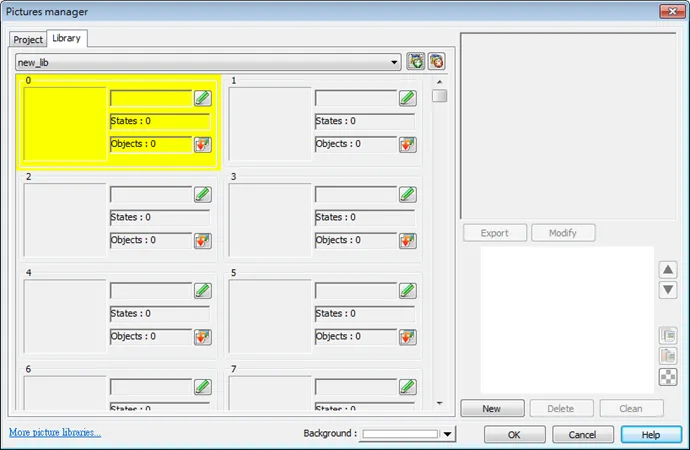
Draw pictures to import into the Library
Draw the two pictures below to represent state 0 and state 1 respectively.
Select Library to add the images to
Select [new_lib], and select a number in this library. The selected number is highlighted yellow.Select the State 0 Picture
Click [New], and select the picture for state 0.When the following dialog box is shown, select [Enable] check box to use transparent color. Set to RGB (121, 121, 121), the corresponding color in the picture below will be transparent. Or, click on a desired area with mouse to be the transparent area, the system will show the RGB of the clicked area automatically.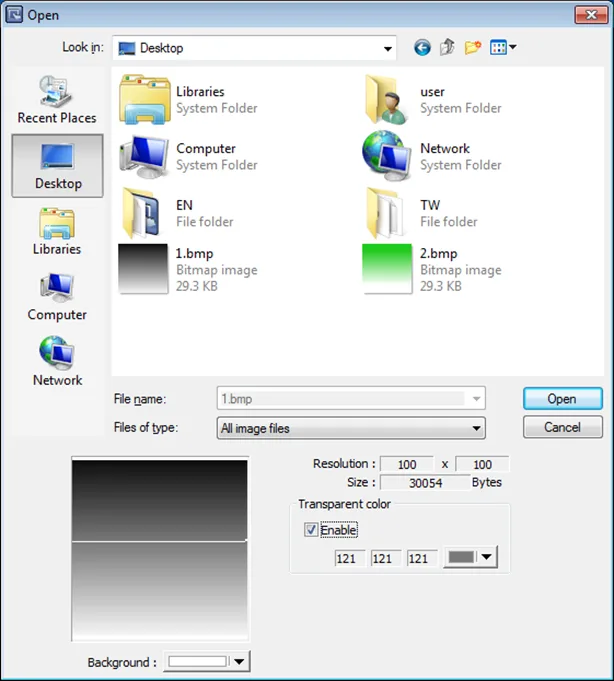
Repeat for other states you wish to add images to
The Picture of state 0 is created. Follow the steps of creating state 0 to create state 1 by clicking [New] as shown in the following figure.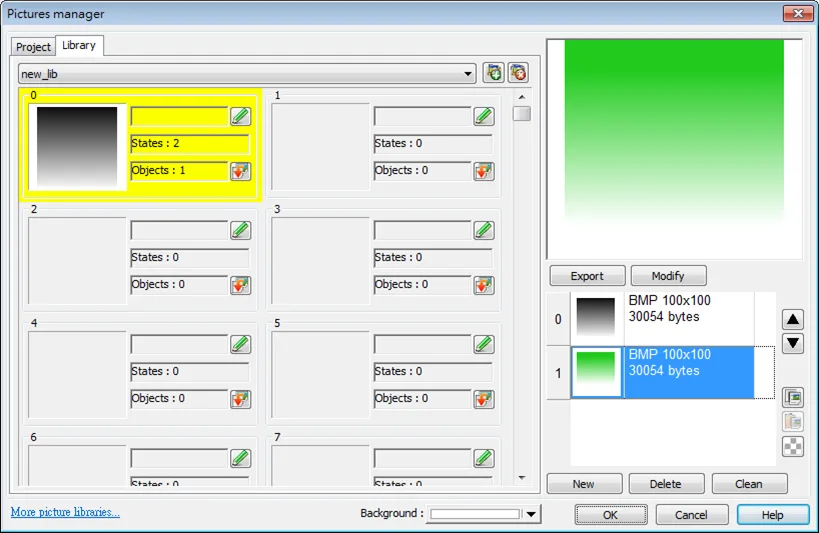
Click OK to complete
When finished, a complete Picture is created, click [OK].In [Picture manager] dialog box it shows that the newly added Picture Number 0 is a bitmap picture with two states.
Import Picture by Pasting
The following example explains how to import a Picture into the library by pasting the picture from the clipboard into the project editing window.
Instructions: Import Picture by Pasting
Select Image
If the picture below is already in the clipboard,
Press CTRL+V
Pressing Ctrl+V key in the editing window will open the following dialog box.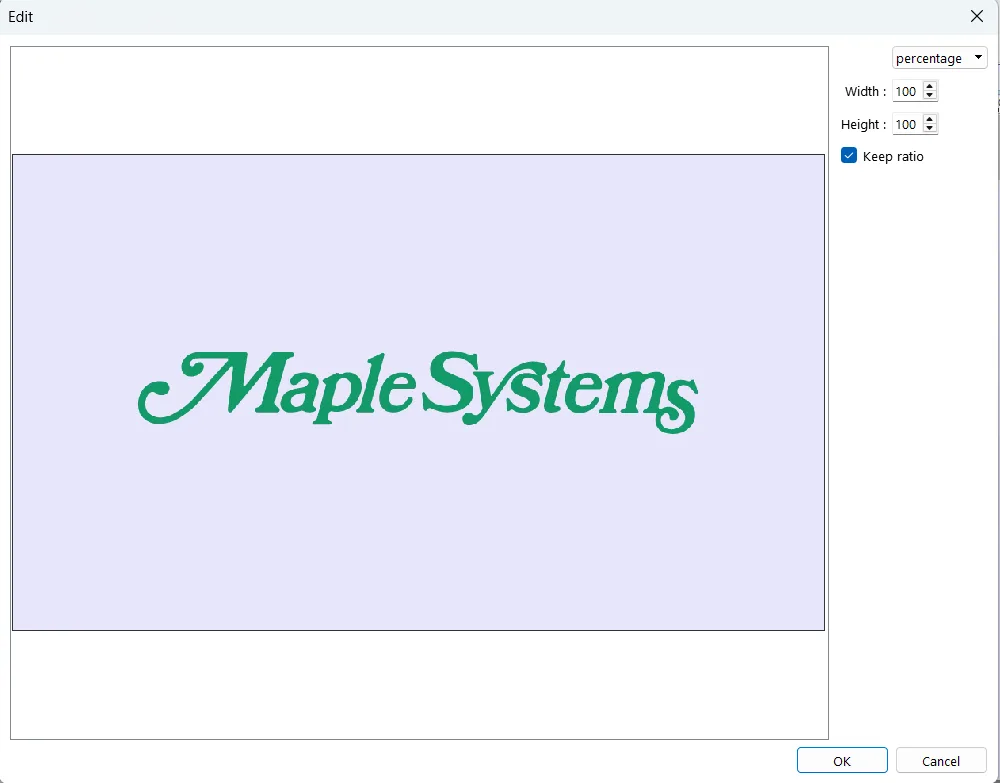
Click OK
The picture will be pasted into the editing window after clicking OK.At this point, the picture is uploaded into the Picture Library automatically.Double-click picture on the workspace to verify it’s in Picture Library
Double clicking the picture and open Picture Library, the picture can be found in the Project tab in Picture Manager.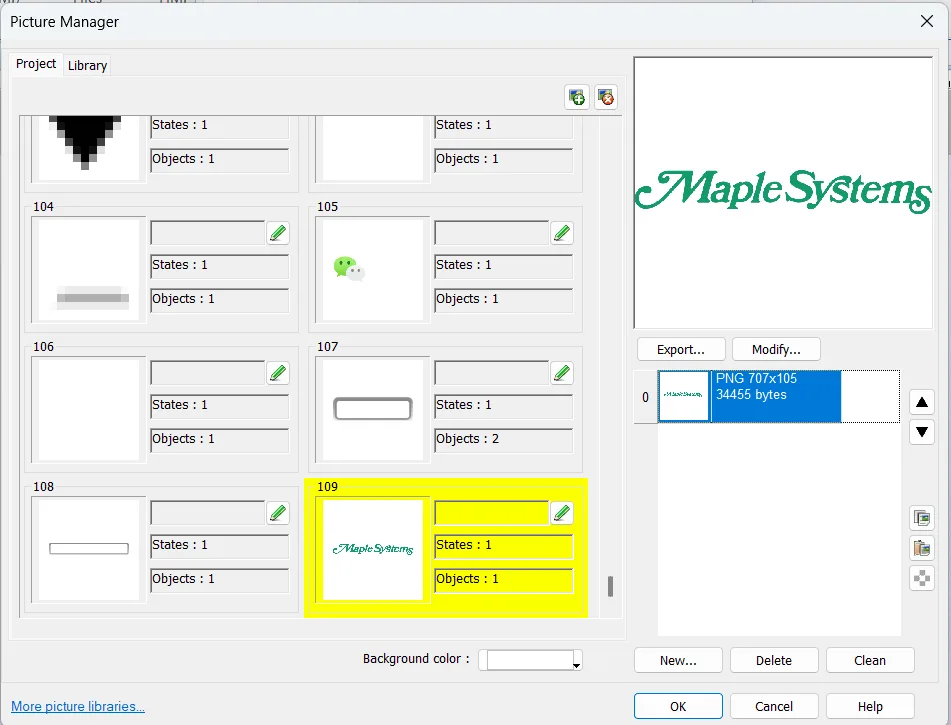
Immediate Modification and Preview
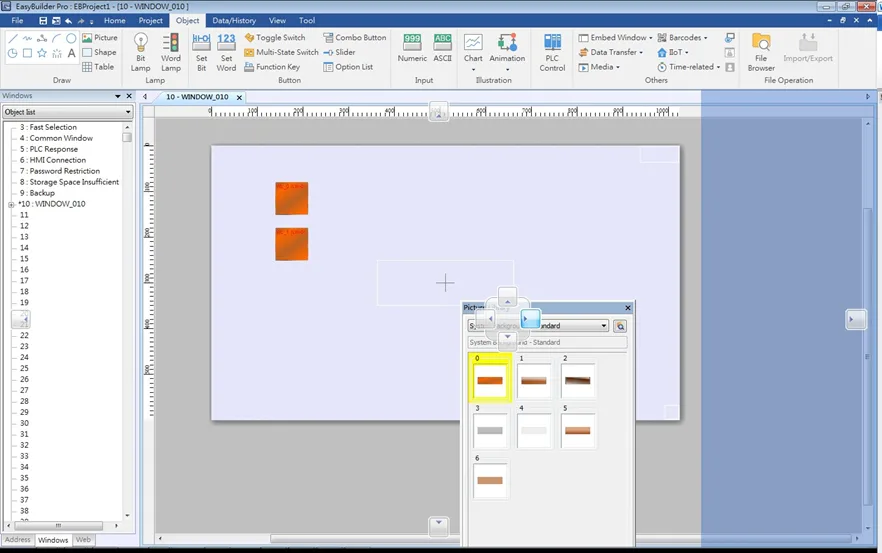
Shape Library / Picture Library settings windows are opened in the editing window. The user can immediately change the picture used by an object or multiple objects, and certain libraries support immediate color change.
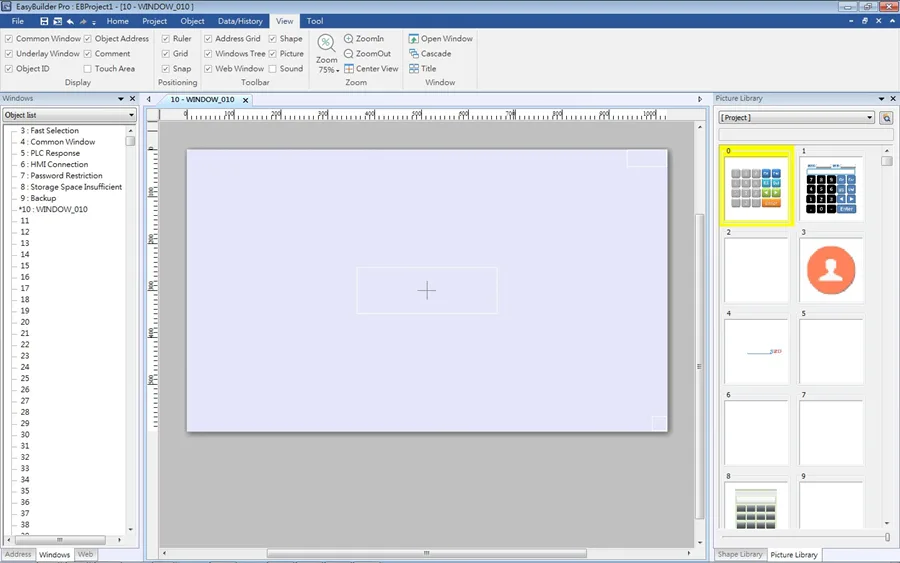
Replacing a Picture
- Click the object or objects whose picture is to be replaced.
- Locate a new picture in Picture Library window
- Click the lower-right corner of the new picture to apply.
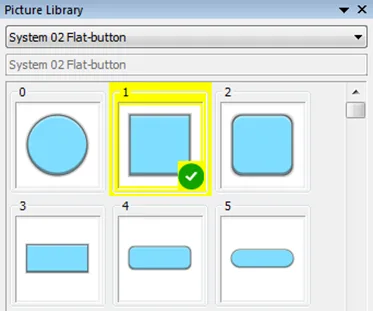
Replacing a Color
The [Color] drop-down list appears when the selected library supports immediate color change.
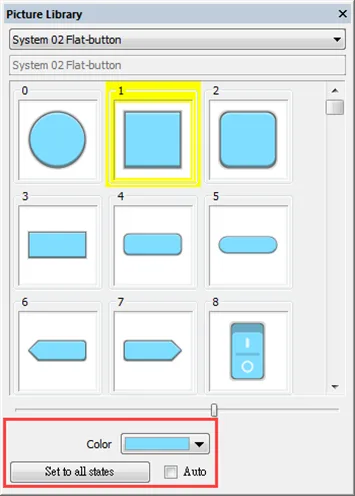
- Select an object or objects whose color is to be replaced.
- Select a color from the Color drop-down list.
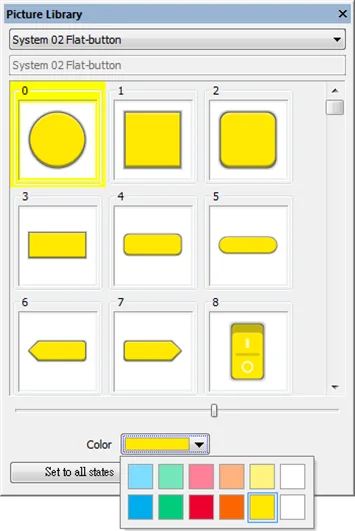
- Click the lower-right corner of the new picture to apply.
| Setting | Description |
|---|---|
| Set to all states | Apply the selected color to all states of the object that use the same picture. |
| Auto | Automatically execute [Set to all states]. |
Extended Features
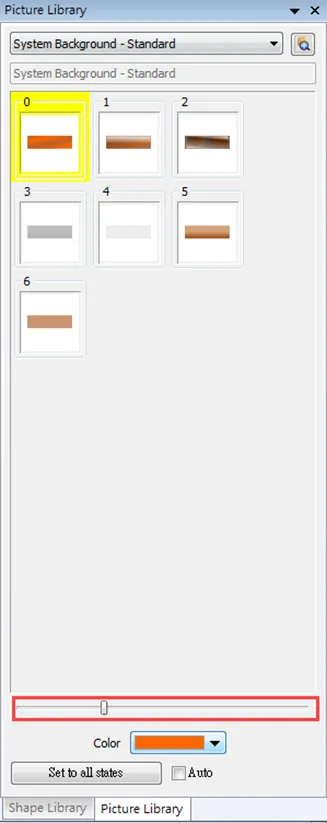
In the settings window, dragging the slider leftward or rightward can make the thumbnail of the pictures smaller or bigger.
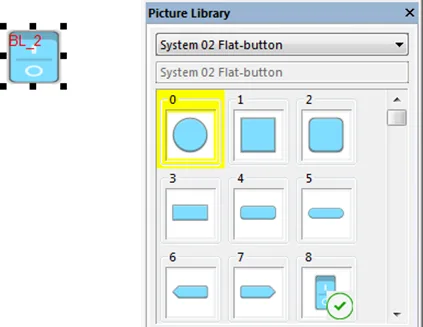
Immediate preview can be achieved by:
- Select an object.
- Press and hold the Shift key on the keyboard.
- Select a picture in the library to preview, and release the Shift key to return to current picture.
Docking a Window
Users can drag the Shape / Picture Library window to a desired destination position. When dragging the window, a semi-transparent outline of the window shows where the window will be docked when releasing the mouse cursor at that point.