Overview & Concepts
Shape Libraries in EasyBuilder Pro provide collections of reusable graphical elements that can be inserted into an HMI project. These libraries contain predefined shapes, symbols, and interface graphics that help developers build HMI screens more quickly and maintain a consistent visual design throughout the project.
Instead of drawing graphics from scratch, developers can select shapes from the library and place them directly onto a window. Once inserted, these shapes can be resized, styled, or combined with other objects to create visual elements such as indicators, buttons, or machine diagrams.
Shapes can also be created from scratch if desired.
Common uses of shape libraries include:
- Creating graphical representations of machines or process equipment
- Building consistent interface elements such as indicators or status symbols
- Reusing commonly used graphics across multiple windows or projects
By providing a collection of ready-to-use graphical components, Shape Libraries simplify screen design and help maintain visual consistency across HMI projects.
Implementation: Building the Shape Library
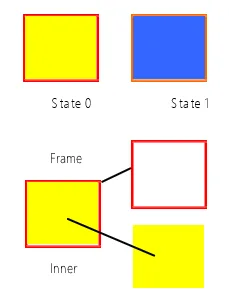
Shapes are vector graphics constructed by lines, curves or polygons. A Shape can have more than one state, and each state includes two parts: frame and inner, as shown in the following figure.

Shape Manager
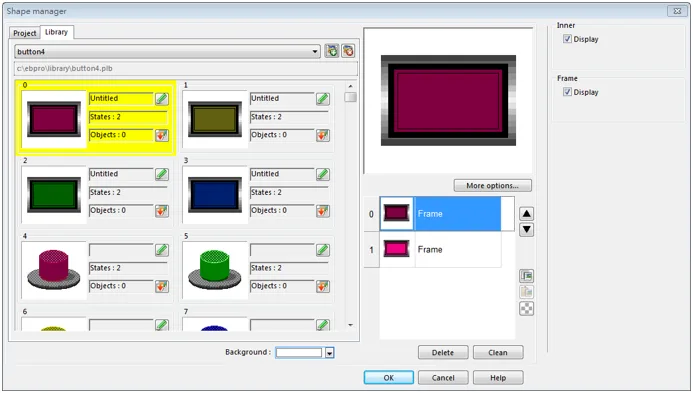
An object can use frame, inner or both. Click [Project] » [Shape], and the [Shape manager] dialog box appears.
| Setting | Description |
|---|---|
| Project | The Shape edited here will be saved in .emtp. Up to 1000 Shapes can be added. |
| Library | The Shape edited here will be saved to the library directory on PC and will not be saved to .emtp project file. |
| New library | Include existing .plb shape library files or create a new one. To create an empty library, enter a new file name and click [Open]. Up to 40 library files can be added. |
| Unattach library | Exclude currently selected library. |
| Copy to project | Copy the selected Shape to [Project]. Only the shapes that do not belong to the System Libraries can be copied. Shapes in System Frame/System Button/System Lamp/System Pipe cannot be copied. |
| Background | Select and preview the background color of the Shape. The color is only displayed in [Shape manager] dialog box, and is not displayed when placing the object in the screen. |
| More options | Set the color and style of [Inner], [Frame], and [Pattern]. |
| Up/Down arrows | Move the Shape to the previous / next state. |
| Copy | Copy the selected Shape. |
| Paste | Paste the copied Shape. |
| Insert transparent state | Insert a blank state after the selected state. |
| Delete | Delete the selected state of the shape. |
| Clean | Delete all the states of the selected shape. |
| OK | Confirm to save the edited Shape. |
| Cancel | Cancel the editing event. |
| Help | Open help files. |
Notes:
- The color of [Inner] and [Frame] can be selected in Shape Library. The selection of [Pattern Style] is only available in System Frame / System Button Library.
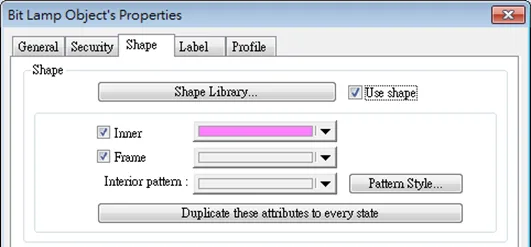
- cMT / cMT X Series supports using gradient patterns in [Pattern Style], as follows:
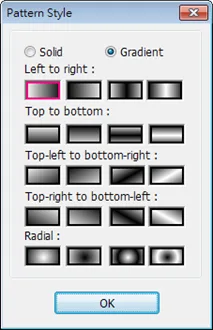
Building and Adding to Shape Library
The following explains how to create a new Shape Library and add a Shape with two states into
the library.
Instructions: Building and Adding to Shape Library
Make New Library
Click [New library] and enter the name of the new Shape Library, for example, “new_lib” and click the Open button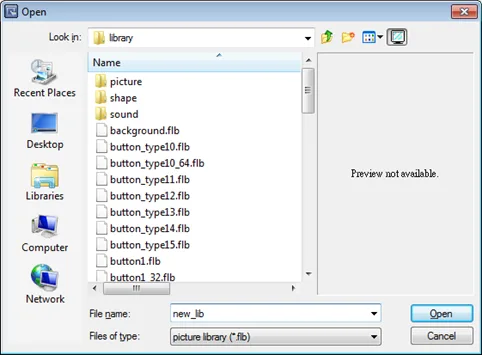
Confirm new library creation
A popup dialog appears; click [Yes] to create the file.A New Library appears
A new Shape Library [new_lib] is added in [Shape manager], and its directory is shown below the name.This library is empty now as shown in the figure.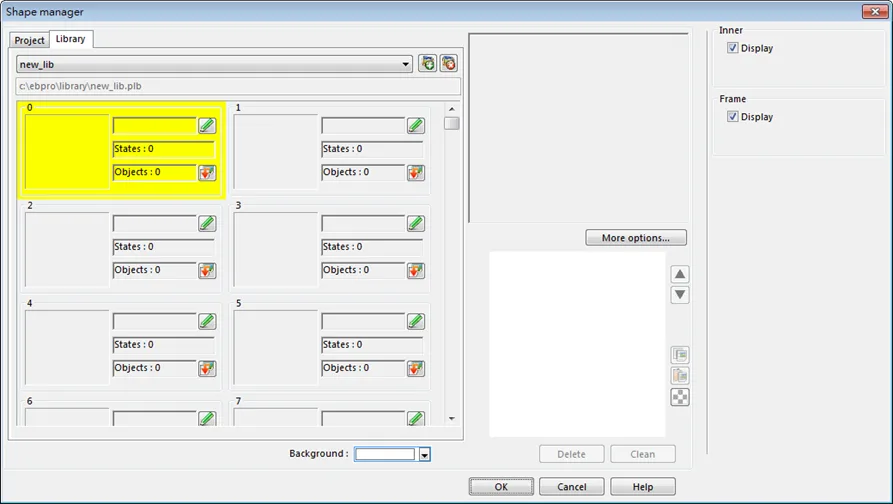
Add a State: Draw Frame and Inner
Add a state to the selected Shape. First, use the drawing tools to draw a frame and inner in the window and select the frame to add to the Shape Library.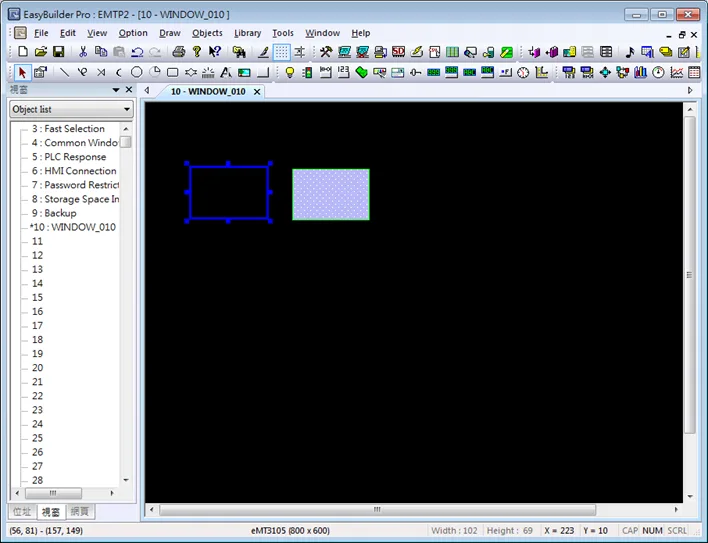
Add a State: Place Frame in Library
Click [Project] » [Shape] » [Save to shape] button in the toolbar, select [new_lib], and select a number in this library. The selected number is highlighted yellow.Add a State: Save Frame in Library
Save the Shape as [Frame], select [Insert], and click [Save].Settings and Options
Inner: Displays the Inner portion of the shape
Frame: Displays the Frame portion of the shape
Save to Library Options
Save as Frame: Saves the Shape as Frame
Save as Inner: Saves the Shape as Inner
Insert: Inserts the Shape to be a new state
Replace: Replaces a state with this Shape.
Save: Saves the settings as selected above
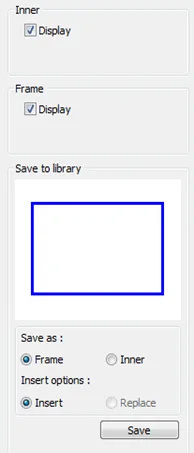
Add a State: Frame Success
The following shows that a state of the Shape is added, and is defined as a frame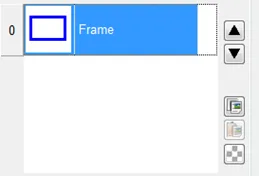
Add a State: Select the Inner
Select the shape drawn in the window that will be the Inner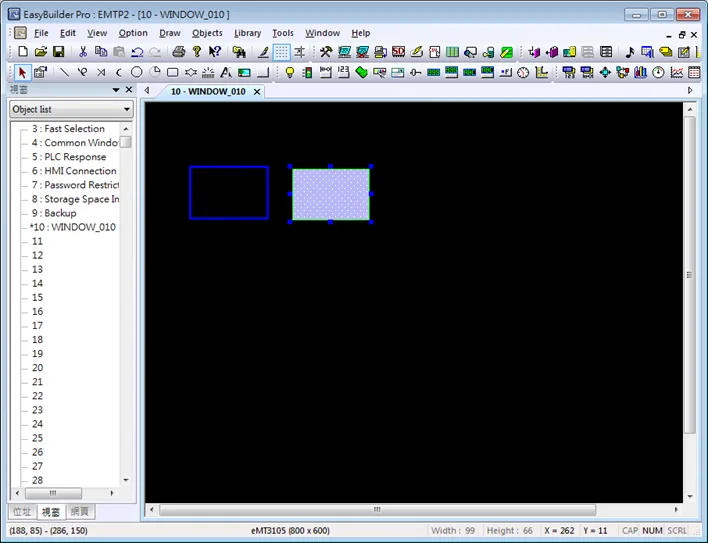
Add a State: Place Inner in Library
Click [Save to Shape Library] button in the toolbar, select [new_lib], and select the same number as in creating the frame in this library. The selected number is highlighted yellow.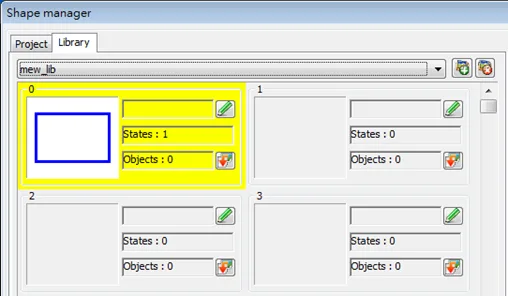
Add a State: Save Inner in Library
Save the Shape as [Inner], select [Replace], and click [Save].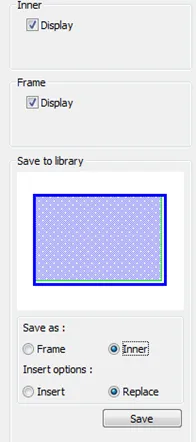
Click OK, State is Complete
The state 0 of the Shape shown in the following figure includes both frame and inner. Click [OK], the state 0 of the Shape is created.A state of a Shape can include [Inner], [Frame], or both.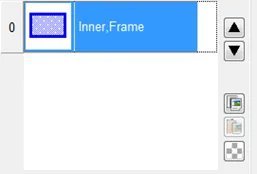
Repeat for other States
Starting at Step 4, follow the steps of creating state 0 and insert a new state set to state 1 as shown in the following figure. The Shape now has two states, click [OK] to finish setting.You can keep repeating as needed if you want your shape to have more than 2 states.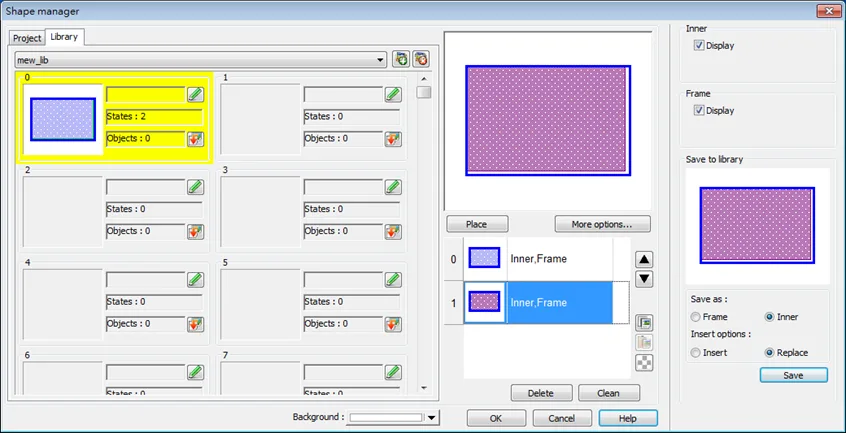
Immediate Modification and Preview
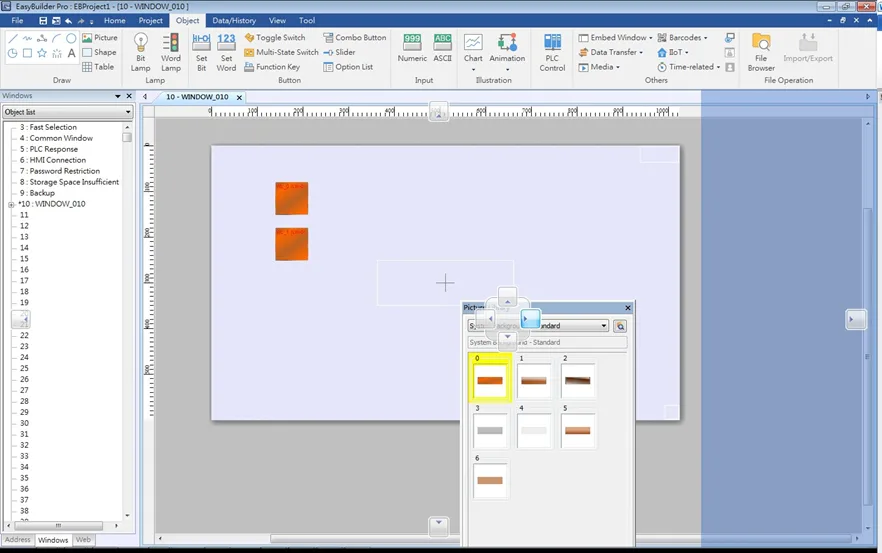
Shape Library / Picture Library settings windows are opened in the editing window. The user can immediately change the picture used by an object or multiple objects, and certain libraries support immediate color change.
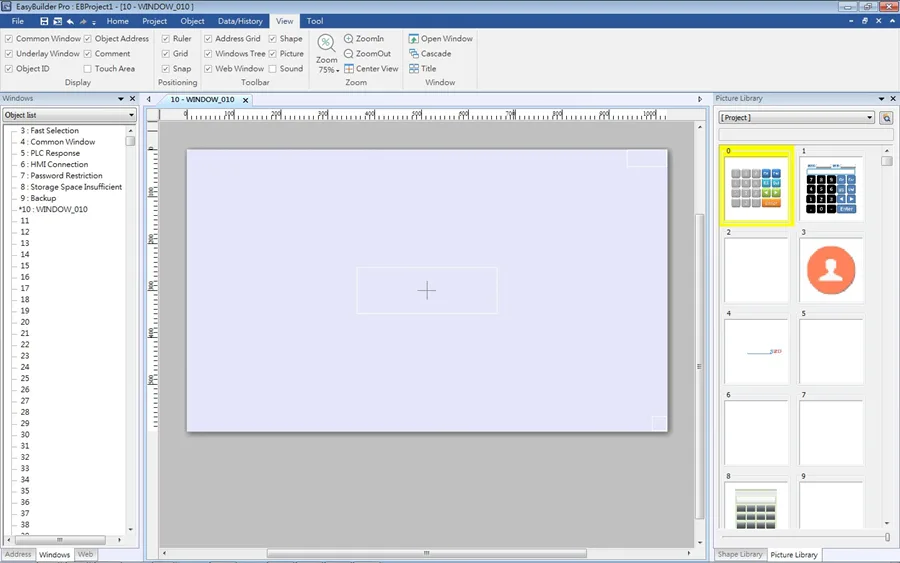
Docking a Window
Users can drag the Shape / Picture Library window to a desired destination position. When dragging the window, a semi-transparent outline of the window shows where the window will be docked when releasing the mouse cursor at that point.