
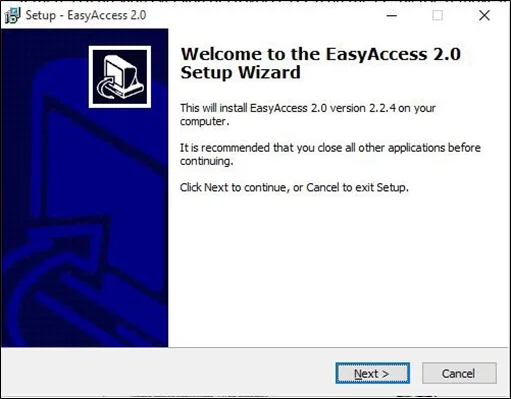
Download the EasyAccess 2.0 installer from our website (maplesystems.com) and open it. Select the language for the installation process, and then click [Next]. If there are any previous version of EasyAccess 2.0 installed on your PC, please uninstall these before proceeding.
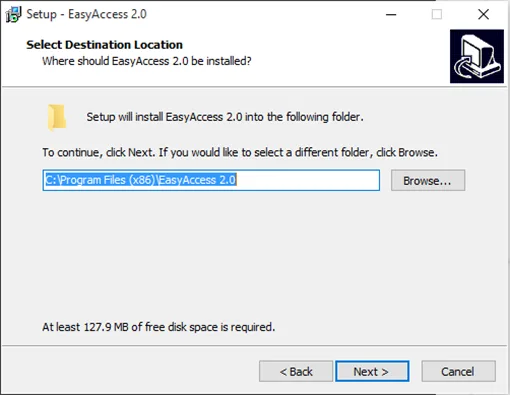
Select a folder for EasyAccess 2.0 installation or use the default folder. Click [Next].
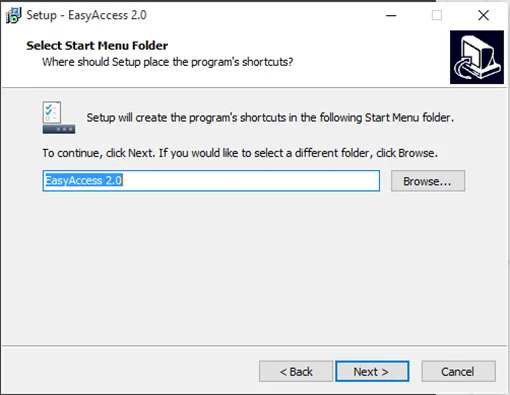
Select a start menu folder or use the default folder. Click [Next].
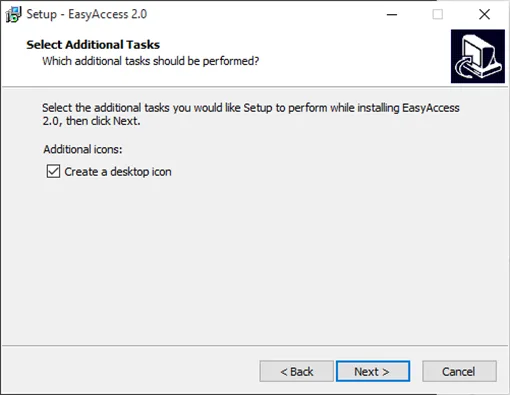
Select additional tasks, for example: [Create a desktop icon]. Click [Next].
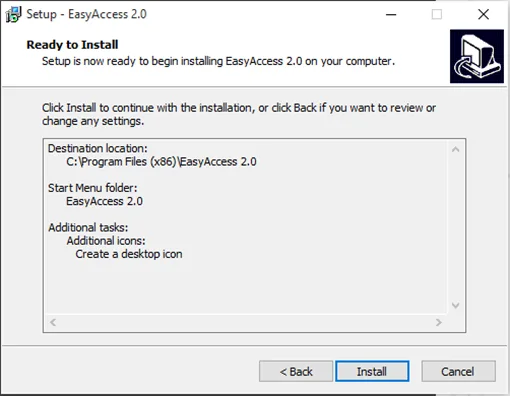
Confirm all settings. To change the settings, click [Back]. To start installation, click [Install].
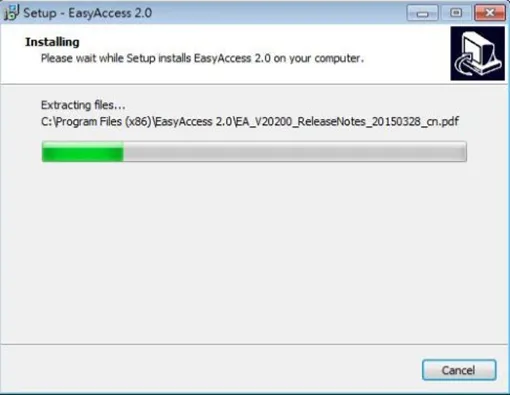
Installation in progress:
Click [Finish] to complete the installation.
![Installation Complete message. Click the [Finish] button to finish the installation and close the Setup Wizard. You can also immediately launch the EasyAccess 2.0 program at this time.](https://media.maplesystems.com/wp-content/uploads/2026/04/image-951.webp "Installation complete")
Here is a list of notable files you will see in the installation folder:
| File Name | Description |
| cMT Viewer | The PC application which enables monitoring of remote cMT Series devices (also available for mobile platforms) |
| EasyAccess 2.0 | The main program used to establish a remote connection to an HMI |
| gui_30 | Helper utility which enables monitoring of remote HMIs using HMI Viewer |
| PC Activator | Application that can be used to activate EasyAccess 2.0 for any HMIs on the local area network |
| EasyAccess 2_ReleaseNotes | Release notes documenting important changes and updates to EasyAccess 2.0 over time |