
Overview & Concepts
EasyBuilder Pro supports printing from an HMI to external printers so that operational information can be recorded in physical form. This capability allows alarms, logs, reports, or data records generated by the HMI to be printed for documentation, troubleshooting, or compliance purposes. Printing is typically used in environments where a physical record of system activity or production data is required.
Printers connect to the HMI through supported communication interfaces, and once configured, the HMI can send formatted output to the printer when a defined event occurs.
Typical printer interfaces include:
- USB printers connected directly to the HMI
- Network printers accessible through the Ethernet network
Printing can be triggered by different system functions, such as:
- Printing alarm or event logs
- Printing operation records
- Generating formatted reports from HMI data
Common industrial uses include maintaining printed alarm records, documenting production results, or generating reports for operators and supervisors. By supporting external printers, EasyBuilder Pro allows system data collected by the HMI to be documented and archived outside of the digital system.
Implementation
Supported Printers
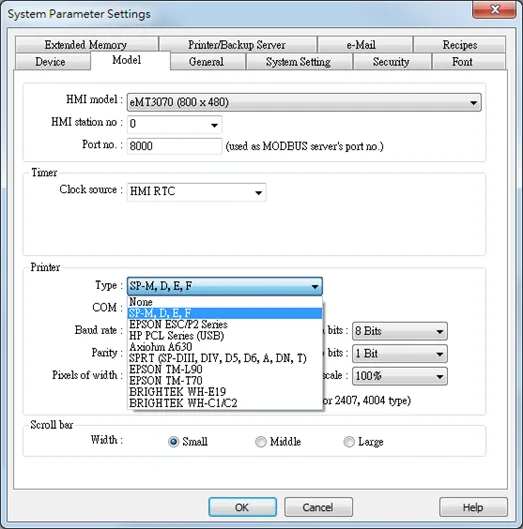
SP-M, D, E, F
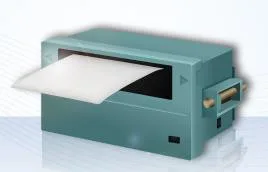
Serial printers, please configure communication parameters to match the printer. [Pixels of width] must be correctly set and can’t exceed printer default setting:
100 pixels for 1610 series printers.
220 pixels for 2407, 4004 series printers.
The driver uses EPSON ESC Protocol for Serial Micro Printer.
Epson ESC/P2 Series
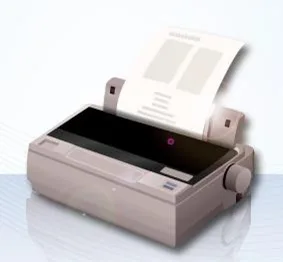
Serial printers, please configure communication parameters to match the printer.
The ESPON ESC/P2 printer protocol is used.
Impact Printer: LQ-300, LQ-300+, LQ-300K+ (RS-232), LQ-300+II (RS-232)
Inkjet Printer: Stylus Photo 750
Laser Printer: EPL-5800
HP PCL Series (USB)
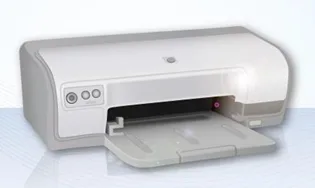
HP compatible USB printers that support HP PCL5 protocol or PostScript3 Printer Control Language.
The printers that support PCL5 or later versions will support PCL5 protocol due to the downward compatibility of PCL.
Axiohm A630
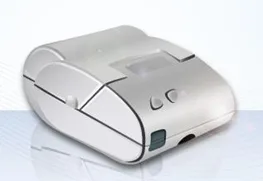
Micro printer from France connects via serial port; please configure the communication parameters to match the printer.
SPRT
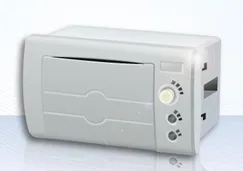
Serial printers, please configure communication parameters to match the printer.
[Pixels of width] must be correctly set and can’t exceed printer default setting “100”.
Epson TM-L90
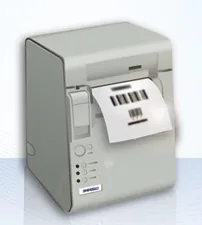
Serial printers, please configure communication parameters to match the printer.
[Pixels of width] must be correctly set and can’t exceed printer default setting “576”.
Epson TM-T70
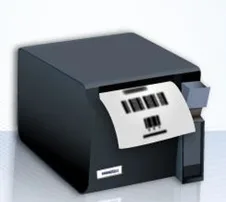
Serial printers, please configure communication parameters to match the printer.
[Pixels of width] must be correctly set and can’t exceed printer default setting “576”.
The paper cutting mode can be selected:
[No cut] / [Partial cut].
Brightek WH-A19
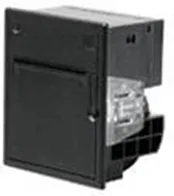
Supported models: A92R10-00E72A
72 in model number represents hexadecimal printer, and A represents wide voltage 5~9V.
This is the same as the A6 16 impact printer[
Brightek WH-E19
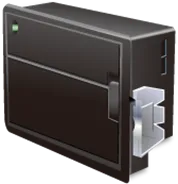
Serial printers, please configure communication parameters to match the printer.
Brightek WH-E22
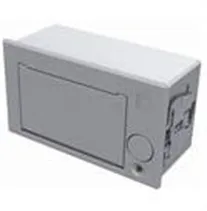
Supported models:
E22R10-00E725: Same as A7 16 impact printer. A7 represents A72R90-31E72A.
E221R90-00E11740GA: Serial printer, connects through RS-485 port, please use a RS232-to-RS485 converter.
Brightek WH-C1/C2
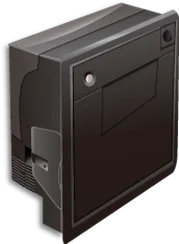
Serial printers, please configure communication parameters to match the printer.
The paper cutting mode can be selected:
[No cut] / [Half cut] / Full cut].
Remote Printer Server
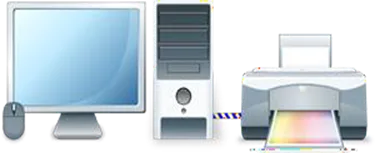
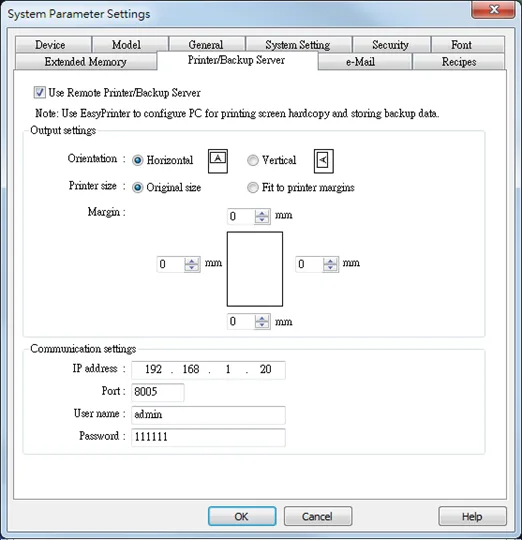
Use EasyPrinter to start printing by the printers connected with PC via Ethernet. This works under MS Windows so most printers on the market are supported.
Add a New Printer and Start Printing
Add the printer type
- In [System Parameter Settings] » [Model] select the printer type and set the relevant parameters.
- To connect Remote Printer Server, set the parameters in [System Parameter Settings] » [Printer/Backup Server].
Start Printing
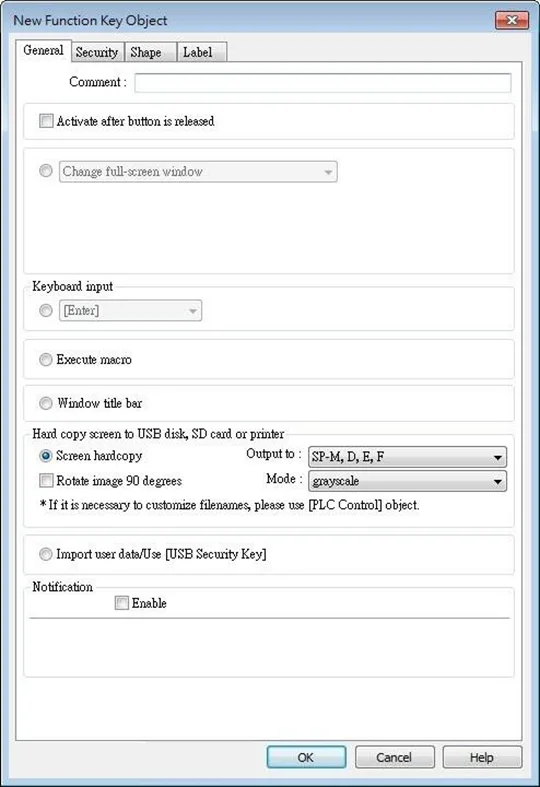
- Start printing with Function Key
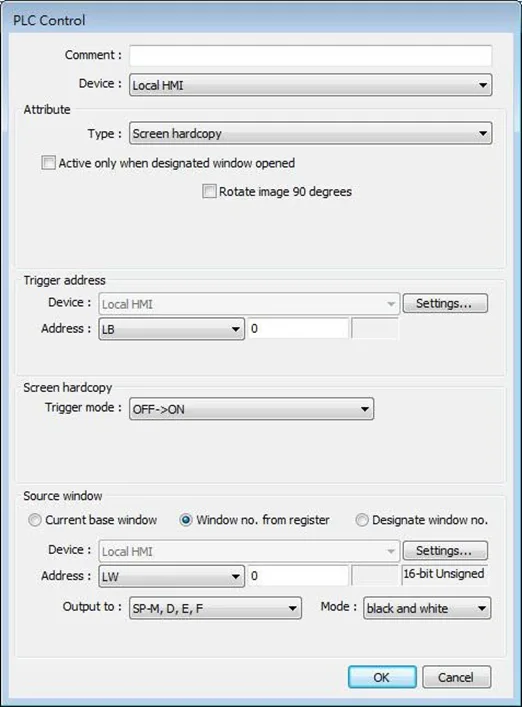
- Or, use PLC Control [Screen hardcopy] to start printing with a designated bit address.

Installing Network Printer (cMT / cMT X Series HMI)
Open system setting on a cMT / cMT X Series model and selecting [Install network printer] can install more printers apart from the ones listed in the preceding section.
How to Install Network Printer (cMT / cMT X Series HMI)
Follow these steps to install a Network Printer to your cMT Series Device.
Instructions: How to Install Network Printer (cMT / cMT X Series HMI)
Open System Setting menu
Tap the icon on the HMI screen to open the system settings.Navigate to the Printer tab
Log in, find [Printer] » [Install network printer].HMI needs a few seconds to search for the network printers on the same network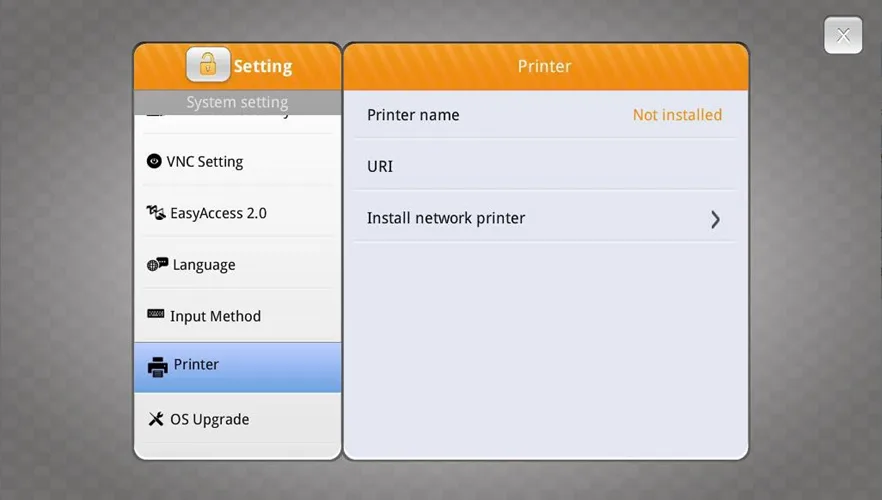
Tap the Install button
Select a network printer and tap [Install] to install its driver.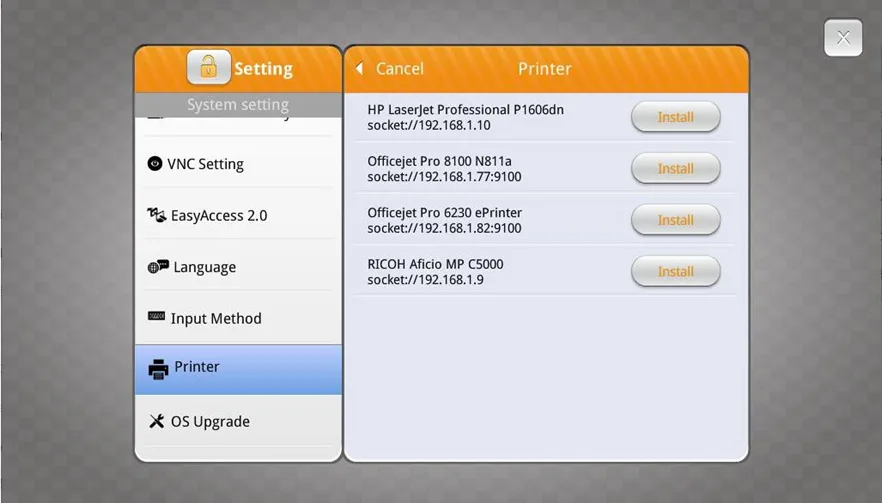
Replace existing driver (If you already have a printer installed)
The new printer driver will replace the former one since only one printer can be installed at a time.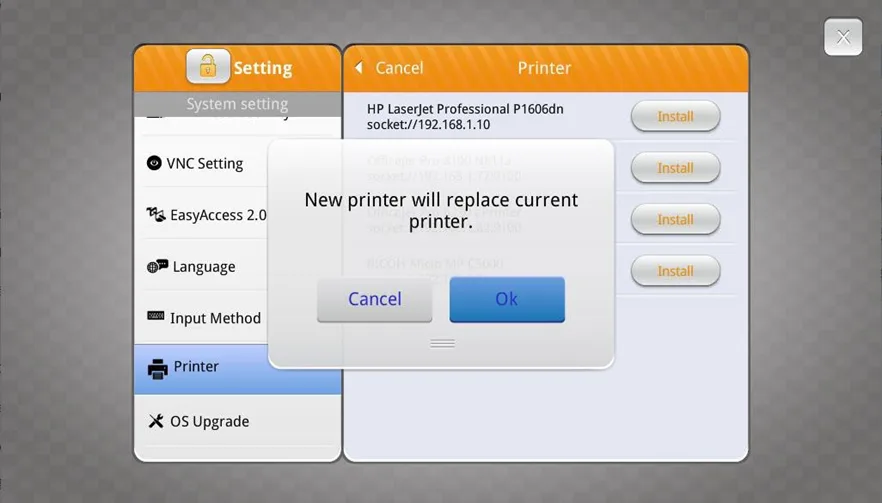
Installing .ppd file (cMT / cMT X Series HMI)
How to Install .ppd file (cMT / cMT X Series HMI)
Installing the PPD file from a printer driver on a cMT / cMT X Series model is also possible.
Instructions: How to Install .ppd file (cMT / cMT X Series HMI)
Go to the Model tab of EBPro.
Go to [System Parameter Settings] » [Model] tab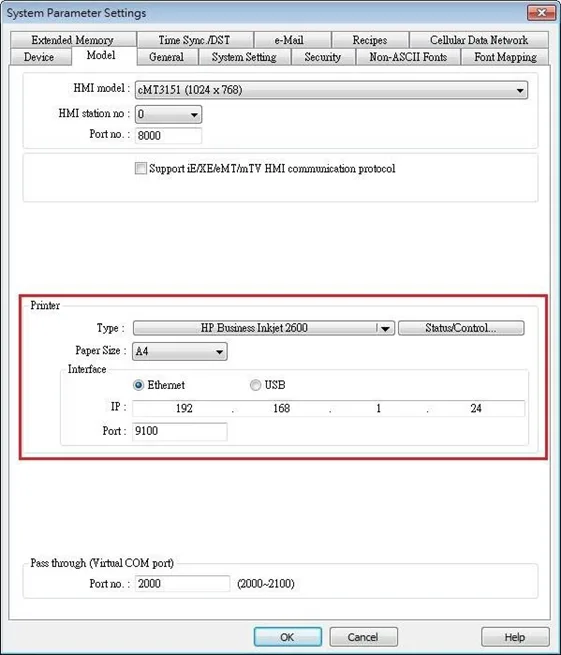
Select Printer Type
Select a printer type.If your printer type does not show, you need to add it.
To add a new printer, place the printer’s PPD file in the ppd folder under EasyBuilder Pro installation directory, and then click [Refresh].
![To add a new printer, place the printer’s PPD file in the ppd folder under EasyBuilder Pro installation directory, and then click [Refresh].](https://media.maplesystems.com/wp-content/uploads/2026/04/image-637.webp "Place the PPD file in EBPro Installation directory.")
Configure Status and Monitoring Addresses
Use Status Address to monitor printer status, and use Control Address to dynamically update connection parameters.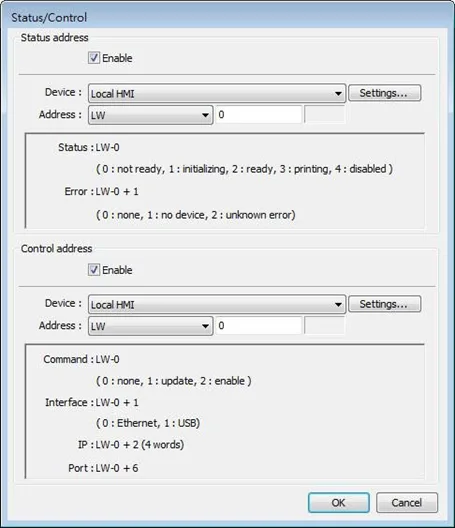
Notes:
- Installing PPD file is not supported on cMT-SVR and cMT Gateway models.
- HP printers are recommended since they may have better compatibility with cMT / cMT X models. Printers should be tested beforehand.
- Please install a printer on a cMT / cMT X Series model by using [Install network printer] in the system setting first; if this doesn’t work, installing PPD file is the second option.
- To use the printer selected in the project file, please do not select [Use printer on HMI first (if existed)] option if a printer driver is already installed on HMI. By giving command 1: update in the control address, the printer selected in the project file will be used:
![To use the printer selected in the project file, please do not select [Use printer on HMI first (if existed)] option if a printer driver is already installed on HMI. By giving command 1: update in the control address, the printer selected in the project file will be used:](https://media.maplesystems.com/wp-content/uploads/2026/04/image-639.webp "Deselect this option if the HMI already has a printer installed and you want to use the printer configured in the project file")
Printing via IPP Protocol (cMT X Series HMI)
The cMT X Series supports printer usage via the Internet Printing Protocol (IPP). It’s essential that the printer also supports the IPP protocol. For more information about the IPP protocol, please refer to this Wikipedia link.
How to Print via IPP Protocol (cMT X Series HMI)
The cMT X Series supports printer usage via the Internet Printing Protocol (IPP). Follow the steps below to configure it with your cMT X Series HMI.
Instructions: How to Print via IPP Protocol (cMT X Series HMI)
Verify your Printer supports IPP Protocol
Verify the printer supports IPP (Internet Printing Protocol), and enable it if it is not yet enabled. Usually you can do so from your printer’s Network Settings.Taking an HP printer as an example, enabling Internet Printing Protocol (IPP) or Bonjour in the network settings is necessary, as shown in the below example.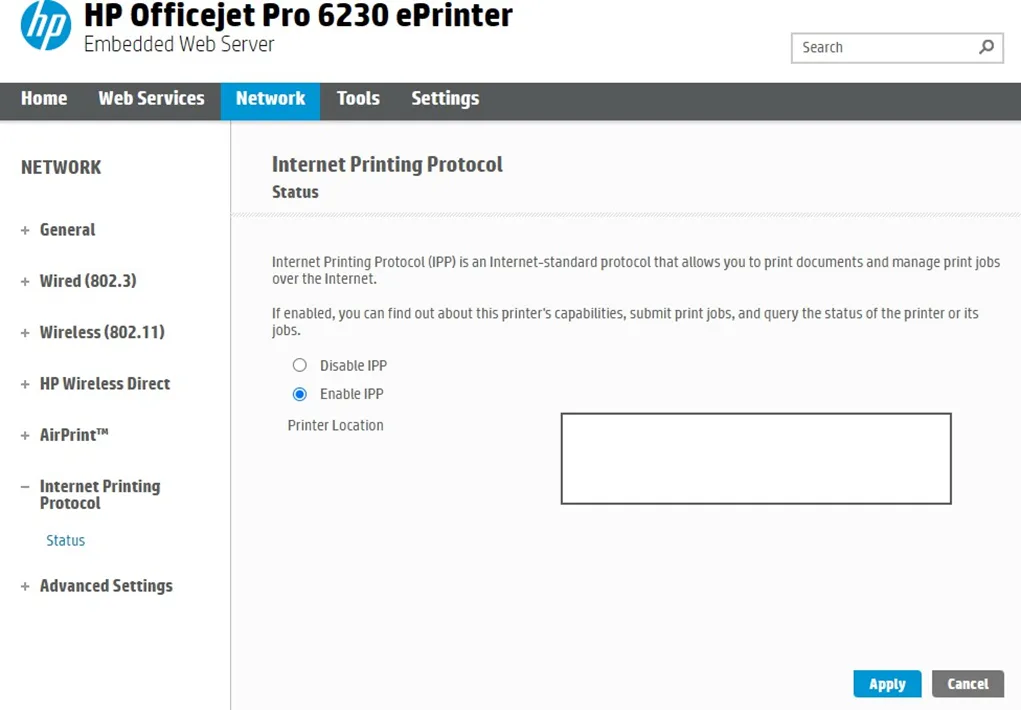
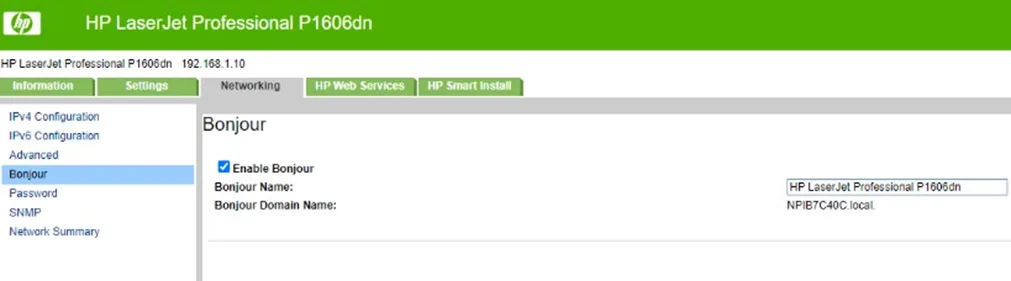
You can go to the Printer ta in HMI System settings menu.
After enabling these options, available printers for installation can be found through the “Install network printer” list in HMI system settings.Note that “(IPP)” indicates the use of this protocol for communication.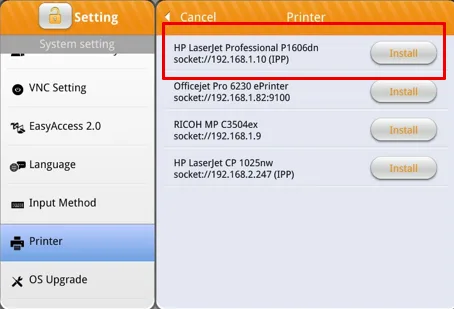
Or you can do so within the EBPro System Parameters
In EasyBuilder Pro, selecting IPP in the printer settings enables normal printing.IPP Printers are listed as “IPP” in the Manufacturer section of the Printers dialog box.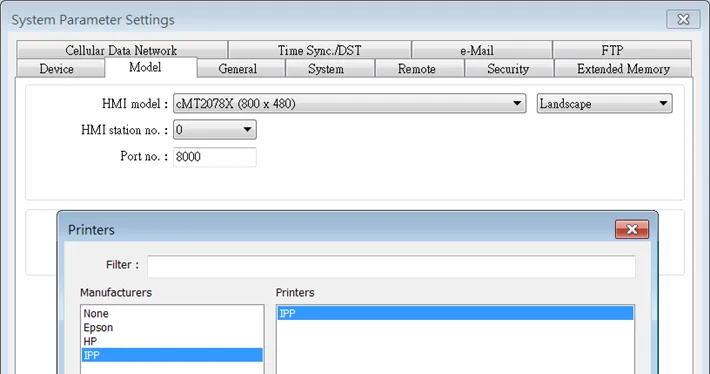
CUPS Printing Support
The cMT / cMT X Series model process print jobs by using CUPS; therefore, the printer installed on a cMT/cMT X Series model must support CUPS. For more information about CUPS, please visit https://en.wikipedia.org/wiki/CUPS.
Below are two ways to find out whether a printer supports CUPS:
- Check with your printer’s manufacturer.
- Test your printer on a PC running Linux and install a PPD file by following these steps:
How to Verify your Printer has CUPS support
If you’re unable to verify with the printer’s manufacturer, you can follow these steps to verify CUPS support with your printer.
Note that you will be testing your printer on a PC running Linux OS and installing a PPD file:
Instructions: How to Verify your Printer has CUPS support
Install and verify proper operation of CUPS and enter browser
Install CUPS on a Linux PC and make sure that CUPS is working properly. Enter http://localhost:631 in your browser.Select the Add Printers and Classes link
Open the Home tab and select [Adding Printers and Classes].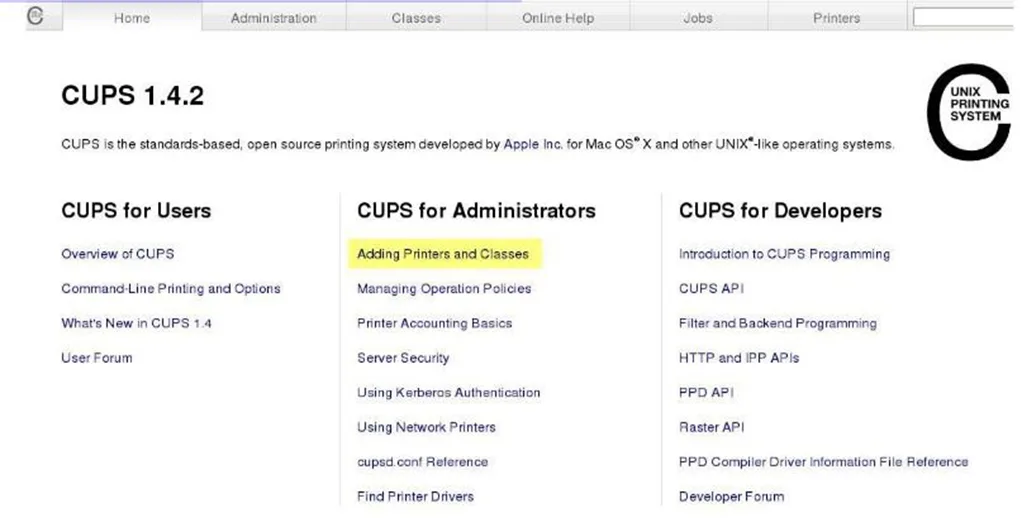
Click the Add Printers button
Select [Add Printer] under Printers.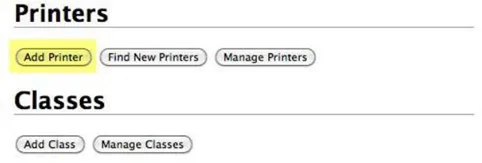
Select the AppSocket entry
In the window that follows, select [AppSocket] from the “Other Network Printers” section.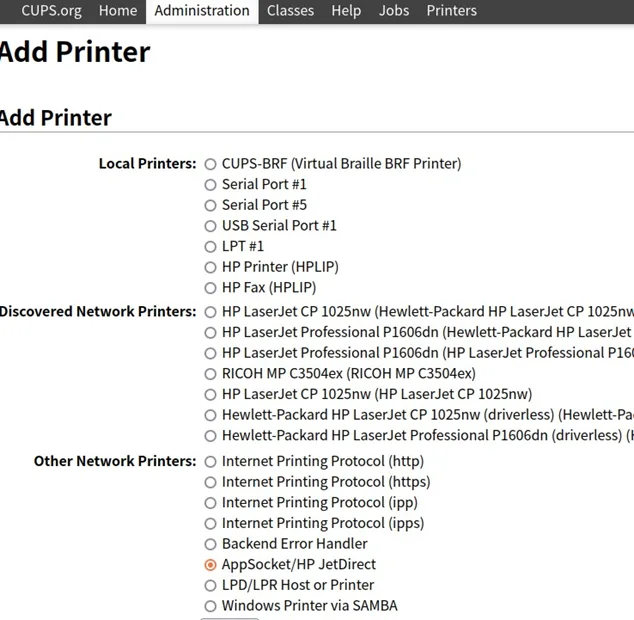
Enter Printer IP Address
Enter the printer’s IP address, e.g. socket://10.3.9.55:9100.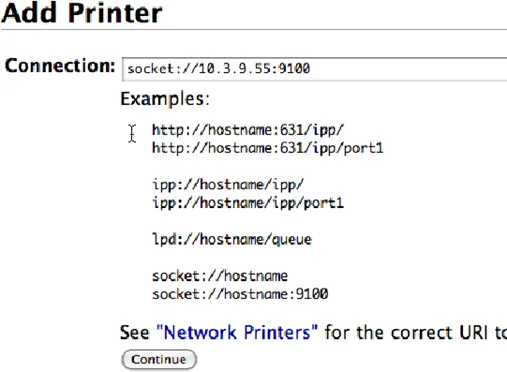
Enter the Name of the Printer
Enter the printer’s name.It is helpful to also add a description and location, as shown.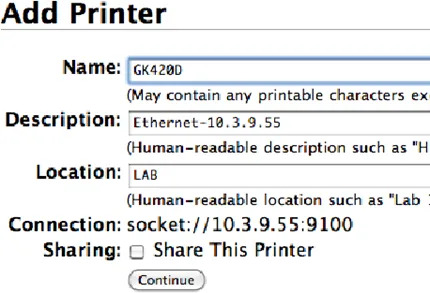
Identify the printer Make and Model
Select the printer’s manufacturer and model name. If your printer does not exist in the list, you may ask the manufacturer which is the PPD file you can use for replacement.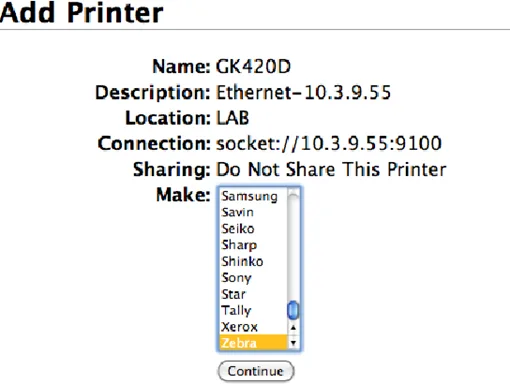
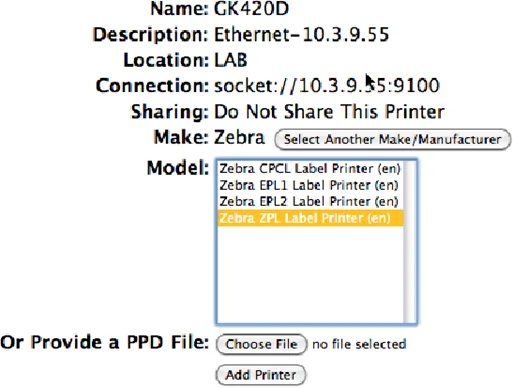
Find the PPD File and then add it to EasyBuilder Pro
After adding the printer, find its PPD file in /etc/cups/ppd in Linux, import the PPD file to EasyBuilder Pro (see above), and then download the project to HMI.See above for instructions on installing a PPD file to EasyBuilder Pro