Overview & Concepts
Window Operations in EasyBuilder Pro define how screens are created, displayed, and managed within an HMI project. Each screen in the interface is represented as a window, and window operations control how operators navigate between these screens during runtime. By organizing interface elements into separate windows, developers can structure the HMI into logical sections such as main dashboards, control screens, settings pages, or diagnostic displays.
Window behavior is controlled through window numbers and navigation functions that determine how and when windows appear. The HMI can display windows individually or manage transitions between them based on operator actions or system conditions.
Key concepts of window operations include:
- Window identification – Each screen is assigned a unique window number used for navigation and control.
- Window switching – Buttons or system functions can change the active window during runtime.
- Window layering – Some windows can appear on top of others, allowing dialog-style screens or pop-up messages.
Typical uses of window operations include:
- Navigating between machine control and status screens
- Displaying pop-up windows for alarms or confirmations
- Organizing the interface into functional sections for easier operator use
Implementation
A window is a basic element in a project. With a window, all kinds of information like objects, pictures, and texts can be displayed on HMI screen. In total, 1997 windows numbered from 3 ~ 1999 in EasyBuilder Pro can be built and edited.
Window Types
There are 4 types of windows, each with different functions and usages:
- Base Window
- Fast Selection Window (Legacy HMI5000 Series units)
- Common Window
- System Message Window
Base Window
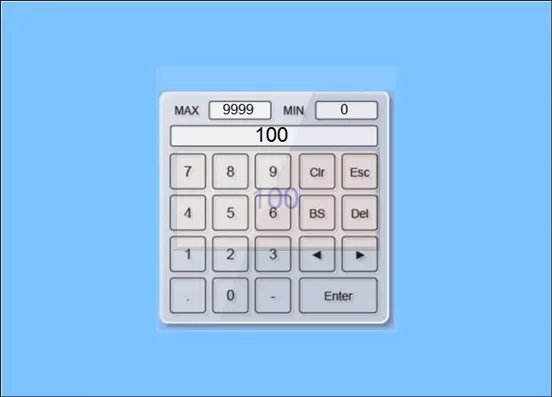
This is the most frequently used type of window aside from the Common Window. Base windows can be backgrounds of other window, a keyboard window (window containing a numeric or ASCII keypad), a pop-up window of a function key object, a screen saver, or a pop-up window of Direct and Indirect Window Objects.
Note:
- The Base Window should always be a maximum size as the HMI screen.
Fast Selection Window (Legacy HMI5000 Series units only)
The Fast Selection Window is Window number 3 by default. It is a shortcut window that is used to place the most frequently used buttons on the lower left or lower right corner of the HMI screen.
Create items or buttons on the Window 3, and then set the relevant properties within the System Parameter Settings, General Tab.
Common Window
Window no. 4 is the default Common Window. Objects in this window will be displayed in other base windows, not including pop-up windows. Therefore, the common objects in different windows are often placed in common window.
When operating HMI, select [Function Key] » [Change common window] to change the source of common window.
In menu [File] » [Preferences] » [Display] select whether or not to [Display Common Window objects on Base Windows] when editing a project. This can avoid overlapping objects in base window with objects in common window.
![In menu [File] » [Preferences] » [Display] select whether or not to [Display Common Window objects on Base Windows] when editing a project. This can avoid overlapping objects in base window with objects in common window.](https://media.maplesystems.com/wp-content/uploads/2026/04/image-460.webp "EBPro Display Preferences")
System Message Window
Windows 5, 6 7 and 8 are default System Message Windows.
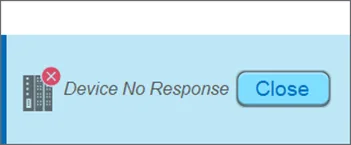
- Window 5: Device No Response
- When the communication between the HMI and PLC or other configured device is disconnected, this message window will pop up automatically. This window also pops up in the event there is an object on the window that is looking for a device tag or address that does not exist.
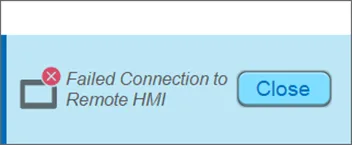
- Window 6: HMI Connection
- When failing to connect an HMI with a remote HMI, this message window will automatically pop up.
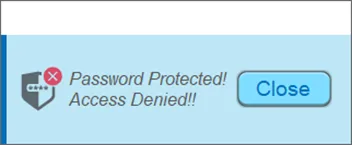
- Window 7: Password Restriction
- When attempting to control an object without proper security authorization, this window may pop up as a warning (depending on the settings of the object’s security configuration)
- Window 8: Storage Space Insufficient
- When the HMI internal flash memory, USB disk or SD card runs out of storage space (available memory under 4MB), this message will pop up automatically.
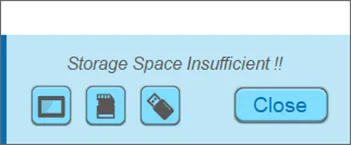
Notes:
- The following System Registers can be used to check the free memory space in HMI internal memory, USB disk or SD card:
- [LW-9072] HMI current free space (K bytes)
- [LW-9074] SD current free space (K bytes)
- [LW-9076] USB disk current free space (K bytes)
- To check if there is sufficient storage space in these devices, the following system bits can be accessed (these bits will set to ON when the space is under 4 MB)
- [LB-9035] HMI free space insufficiency alarm (when ON)
- [LB-9036] SD card free space insufficiency alarm (when ON)
- [LB-9037] USB disk free space insufficiency alarm (when ON)
Create, Set and Delete a Window
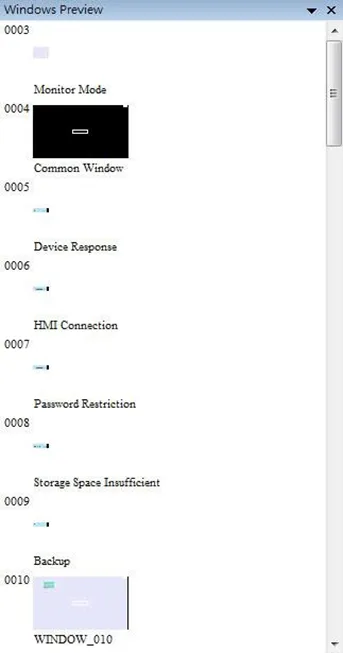
Using the Windows Tree toolbar allows the user to view the existing and blank windows within the project. the Windows Tree displays window names and numbers. The Windows Preview carat allows you to switch between the Windows Tree list or a Windows Preview view, shown below.
Windows Tree:
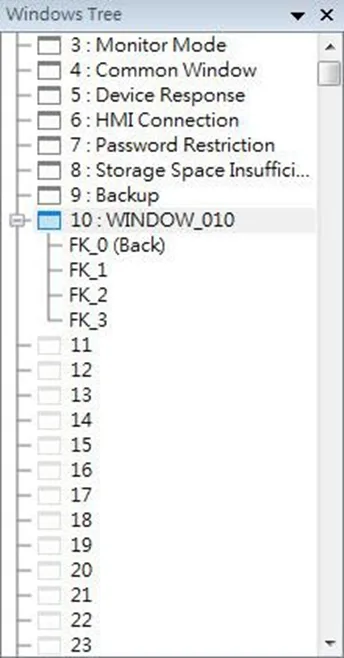
Windows Preview:
How to Create a New Window: Method 1
In windows tree right click on a window number then select [New].
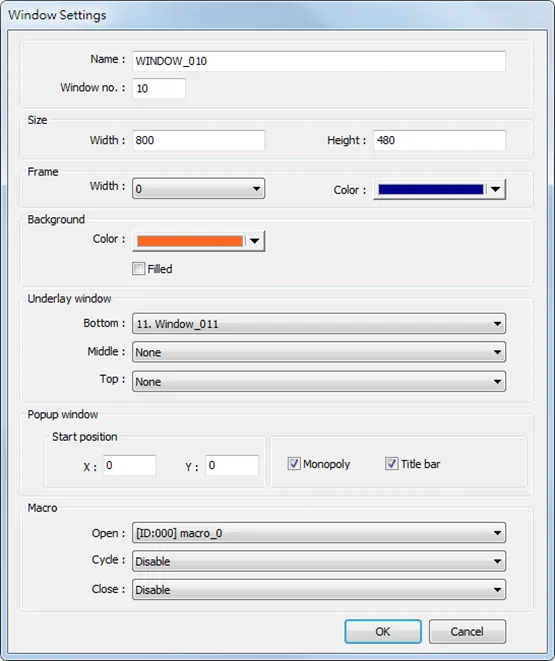
| Setting | Description |
|---|---|
| Name | The name appears on the title bar and also in windows tree. |
| Window no. | Can be 3 to 1999. |
| Size | Set the window size in accordance with the HMI resolution. |
| Underlay window | Underlay Window can be seen as an extra Common Window. When designing the project, some commonly used objects are used in some windows but not all. These objects can be placed in underlay window. Each base window can set three underlay windows as background, from [Bottom] to [Top]. The objects in underlay windows are displayed in this order in base window. |
| Pop-up window | Base window can also be used as a pop-up window. Use [X] and [Y] to set the coordinates indicating where in the screen will this base window pop up. The origin of the coordinates is the upper-left corner of the window. |
| Monopoly | If the option is selected, when the base window pops up, no operations of other pop-up windows and background windows are allowed until the monopoly window is closed. If a base window is used as a keyboard window, “Monopoly” is automatically enabled. |
| Title bar | If the option is selected, a title bar appears on a system message window. This feature is only available for system message windows no. 5 to no. 8. |
| Macro | Select the macro to be executed when the window opens or closes, or the macro to be executed periodically (each 500 ms). Please build the macro in advance. |
Notes:
- The objects in underlay window cannot be edited from the base window that displays them. To edit those objects, please open the underlay window where they are located.
- When the window number of the underlay window used by the base window is identical to the pop-up window, the pop-up window is disabled.
- When base window and pop-up window use the same underlay window, the objects in the underlay window cannot be displayed in pop-up window.
How to Create a New Window: Method 2
From the Main EasyBuilder Pro menu, click [View] => [Open Window], then click [New}, select the type of window you want to create, and then click [OK]
![From the Main EasyBuilder Pro menu, click [View] => [Open Window], then click [New}, select the type of window you want to create, and then click [OK]](https://media.maplesystems.com/wp-content/uploads/2026/04/image-469.webp "Selecting New window from the EBPro View menu")
Calling up Window Settings Dialog
Ways to call up [Window Settings] dialog:
- Right click on the window number in the windows tree and select [Settings].
- In [View] » [Open Window] select the window then click [Settings].
- In the window, right click when no object is selected, and select [Attribute].
Open, Close or Delete a Window
To open an existing window:
- Double click on the window number in the windows tree.
- In the windows tree, select the window number, right click, and then select [Open].
- In [View] » [Open Window] select the window number and then click [Open].
To close or delete an existing window:
- In the windows tree, select the window number; right click, and then select [Close] or [Delete].
- In [View] » [Open Window] select the window number and then click [Delete].
Window Transparency
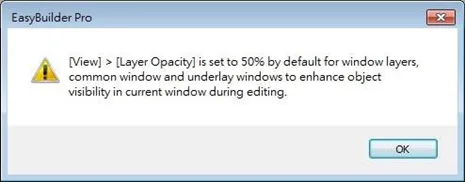
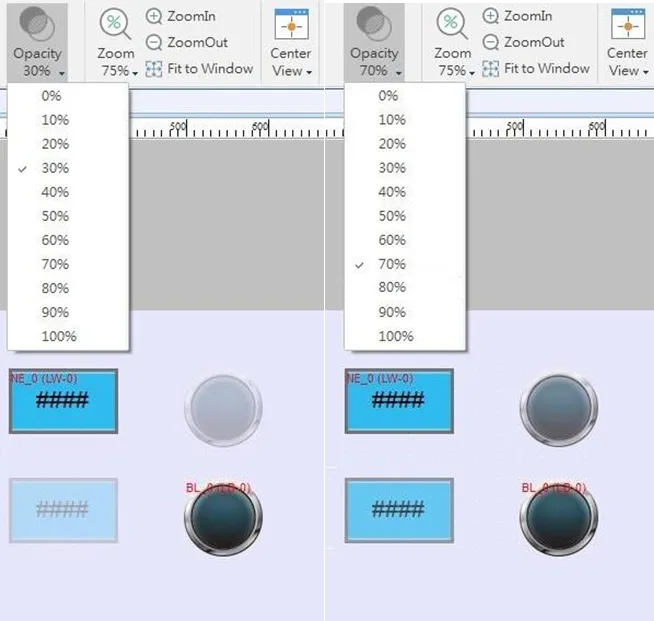
The Opacity setting in the View tab is used to adjust transparency effect of the common window, overlay windows, and window layers.
As shown in the following screenshots, greater Opacity makes the objects in the relevant window more visible
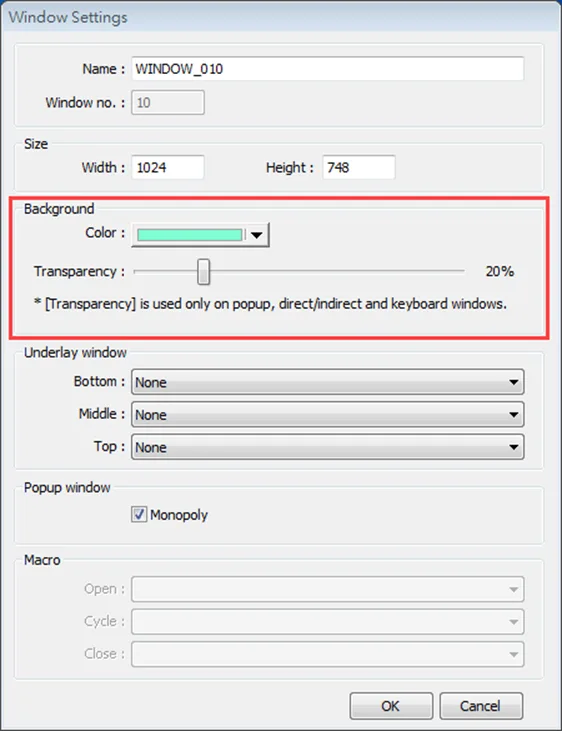
Additionally, the cMT / cMT X Series models support setting window transparency. This setting is applicable for popup windows, Direct / Indirect Windows, and keyboard windows. The settings dialog box and the effect are shown in the following screenshots. Greater transparency can make the object on the base window more visible when it is covered by the popup window.
Example
Setting transparency to 40%:
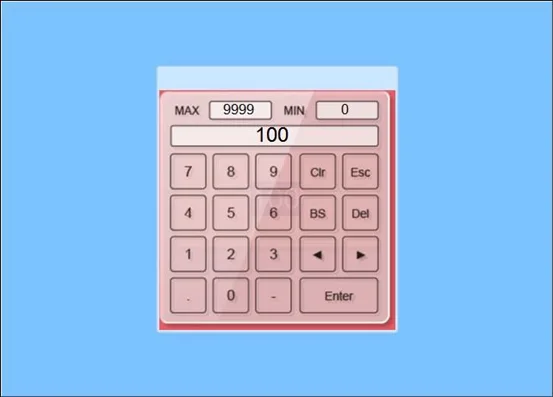
Setting transparency to 90%: