Overview & Concepts
Template Windows (sometimes referred to as Common or Underlay Windows) in EasyBuilder Pro are reusable window layouts that allow common interface elements to be applied across multiple screens within an HMI project. They provide a structured way to maintain consistent design elements such as navigation controls, status indicators, headers, or alarm banners without recreating those objects on every window.
A Template Window acts as a background layer that can be shared by multiple windows in the project. Objects placed in the template appear automatically on any window that references that template.
Typical uses of Template Windows include:
- Creating consistent navigation bars or menu buttons across screens
- Displaying shared status indicators such as system mode or alarms
- Maintaining a common layout or branding across the interface
By centralizing commonly used interface elements, Template Windows help simplify project design and make it easier to update shared components. Changes made to the template automatically apply to all windows that use it, improving consistency and reducing maintenance effort.

Implementation – Template Window Creation
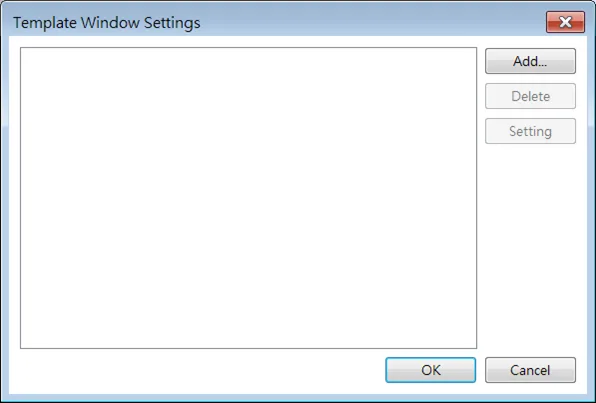
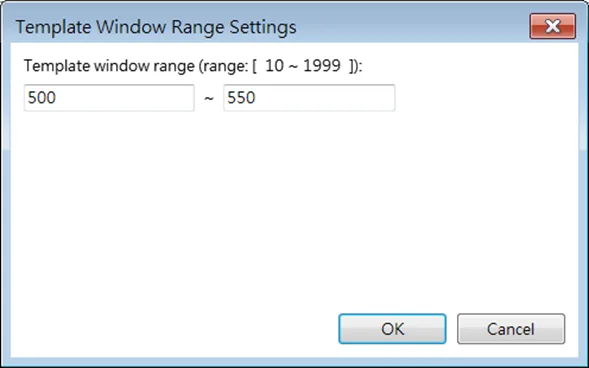
Click on the [Object] » [Template] » [Template Window] icon on the toolbar to open the settings dialog box. Then click [Add], specify the template window range, and press the OK button. A new Template object will be created.

Implementation: Template Object
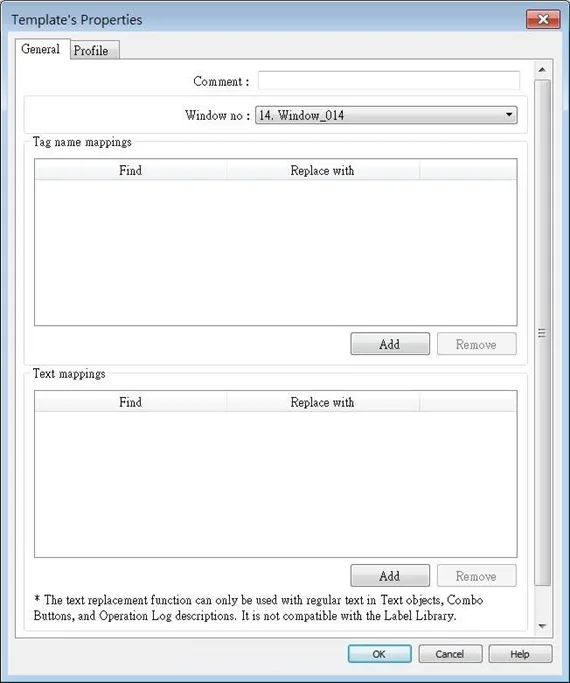
The Template object reduces repetitive project design steps by replacing object addresses or texts based on Template Window settings.
| Setting | Description |
|---|---|
| Comment | User-defined object description. |
| Window no. | Select the source template window. |
| Tag name mappings | Find a custom string in the tag name and replace it with another custom string. |
| Text mappings | Find a custom string in the text label of a Text object, Combo Button, or Operation Log, and replace it with another custom string. |
Notes:
- Tag name replacement is only supported for user-defined tags and tags using Symbolic Addressing.
- Bulk replacement of tag names on multiple devices is supported. For instance, tag A can be replaced with tag B on device 1, while simultaneously replacing tag C with tag D on device 2. However, it’s important to note that each replacement action is limited to tags within the same device.
- Text mapping is not supported for objects using Label Tag Library.
- Template objects are only effective during the editing phase and will be transformed into independent objects after compilation. This means that when decompiling .exob/.cxob files, the resulting project file will only contain independent objects, not template objects.
- The Template Window cannot contain Template objects.
- Template objects become independent only after compilation; therefore, Address Viewer and Label Tag Library cannot display their status after address replacement.
- Objects that extend beyond the Template Window’s range, including those that go beyond the range after text replacement, will be removed and not displayed by the Template objects.
Implementation Example
How to Create a Template in EBPro
Below is an example that demonstrates how to create a template:
Instructions: How to Create a Template in EBPro
Create two tags
Create two tags in Address Tag Library and name them Tag_0 and Tag_1.
Create a new window
Create a new window, and set the size (which will determine the size of the template object). We’ll use 300×300 for our example:Note that we are creating a new Window 13.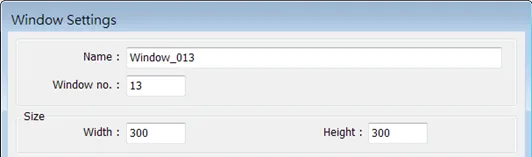
Add Objects to newly-created Window
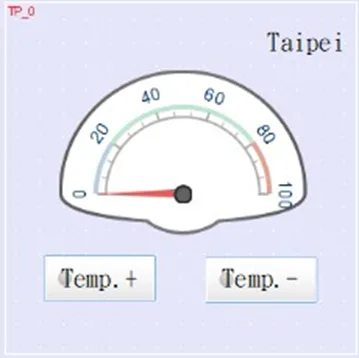
In the window you just created, plate a Meter Object and two Combo Button Objects as shown. Address them to the Tag_0 created earlier.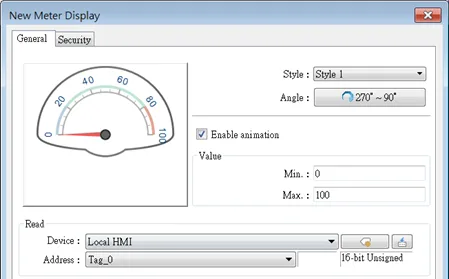
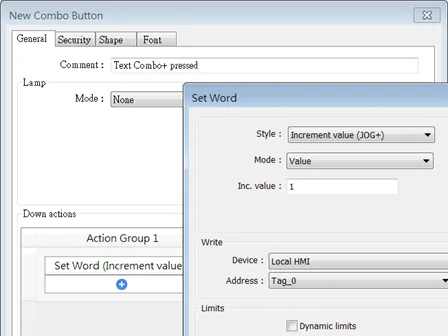
Configure Combo Button comment and label
Set the Combo Button’s comment to “text Combo+ pressed”, and its text label to “Combo+”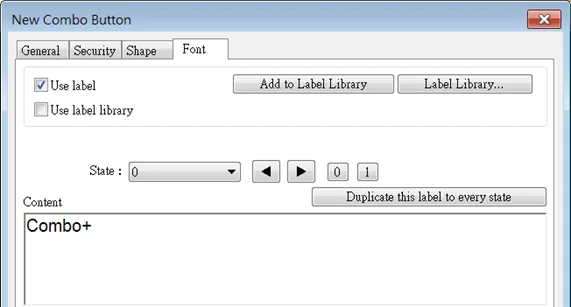
Create a text Object in the Window
Place a text object in the window you created, and set its content to “Text”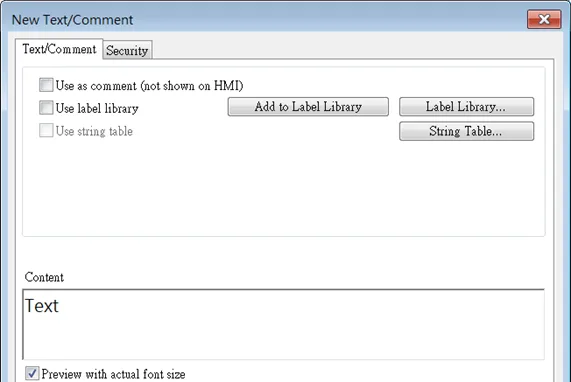
Window 13 looks something like this now
With all our objects on Window 13, it should look something like this.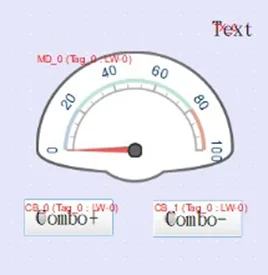
Set Window 13 as our Template Window
Set this window as the Template Window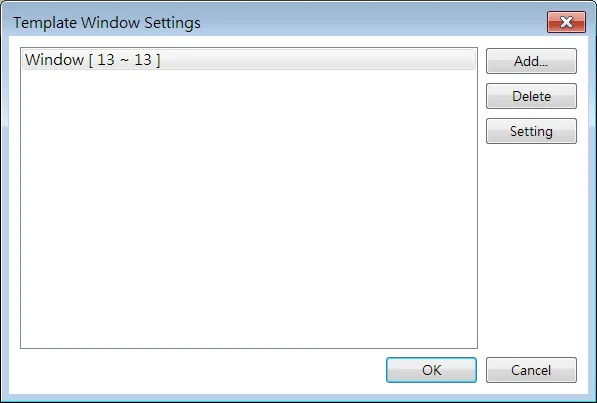
Create a Template Object
Create a Template Object, and configure it as shown: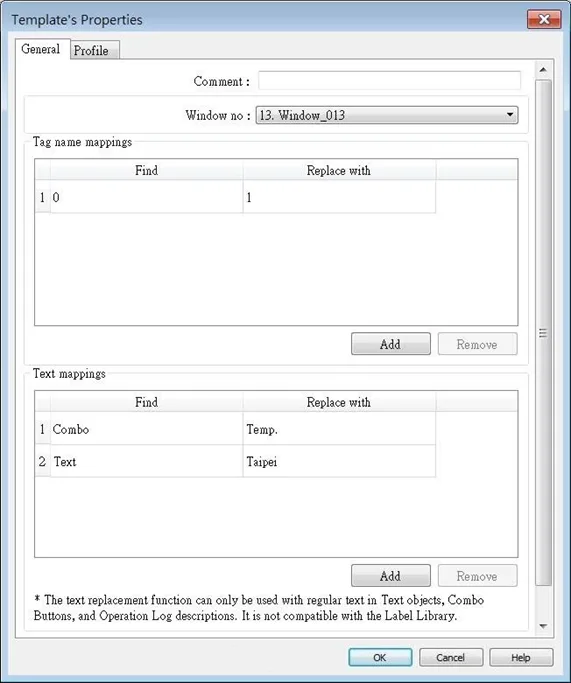
Compile the Project
After compiling the project, EasyBuilder Pro will replace any tag names containing “0” with “1” for objects in the Template Window that use them.This means that “Tag_0” will be replaced by “Tag_1”. The text mapping feature will also replace object comments, text contents, and text labels according to the settings defined in the Template object.