
Pushbutton Control Station Kits
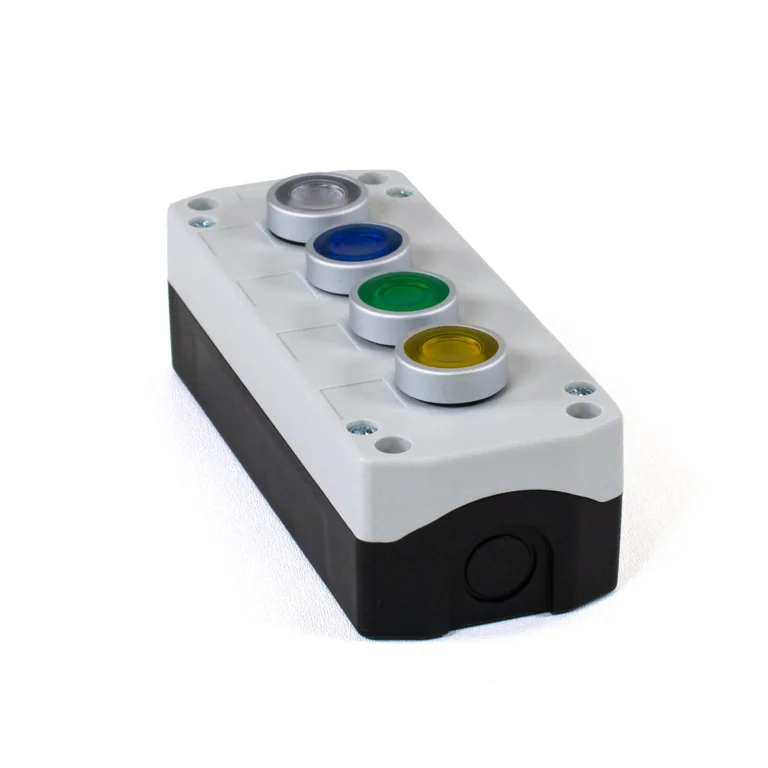
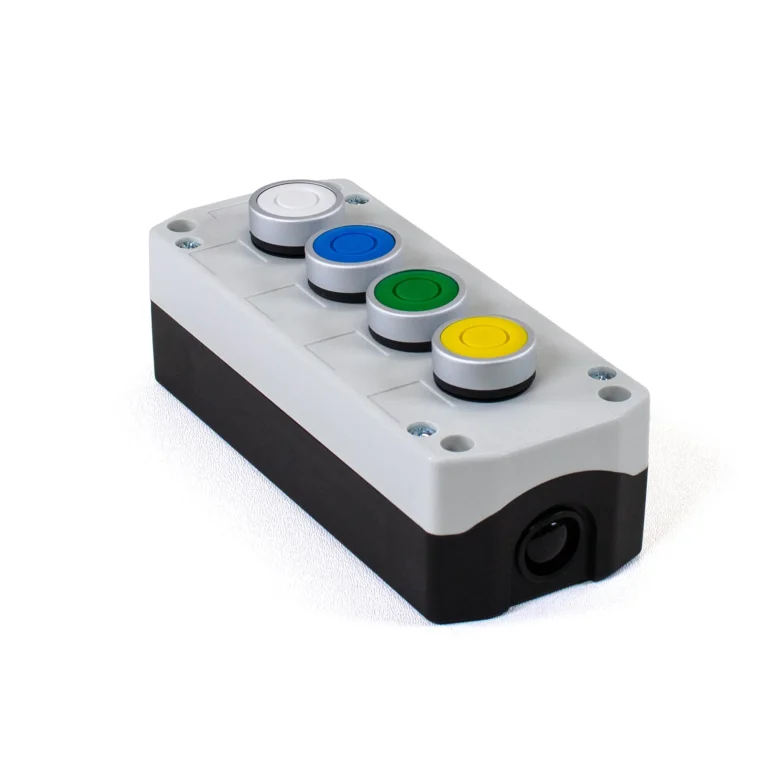
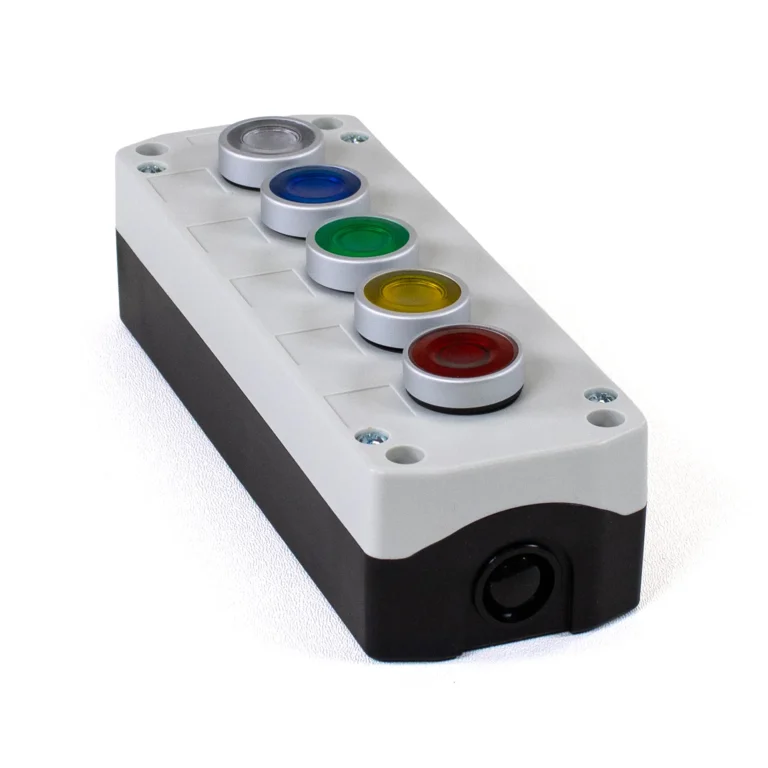
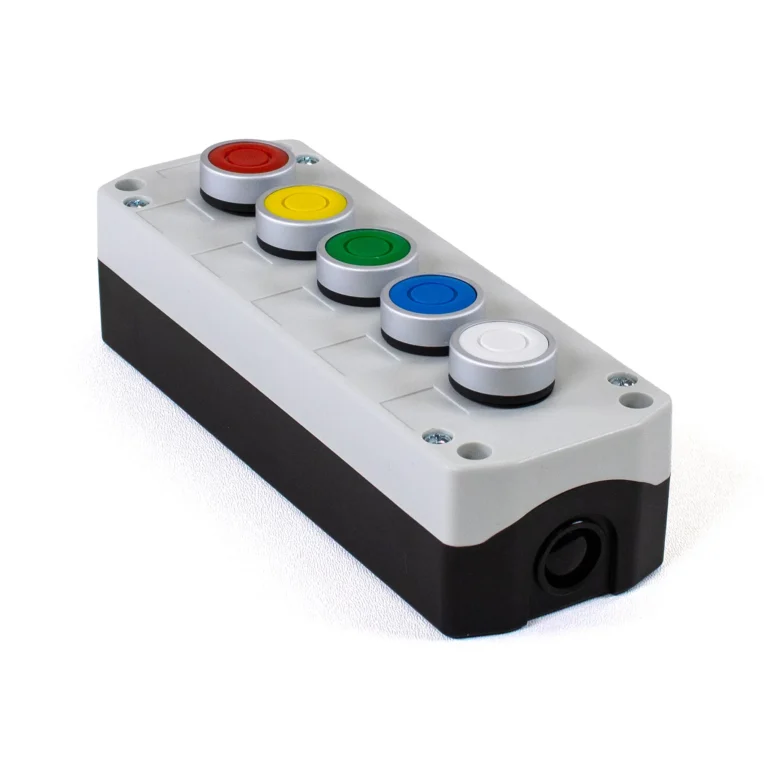
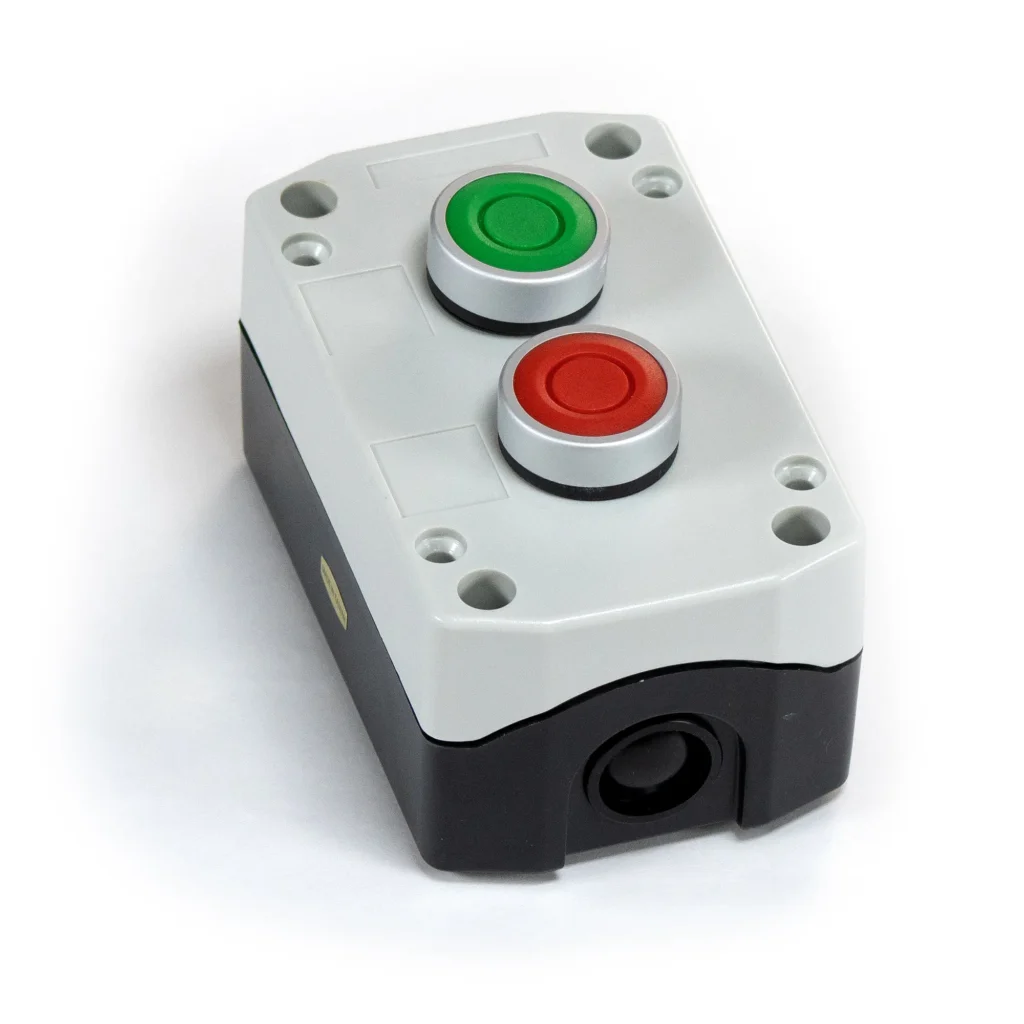
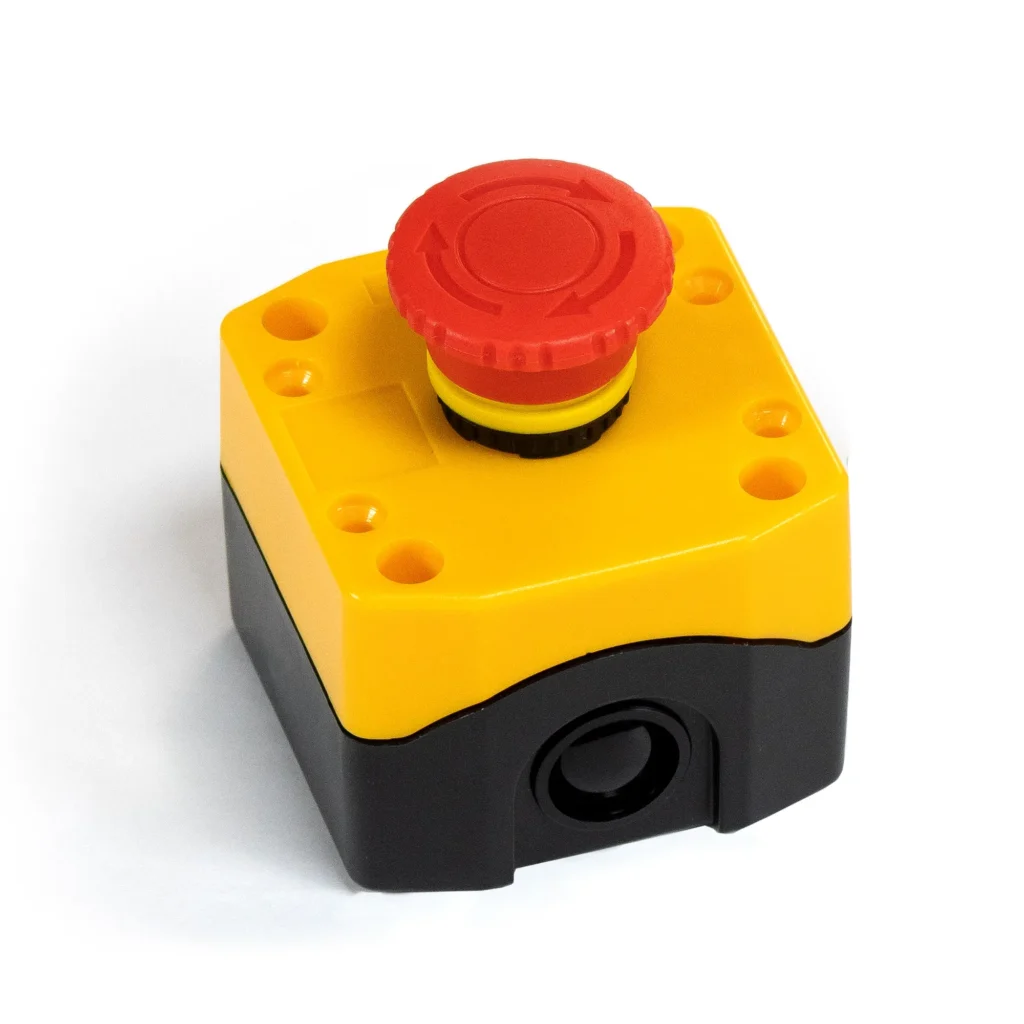
A pushbutton control station is an enclosure that holds pushbuttons on a machine, wall or panel, where the operator works. Maple Systems control station kits pair an IP65 enclosure with 1 to 5 holes and the 22 mm pushbuttons that fill it: momentary, latching, double-touch or a latching E-stop. Kits ship unassembled: the enclosure and each pushbutton arrive as separate parts, and you mount and wire the buttons yourself.
Products
Results
-
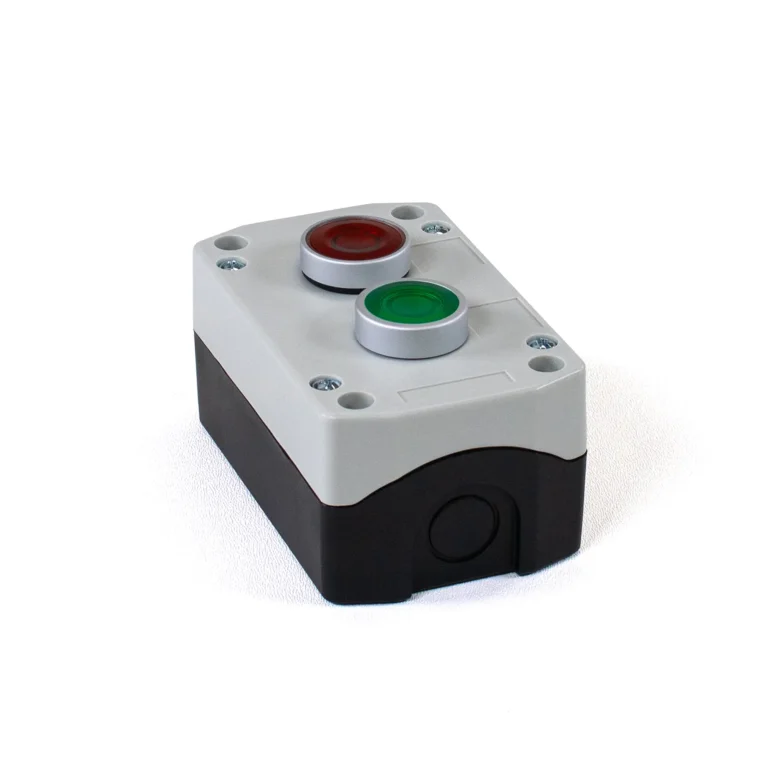 $53.00Quantity Discounts Available
-
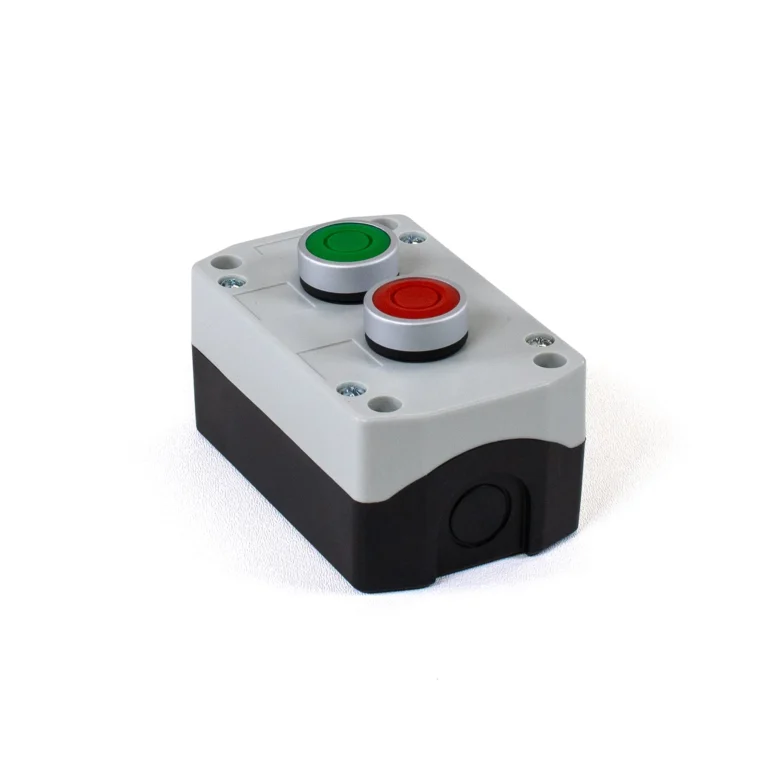 $44.00Quantity Discounts Available
-
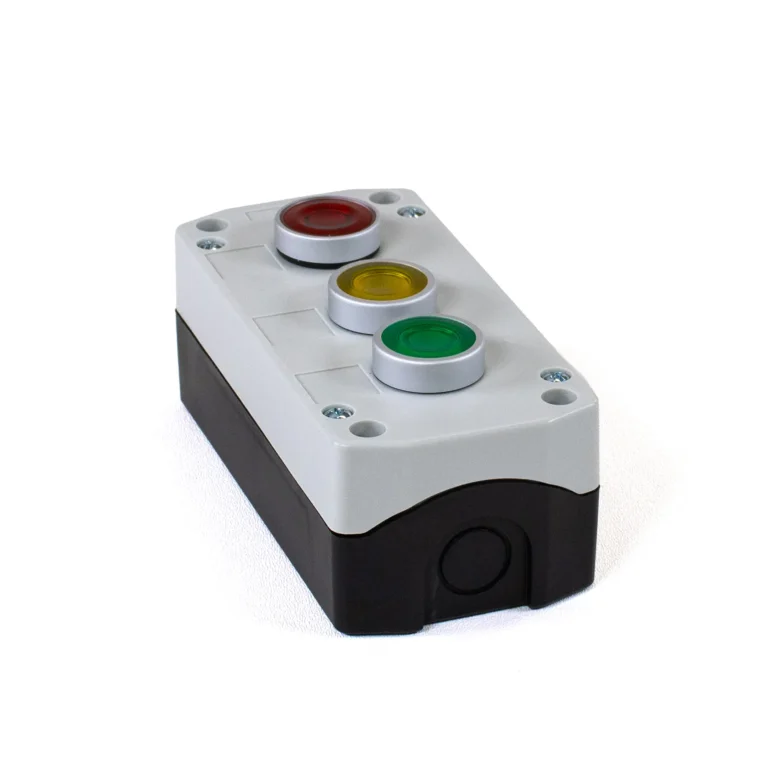 $81.00Quantity Discounts Available
-
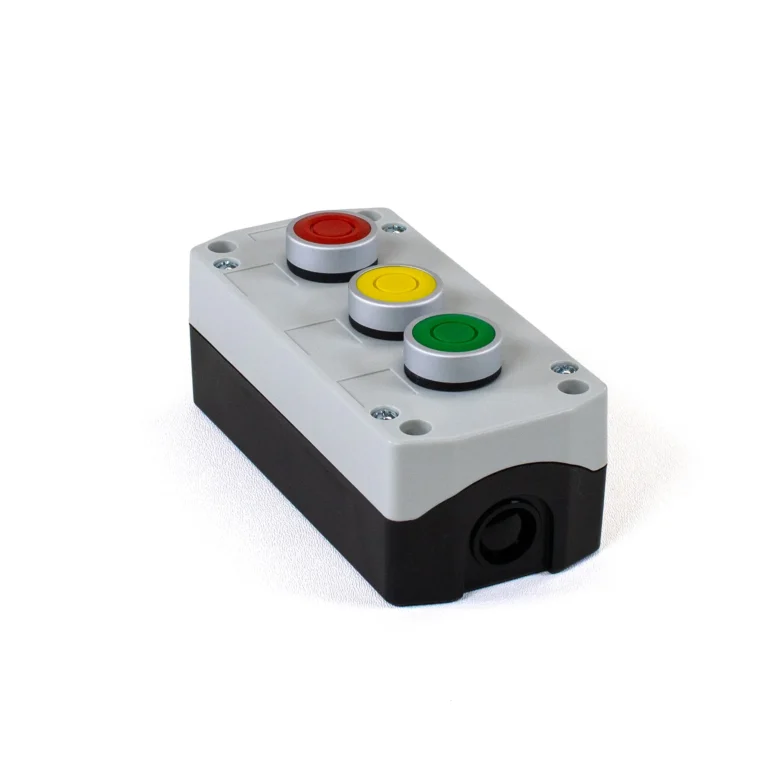 $63.00Quantity Discounts Available
-
 $92.50Quantity Discounts Available
-
 $81.50Quantity Discounts Available
-
 $136.00Quantity Discounts Available
-
 $108.00Quantity Discounts Available
-
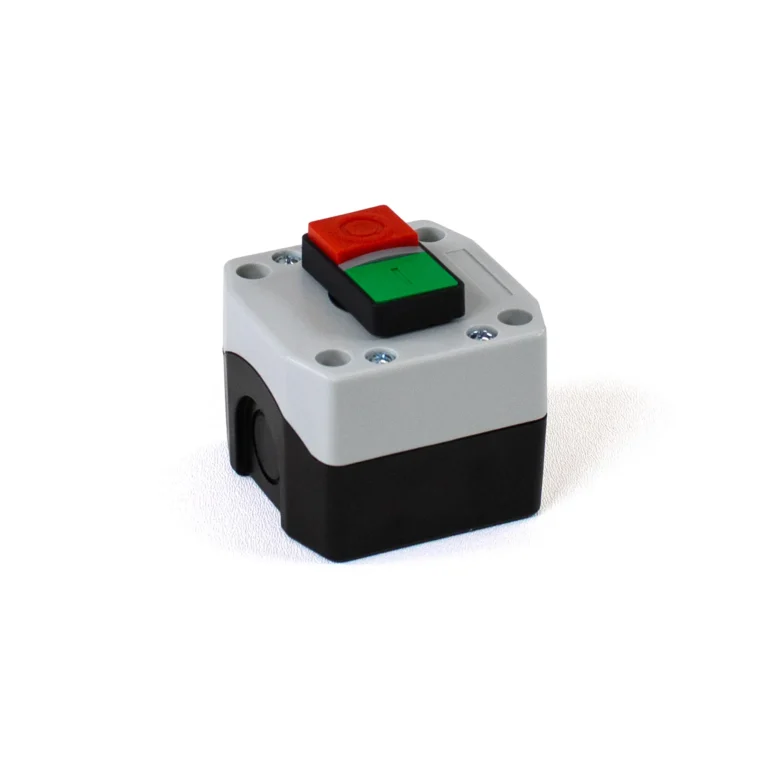 $26.00Quantity Discounts Available
-
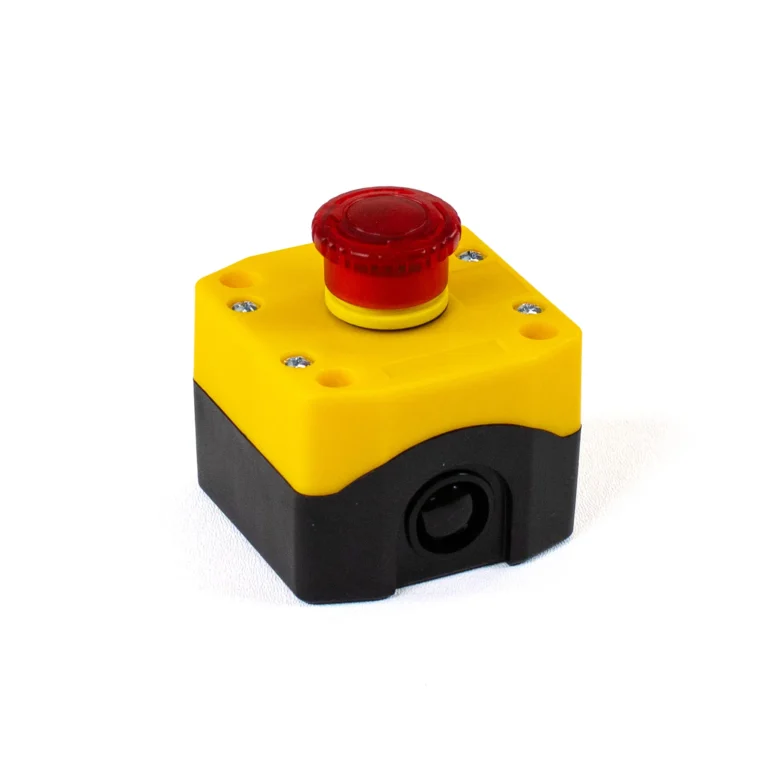 $25.00Quantity Discounts Available
How to Choose a Control Station Kit
Each kit pairs an enclosure with the buttons for a common job. Think about what the buttons should do and how many your operator needs, then use these six points to find the kit that fits your machine.
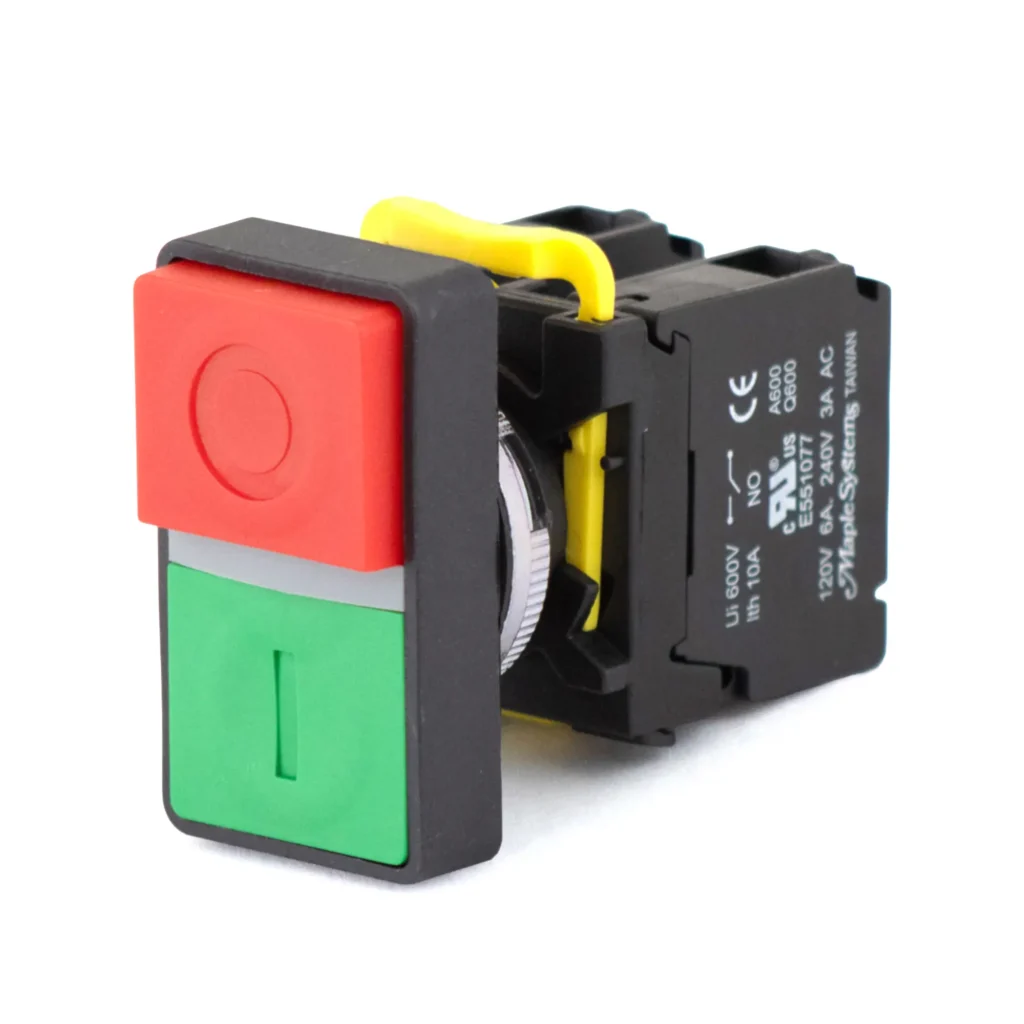
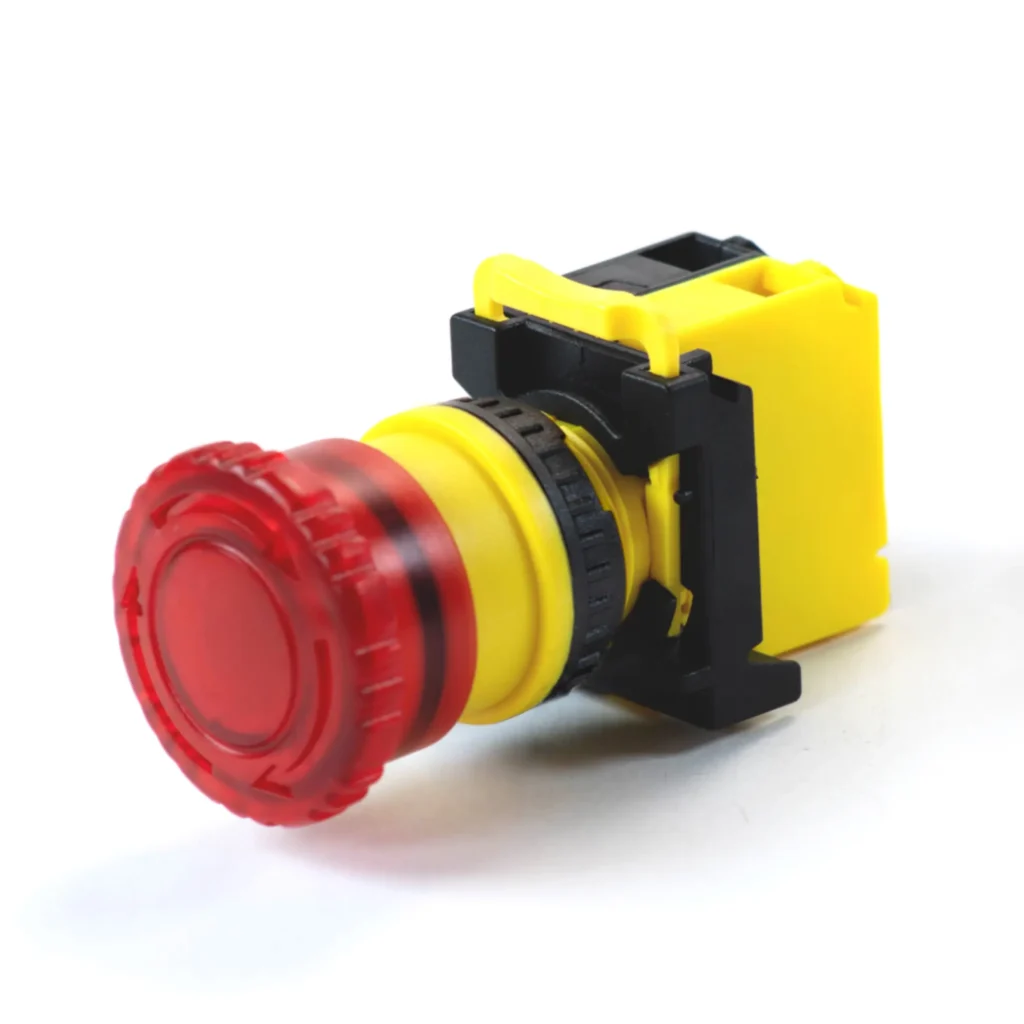
- Button action. Momentary pushbuttons act only while held, for start, stop, jog and reset. Latching pushbuttons switch on with one press and off with the next. The double-touch kit puts separate green I and red O buttons in one head. The latching E-stop kit has a red mushroom head that latches when pressed and stays latched until someone releases it.
- Number of buttons. 1 to 5. Every enclosure is 75 mm (2.95″) across and 56.5 mm (2.22″) deep; its length grows with the holes: 75, 120, 156, 192 or 228 mm (2.95″ to 8.98″).
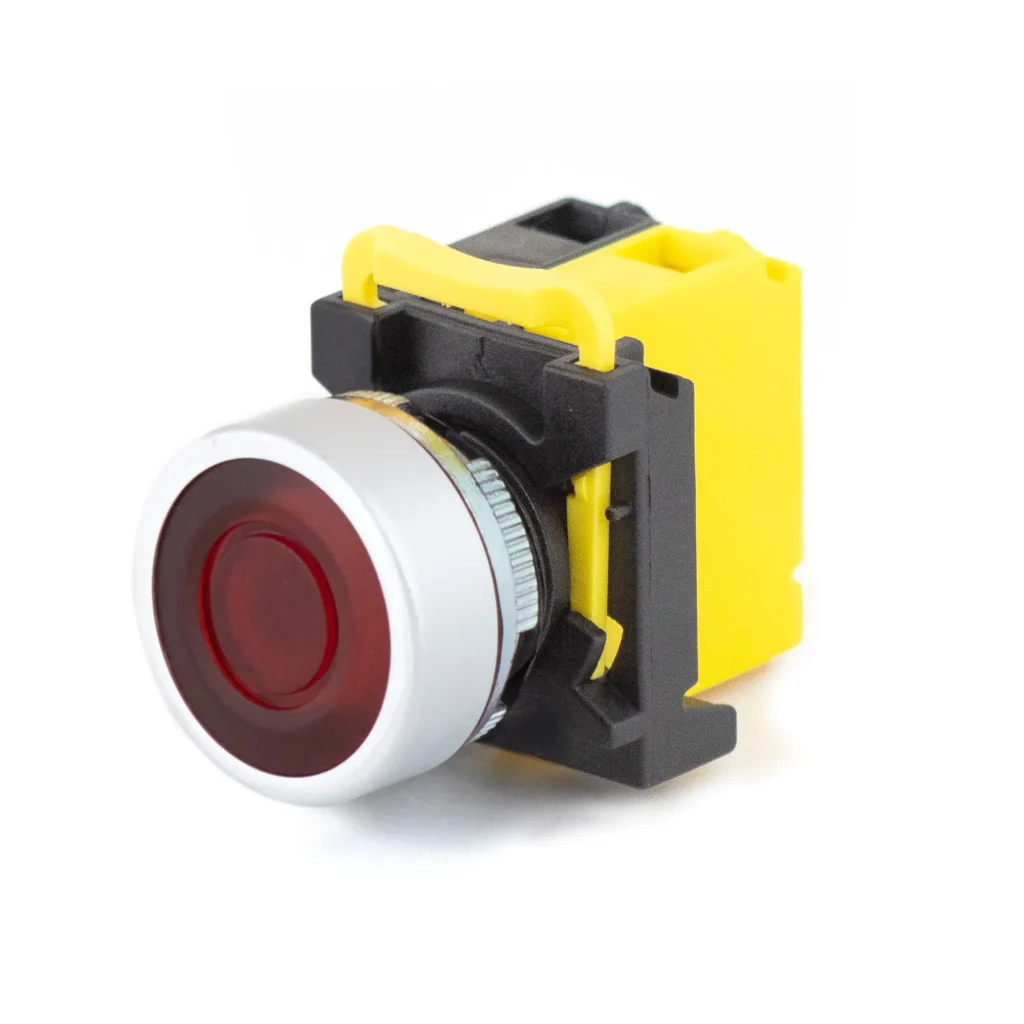
- Illuminated or not. The momentary kits and the E-stop kit light with a 24 V LED, so the station needs a 24 V supply for the lights. The latching and double-touch kits are non-illuminated.
- Contacts. Momentary and latching buttons have one normally open (NO) and one normally closed (NC) contact, except the red momentary button and the E-stop, which have one NC contact. NO and NC contact blocks are sold separately.
- Enclosure color. A yellow cover on the E-stop kit and a white cover on the others, each on a black base.
- Environment, approvals and mounting. The PVC enclosure and the pushbuttons are rated IP65. The pushbuttons are CE and cURus, a UL recognized component for use in UL listed equipment. The enclosure surface mounts on a panel, wall, machine frame or backboard.
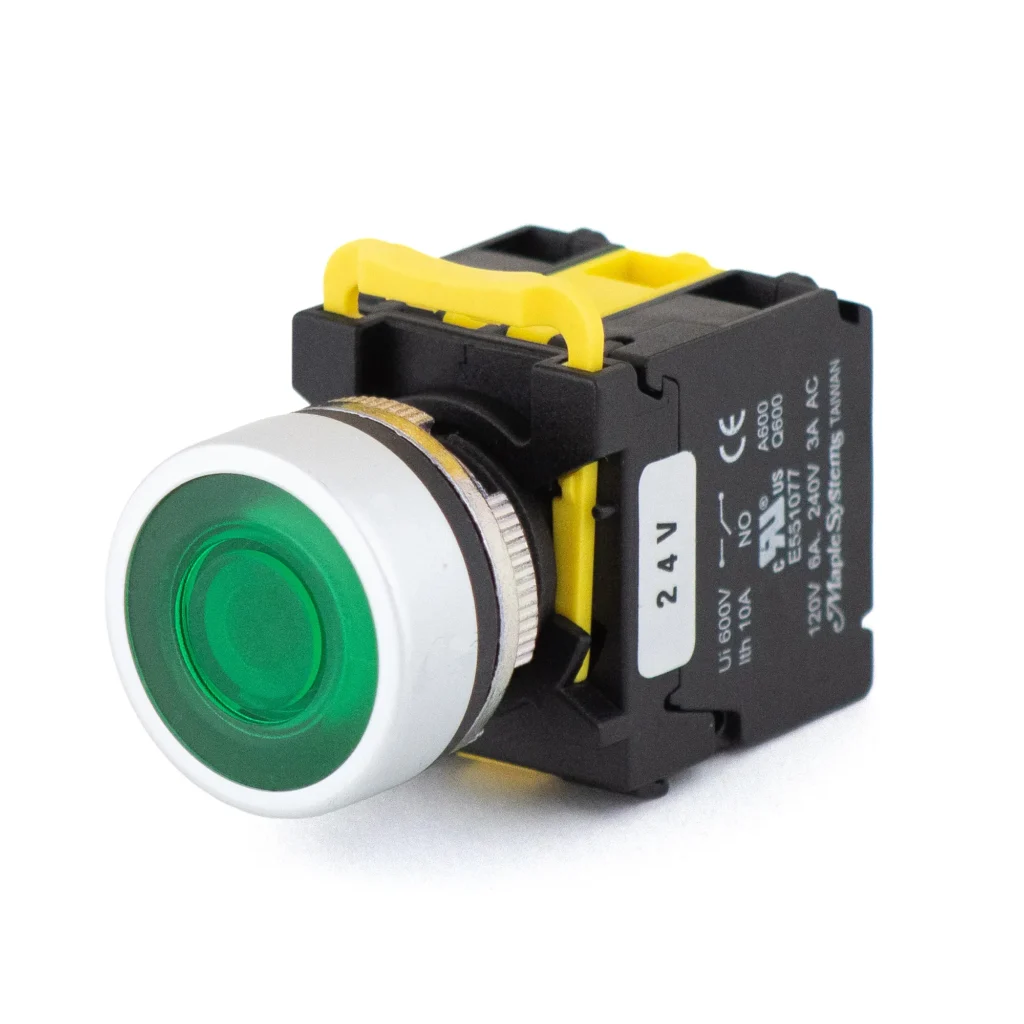
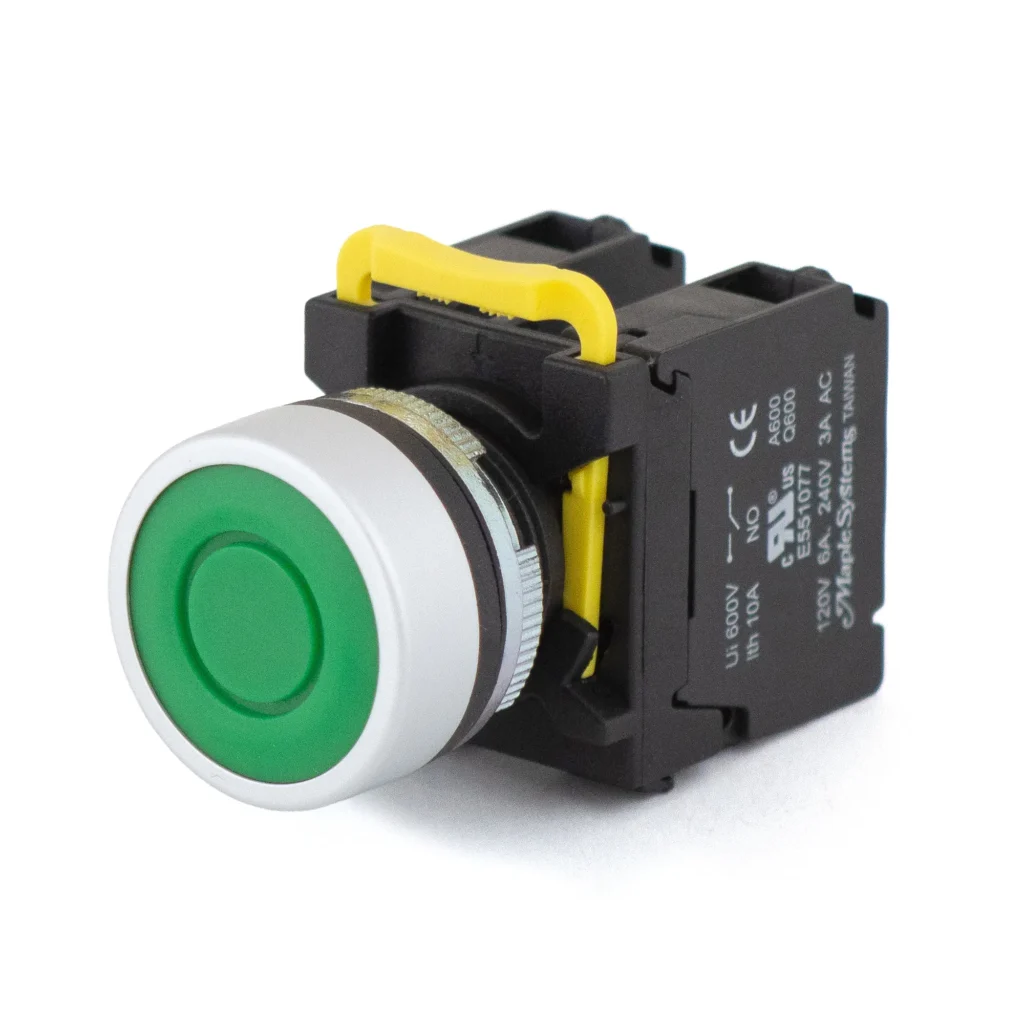
How Control Station Kits Ship and Assemble
Every kit ships unassembled and unwired. The enclosure arrives empty, and each pushbutton arrives on its own with its contacts and, on illuminated buttons, the lamp holder already assembled.
Here’s how to turn the parts in your kit into a working control station, in five steps:
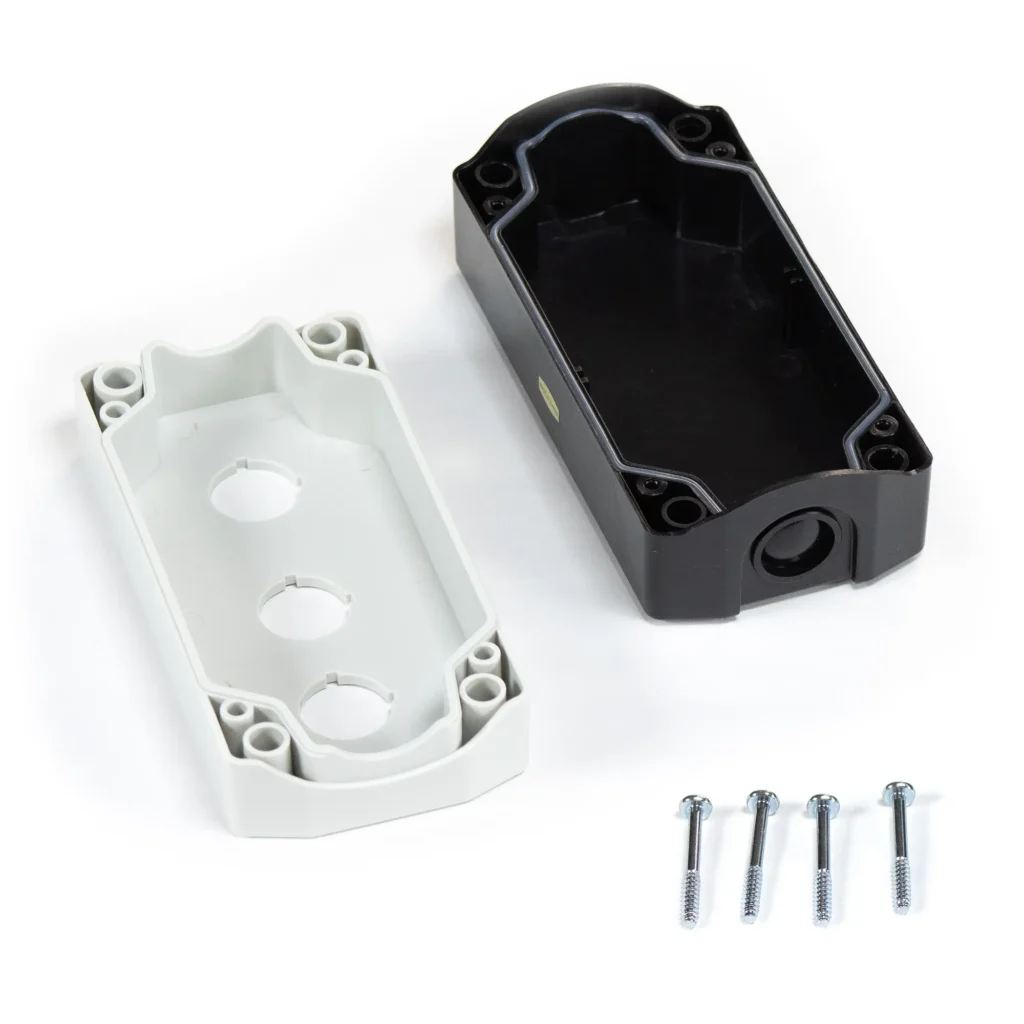
- Separate the cover from the base. The white or yellow cover has the 22 mm holes; the black base has the cable opening.
- Fit each pushbutton through its hole in the cover and tighten its locking ring from inside the cover. A locking ring wrench (PB020006) is sold separately.
- Bring the cable in through the 20.4 to 20.6 mm cable opening, with a cable gland (not included) that seals it so the enclosure keeps its IP65 rating.
- Wire each button’s contacts, and the LED on illuminated buttons, to your control circuit.
- Close the enclosure and mount it on a panel, wall, machine frame or backboard.
If you have questions while you mount or wire your control station, our team is happy to answer them and help you choose any extra parts. Contact our team with your kit’s part number and what the station needs to control.
Accessories and Custom Control Stations
Add legend plates, extra contact blocks, guards and covers, or replacement LEDs to any pushbutton control station kit. For a control station no kit matches, start from an empty enclosure with 1 to 5 holes and fill it with any 22 mm pushbutton, selector switch, indicator light or E-stop.
Empty Control Stations
IP65 enclosures with 1 to 5 holes for 22 mm devices, white or yellow on a black base, for a station no kit matches.


Legend Plates
Label what each button does: START, STOP, ON, OFF and more, a blank frame, and an EMERGENCY STOP plate for the E-stop kit.


Contact Blocks
Add a normally open (NO) or normally closed (NC) contact to a button. The coupler mounts contact blocks to the button.


Covers and Guards
Help prevent accidental presses with a switch guard, lock a button out with a padlock cover, or protect it with a silicone cover. The double button cover fits the double-touch head.


Control Station Kit FAQs
Do control station kits come assembled?
No. Kits ship unassembled and unwired: an empty enclosure and its pushbuttons as separate parts, each pushbutton with its contacts already assembled. You or your panel builder mount the buttons in the enclosure and wire them, as described in How Control Station Kits Ship and Assemble.
What is a pushbutton control station?
An enclosure with one or more pushbuttons, selector switches, indicator lights or E-stops, mounted on a machine, wall or panel so an operator can control equipment from that spot. It is also called a pushbutton station, push button box or control box. Maple Systems control stations take 22 mm devices.
What do I need besides the kit?
A cable gland for the enclosure’s 20.4 to 20.6 mm cable opening and the cable itself. Add legend plate frames, such as START or STOP, to label the buttons, and a locking ring wrench (PB020006) to tighten them.
Which kit do I need to start and stop a motor?
The 2-button momentary kit: a green button with a normally open contact to start and a red button with a normally closed contact to stop. In a standard start/stop circuit, an auxiliary contact on the motor contactor keeps the motor running after the start button is released, and pressing stop opens the circuit.
Can I change the buttons in a kit?
No. Each kit comes with the pushbuttons listed for it. For different colors, contacts or devices, such as a 2-position or 3-position selector switch or an indicator light, choose an empty control station with the number of holes you need and pick each 22 mm device separately.
How well sealed is a control station kit?
The enclosure and every pushbutton in it are rated IP65: dust tight and protected against water jets. Seal the cable opening with a cable gland to keep that rating. IP65 is not a rating for high-pressure washdown.
Can the buttons in a kit switch a 120 VAC circuit?
Yes. The contacts are rated AC-15 for 6 A at 120 VAC and 3 A at 240 VAC, so they can switch an AC control circuit. The LEDs in the illuminated buttons are rated 24 V, so they cannot run on 120 VAC.
Need a control station no kit matches?
Tell us which buttons, switches and lights it needs and your control voltage, and our team will help you choose the parts.