
Legacy Non-Display Advanced HMI
This is a Legacy product and is no longer available for purchase. Please review the information on this page and call (425)-745-3229 or email [email protected] if you have further questions.
cMT-FHDX-820 replaces the RMI5001
We’ve added a link for our Compare Models Tool for easier side-by-side comparison.
Share the product:
Compare to Similar Models
Compare RMI5001 with 1 other product
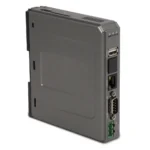
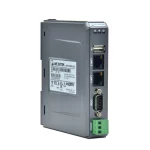
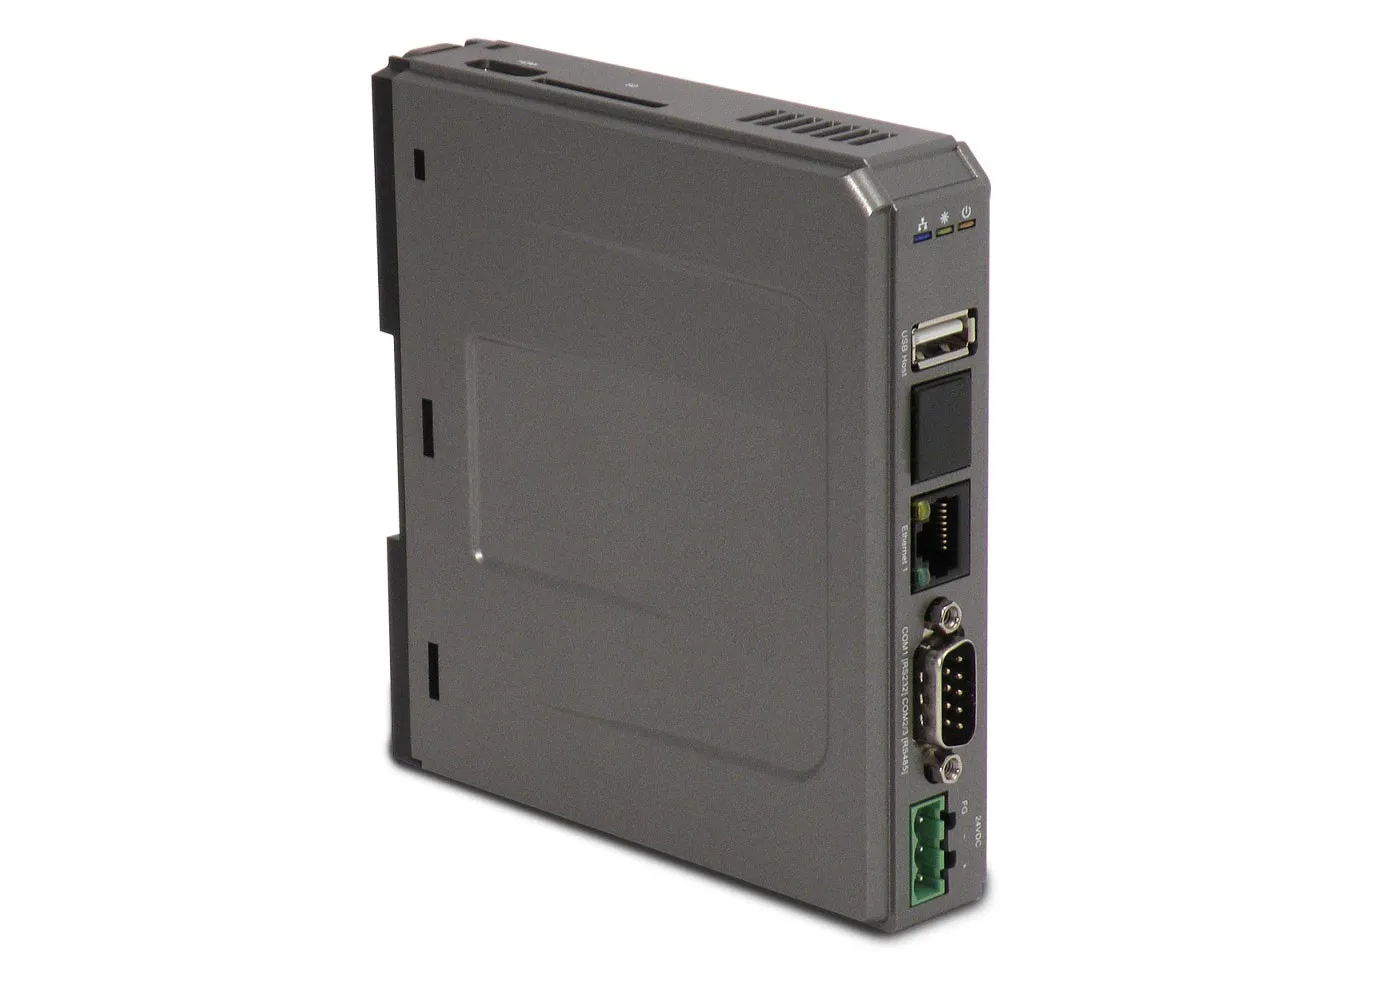
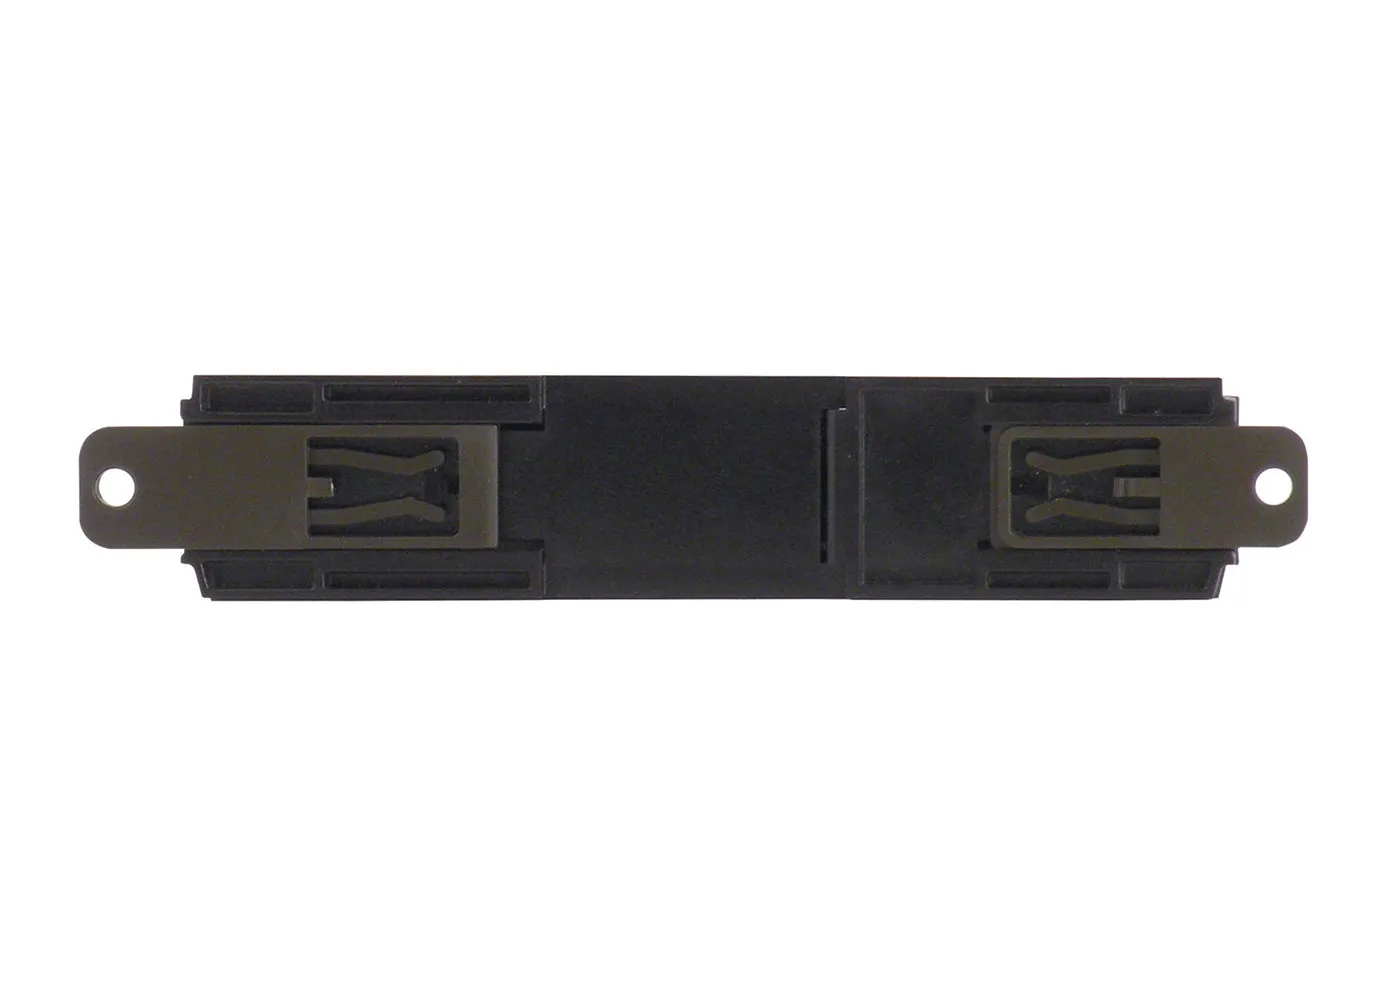
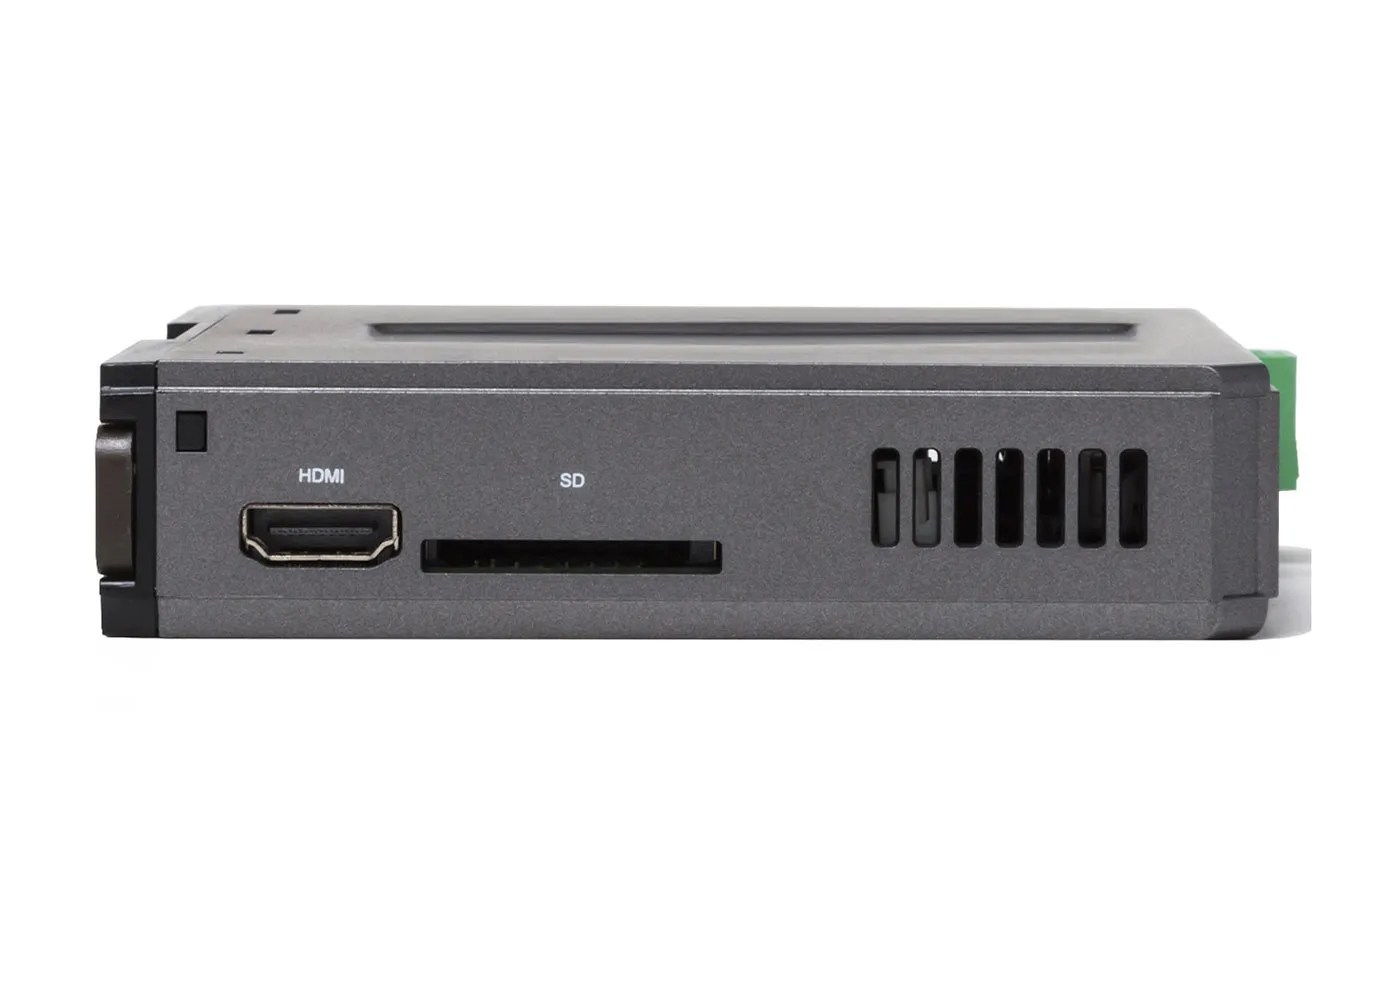
There are a few software features which are different, or new, for your cMT-FHDX-820 compared to your old RMI5001.
- The cMT-FHDX-820 can have a custom resolution configured all the way up to 1920×1080, which is the default.
- Layered objects are not supported, the same functions can be achieved using Combo Buttons in EBPro.
- General mode security is disabled but data is retained and will be active in Enhanced Security settings. It is recommended that you switch to Enhanced security for remote access purposes.
- System keypads are built-in.
- Some objects have new, or different, settings.
We created this short video showing how simple it is to upgrade your project from RMI5001 to the cMT-FHDX-820.
Converting your Legacy Product to a Newer HMI document was created to step you through the above mentioned differences.

Need help planning the upgrade? Tell us how this product is used in your system and we will work out the right path forward, and what stays the same in your existing project.
Video Center
How-to, troubleshooting and webinar videos across HMIs, PLCs, HMCs and the rest of the range.
Controller Connection Guides
Per-controller wiring and setup details for connecting your panel to a specific PLC.
Communication Cables
Hundreds of ready-made cables and wiring drawings for the most popular PLC manufacturers.
Software Tutorials
Step-by-step tutorials with sample projects for our HMI and PLC software.
|
Filters |
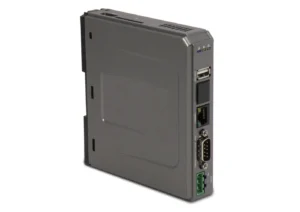
Legacy Non-Display Advanced HMI RMI5001 Price Not Available (N/A)
|

High Performance Headless HMI with HDMI output cMT-FHDX-820 $709
|
|---|---|---|
| Loading product data… | ||
FREE User Friendly HMI Software
Download our free, full-featured HMI configuration software to create custom control applications for your industrial process. EBPro supports over 300 PLC & controller protocols, ensuring seamless integration with new or existing systems. No license or key required.
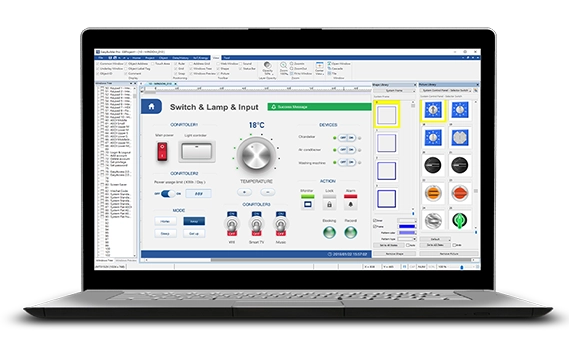
Converting from a RMI5001 to a cMT-FHDX-820
Converting from your RMI5001 is quick and easy, giving you several key hardware and software upgrades along the way.
Software:
Below is a quick video showing you the easy process of converting your current RMI5001 project to one that can be used in the cMT-FHDX-820. This process will need to be completed using EBPro version 6.07.01.360 or later.
There are a few software features which are different, or new, for your cMT-FHDX-820 compared to your old RMI5001.
- The cMT-FHDX-820 can have a custom resolution configured all the way up to 1920×1080, which is the default
- Layered objects are not supported
- General mode security is disabled
- System keypads are built-in
- Some objects have new, or different, settings
For a more detailed look at the software differences please take a look at both products through our Compared Models tool on our website linked below:
Hardware:
Below you will find a table that shows the hardware differences between the RMI5001 and the cMT-FHDX-820.

For more information and pricing, please contact us at [email protected]
Are you still using EZware Plus?
You can quickly convert and import your existing EZware Plus project into EBPro with a few simple steps:
- Download both software versions for FREE, from our Support Center.
- Follow Tech Note 5125 to convert your project.
Are EBPro projects backwards compatible with older versions of EBPro and EZwarePlus?
EBPro projects are not backwards compatible with EZwarePlus or older versions of EBPro.
Newer versions of EBPro will save a copy of the project created in an older version when it is modified. This older copy will have the version number of the older software appended to it and will be saved to the same directory.
How do I upgrade from EZwarePlus to EBPro?
Using the Compress utility in EZwarePlus, compress the EZwarePlus project. This utility is found in Tools -> Compress/Uncompress. This will create a new file with the same name as the project, but with the file extension .ECMP. This is required to be sure that all the dependencies, such as library files, are transferred to EBPro.
Next, download and install EBPro, located as a free download in the Software & Download section of the Support Center.
Finally, open EBPro and open the Compress/Uncompress utility, located in File -> Compress/Uncompress. Select the compressed file, file extension .ECMP. Set a destination to uncompress to; and click the Uncompressing button.
How do Basic Security settings work on my HMI if cMT only supports Enhanced Security?
Basic Security settings you have saved in your project will be retained during the conversion. However, we recommend using Enhanced Security on cMT devices if cMT Viewer is being used. It’s recommended each user have their own login, passwords, and permissions for remote access control.
How long will it take to convert my EBPro project from HMI to cMT?
Not long at all. Open the System Parameters and click on the Model tab. Select the cMT Series model you want to use and click OK to close System Parameters window.
Headless HMI
Headless HMI refers to a Human Machine Interface (HMI) without a built-in screen that is typically DIN rail mounted. Primarily used when a display is not required or a panel mounted HMI is not an option. A headless HMI provides the same functions, features, and capabilities as a panel mount HMI. Headless HMI screens are viewed using your smart phone, tablet, desktop PC, or TV.
Can I use a headless HMI without a display?
Yes, our headless (without an integrated display) units are fully functional HMIs. Utilizing EBPro software, you can configure the headless device to communicate with your PLC/controller the same way you would program any Maple Systems HMI. If a display is required, a Windows® PC, Apple or Android smart device, or one of our cMT iV Series Displays or Web HMI’s can be used. The CMT-FHDX devices can be paired with any HDMI supported Monitor or large screen TV, as well as your Windows PC.
What is a Status Display Station?
Maple Systems HDMI capable products can turn any HDMI®-compatible TV or industrial monitor into a Status Display Station via HDMI® cable – efficiently delivering crisp, high-definition graphics. The HDMI® interface is also easily converted to DVI/VGA/Display Port with an adapter (not supplied). Because the display is user-selectable, you can choose the features you need in your display independent of the features you need in your HMI. Choose a daylight readable display with an extended temperature range for outdoor applications. Choose a large display for indoor applications that need to be easily viewable from far away. Or choose to have no display at all for applications where you only need data logging or mobile access to the HMI through VNC. You can even connect it to a projector for the largest display needs.
Why would I use a headless HMI unit instead of a touchscreen HMI?
Most HMIs have a built-in touchscreen to provide feedback and allow input from on-site personnel. If that is all that’s required, a standard HMI may be sufficient. On the other hand, if you have limited panel space, no need for a touch screen, and want the convenience of monitoring and accessing your system without having to walk to where the HMI is physically located, one of our headless HMIs would be a great option. Utilize your Apple or Android smart phone or tablet to access unit remotely.Converting your Legacy Product to a Newer HMI
To convert a Standard/Advanced project to a cMT Series project, open the System Parameters and click on the Model tab. Select the cMT Series model you want to use and click OK to close the System Parameters window. If the screen resolution of the selected cMT Series is different than the original Basic/Advanced HMI, the “Resize Pop-up Windows/Objects” dialog will pop up. It is recommended that all the check boxes are selected and then click OK.

When converting a Standard or Advanced HMI project to a cMT Series project, there are some possible issues you may need to contend with due to the differences between the Advanced/Basic HMIs and the cMT Series HMIs.
Note: It is not possible to convert a cMT Series project to a Standard/Advanced Series project.
Here is a short video showing how easy it is to convert an HMI to a cMT device.
More information and troubleshooting tips:
Basic Security vs. Enhanced Security
Only Enhanced Security can be selected when creating a new cMT Series project. However, if using Basic Security in the Standard/Advanced project, the converted project will retain the
Basic Security settings. Nevertheless, if you will be using cMT-Viewer, it is recommended that you switch to Enhanced Security for the reasons outlined in the next paragraph.
When using Enhanced Security, only PLW registers can be used for the Control Address. Since the cMT Series have a built-in cMT Server, a cMT Viewer can connect to a cMT Series HMI and run the project locally. PLW (Private Local Word) registers are used locally in the cMT Viewer to allow a user to log in and out of the HMI without affecting the actual physical HMI. This way, one user can be logged in locally to the HMI while a different user can be logged in independently using cMT-Viewer.
Stacked Objects
In a cMT Series project, you cannot stack objects one on top of the other and trigger them all by pressing the top button. Only the top button will activate.
In most cases, the Combo Button can be used to recreate the functionality of the stacked objects. For example, if several Toggle Switches are stacked one on top of the other to
simultaneously turn on multiple bits with the push of a button, the Combo Button can be configured to turn on multiple bits with a single press of the button.
Under the Tools menu in EBPro, there is a tool to “Find Overlapping Objects.” Right next to it is an option to “Convert to Combo Button.” This can be used to automatically convert stacked objects to a single Combo Button.
System Keypad
cMT Series HMIs have a built-in System keypad that can be used to enter numbers in a Numeric Object and ASCII characters in an ASCII Object instead of the Custom keypads on Windows 50 – 65.
The Custom keypads for the Basic/Advanced Series will not work in a cMT Series project because of the issue with stacked objects described above. The Custom keypads on Windows 50 – 65 for the cMT Series have been modified so they do not have stacked objects.
Therefore, it is recommended that any Numeric or ASCII objects in the converted project be
modified so they use the System keypad.

Another option is to copy the keypads on Windows 50-65 from a cMT Series project of the same model into the converted project. Then the “Custom keypad” option can be used.
Capacitive Touchscreen
Since the cMT-Series HMIs have
capacitive touchscreens instead of resistive touchscreens, some objects like
the Trend Display work differently in a cMT Series project. For example, in a
Standard/Advanced Series project, the Trend Display has a scroll bar at the bottom
that can be used to scroll back and forth on the X-axis. In a cMT Series
project, there is no scroll bar. Instead, you can simply swipe your finger left
and right on the Trend Display to move back and forth on the X-axis.
Data Sampling with cMT Series
Data sampling is implemented a little differently in the cMT Series. Here is a brief description of how it works. For more information, refer to “Chapter 8 – Data Sampling” in the “EBPro-Programming Manual”:
History file Disabled
With History file disabled, data is stored in HMI RAM memory. When 10,000 records are reached, the oldest 1000 are deleted from the HMI memory, with 9000 remaining. When 10,000 records are reached again, the next 1000 oldest record are deleted from HMI memory, so that at any one time the number of records in memory and being displayed on a Trend Display is between 9000 and 10,000 data points.
If the HMI is rebooted, data is erased and starts recording new data.
History file Enabled (All records in one file)
Save to HMI memory (10,000 limited)
With History file enabled, data is stored in a data log file in HMI memory. When 10,000 records are reached, the oldest 1000 are deleted from the HMI memory. When 10,000 records are reached again, the next 1000 oldest record are again deleted such that the
number of records will always range from 9000 to 10,000.
Control Register:
1 (Clear): Clears the data in HMI memory
2 (Sync): N/A
3 (Sync and Clear): Clears the data in HMI memory
Save to HMI memory (until space full)
Data is saved in the data log file (cMT_log000.db) in HMI memory until the memory is full.
Note: When converting the cMT_log000.db file to XLSX, Excel creates a new tab
at 60,000 records.
Save to USB disk or SD card
Creates a *.db file on USB disk initially but it is empty. After 10,000 samples, the data is written to the USB disk. The Trend Display continues to show all the data, as does the History Data Display. Every 1000 samples, the data log is updated with the most recent 1000 records.
If “Auto sync. Periodically” is selected, the data is automatically backed up to the USB disk or SD card each designated time period.
Control Register:
1 (Clear): Clears the data in HMI RAM memory
2 (Sync): Copies data from HMI RAM memory to USB flash drive
3 (Sync and Clear): Copies data from HMI RAM memory to USB flash drive, then clears data in HMI RAM memory
If data has already been sync’d to USB flash drive, that data will still appear in the Trend Display. Subsequently, there will be a hole where the data was deleted from HMI memory
if it didn’t get sync’d to USB.
History file Enabled (Customized file handling)
Save to HMI memory (until space full)
Data is stored in a data log file in HMI memory. When 10,000 records are reached, the oldest 1000 are stored in the designated data log folder in a separate file. When a new file is created according to the customized file handling settings, all the data for the previous session is stored in the data file in the data log folder and a new data log file is
created in HMI memory for the new session.
Data is saved in HMI memory until the memory is full. The Preservation limit applies according to the number of files selected.
Writing a 1 to the Control Register clears the data log in the temporary HMI memory but not the data files in the data log folder. The data log files in the data log folder can be cleared in the System Settings window History tab.
Save to USB disk or SD card
Every time a new file is created, the Trend Display and History Data Display refresh and only display the data from the new data file.
History
Data Display (Clear, Sync; how does it work with backing up data files)
“Clear” clears the data from the current datalog file in HMI memory or external memory (USB/SD card). Older datalog files are not affected.
Preservation Limit
Number of days selected plus the partial current day. At midnight, the oldest day is deleted as the new day starts.
Option List
With the cMT Series, the Option List is not used to select history files for a Trend Display or History Data Display. Rather, an Option Button (“gear” icon) can be enabled in the Display Object Properties, which allows you to select the date for the history file you want to view.
Event/Alarm Logging with cMT Series
Event/Alarm logging is implemented a little differently in the cMT Series. Here is a brief description of how it works. For more information, refer to “Chapter 7 – Event Log” in the
“EBPro-Programming Manual”:
History files Disabled
With History file disabled, events are stored in HMI RAM memory. When 10,000 events are reached, the oldest 1000 are deleted from the HMI memory, with 9000 remaining. When 10,000 events are reached again, the next 1000 oldest events are deleted from HMI memory, so that at any one time the number of events in memory and being displayed on an Event Display is between 9000 and 10,000 events.
If the HMI is rebooted, all events are erased and the HMI starts recording new events.
History files Enabled
Save to HMI memory (10,000 limited)
With History file enabled, events are stored in an event log file in HMI memory. When 10,000 events are reached, the oldest 1000 are deleted from the HMI memory. When 10,000 events are reached again, the next 1000 oldest events are again deleted such that the number of
events will always range from 9000 to 10,000.
Save to HMI memory (until space full)
Events are saved in the event log file in HMI memory until the memory is full.
Save to USB disk or SD card
Events are initially stored in HMI RAM memory. Creates a *.db file on USB disk/SD card initially but it is empty. When 10,000 events are reached, the first 10,000 are written to the USB disk or SD card. Subsequently, with each additional 1000 events, the events are
written/appended to the event log file on the USB disk or SD card.
If “Auto sync. Periodically” is selected, the events are automatically backed up to the USB disk or SD card each designated time period.
Option List
With the cMT Series, the Option List is not used to select history files for an Alarm Display or Event Display. Rather, an Option Button (“gear” icon) can be enabled in the Display Object Properties, which allows you to select the date for the history file you want to view.