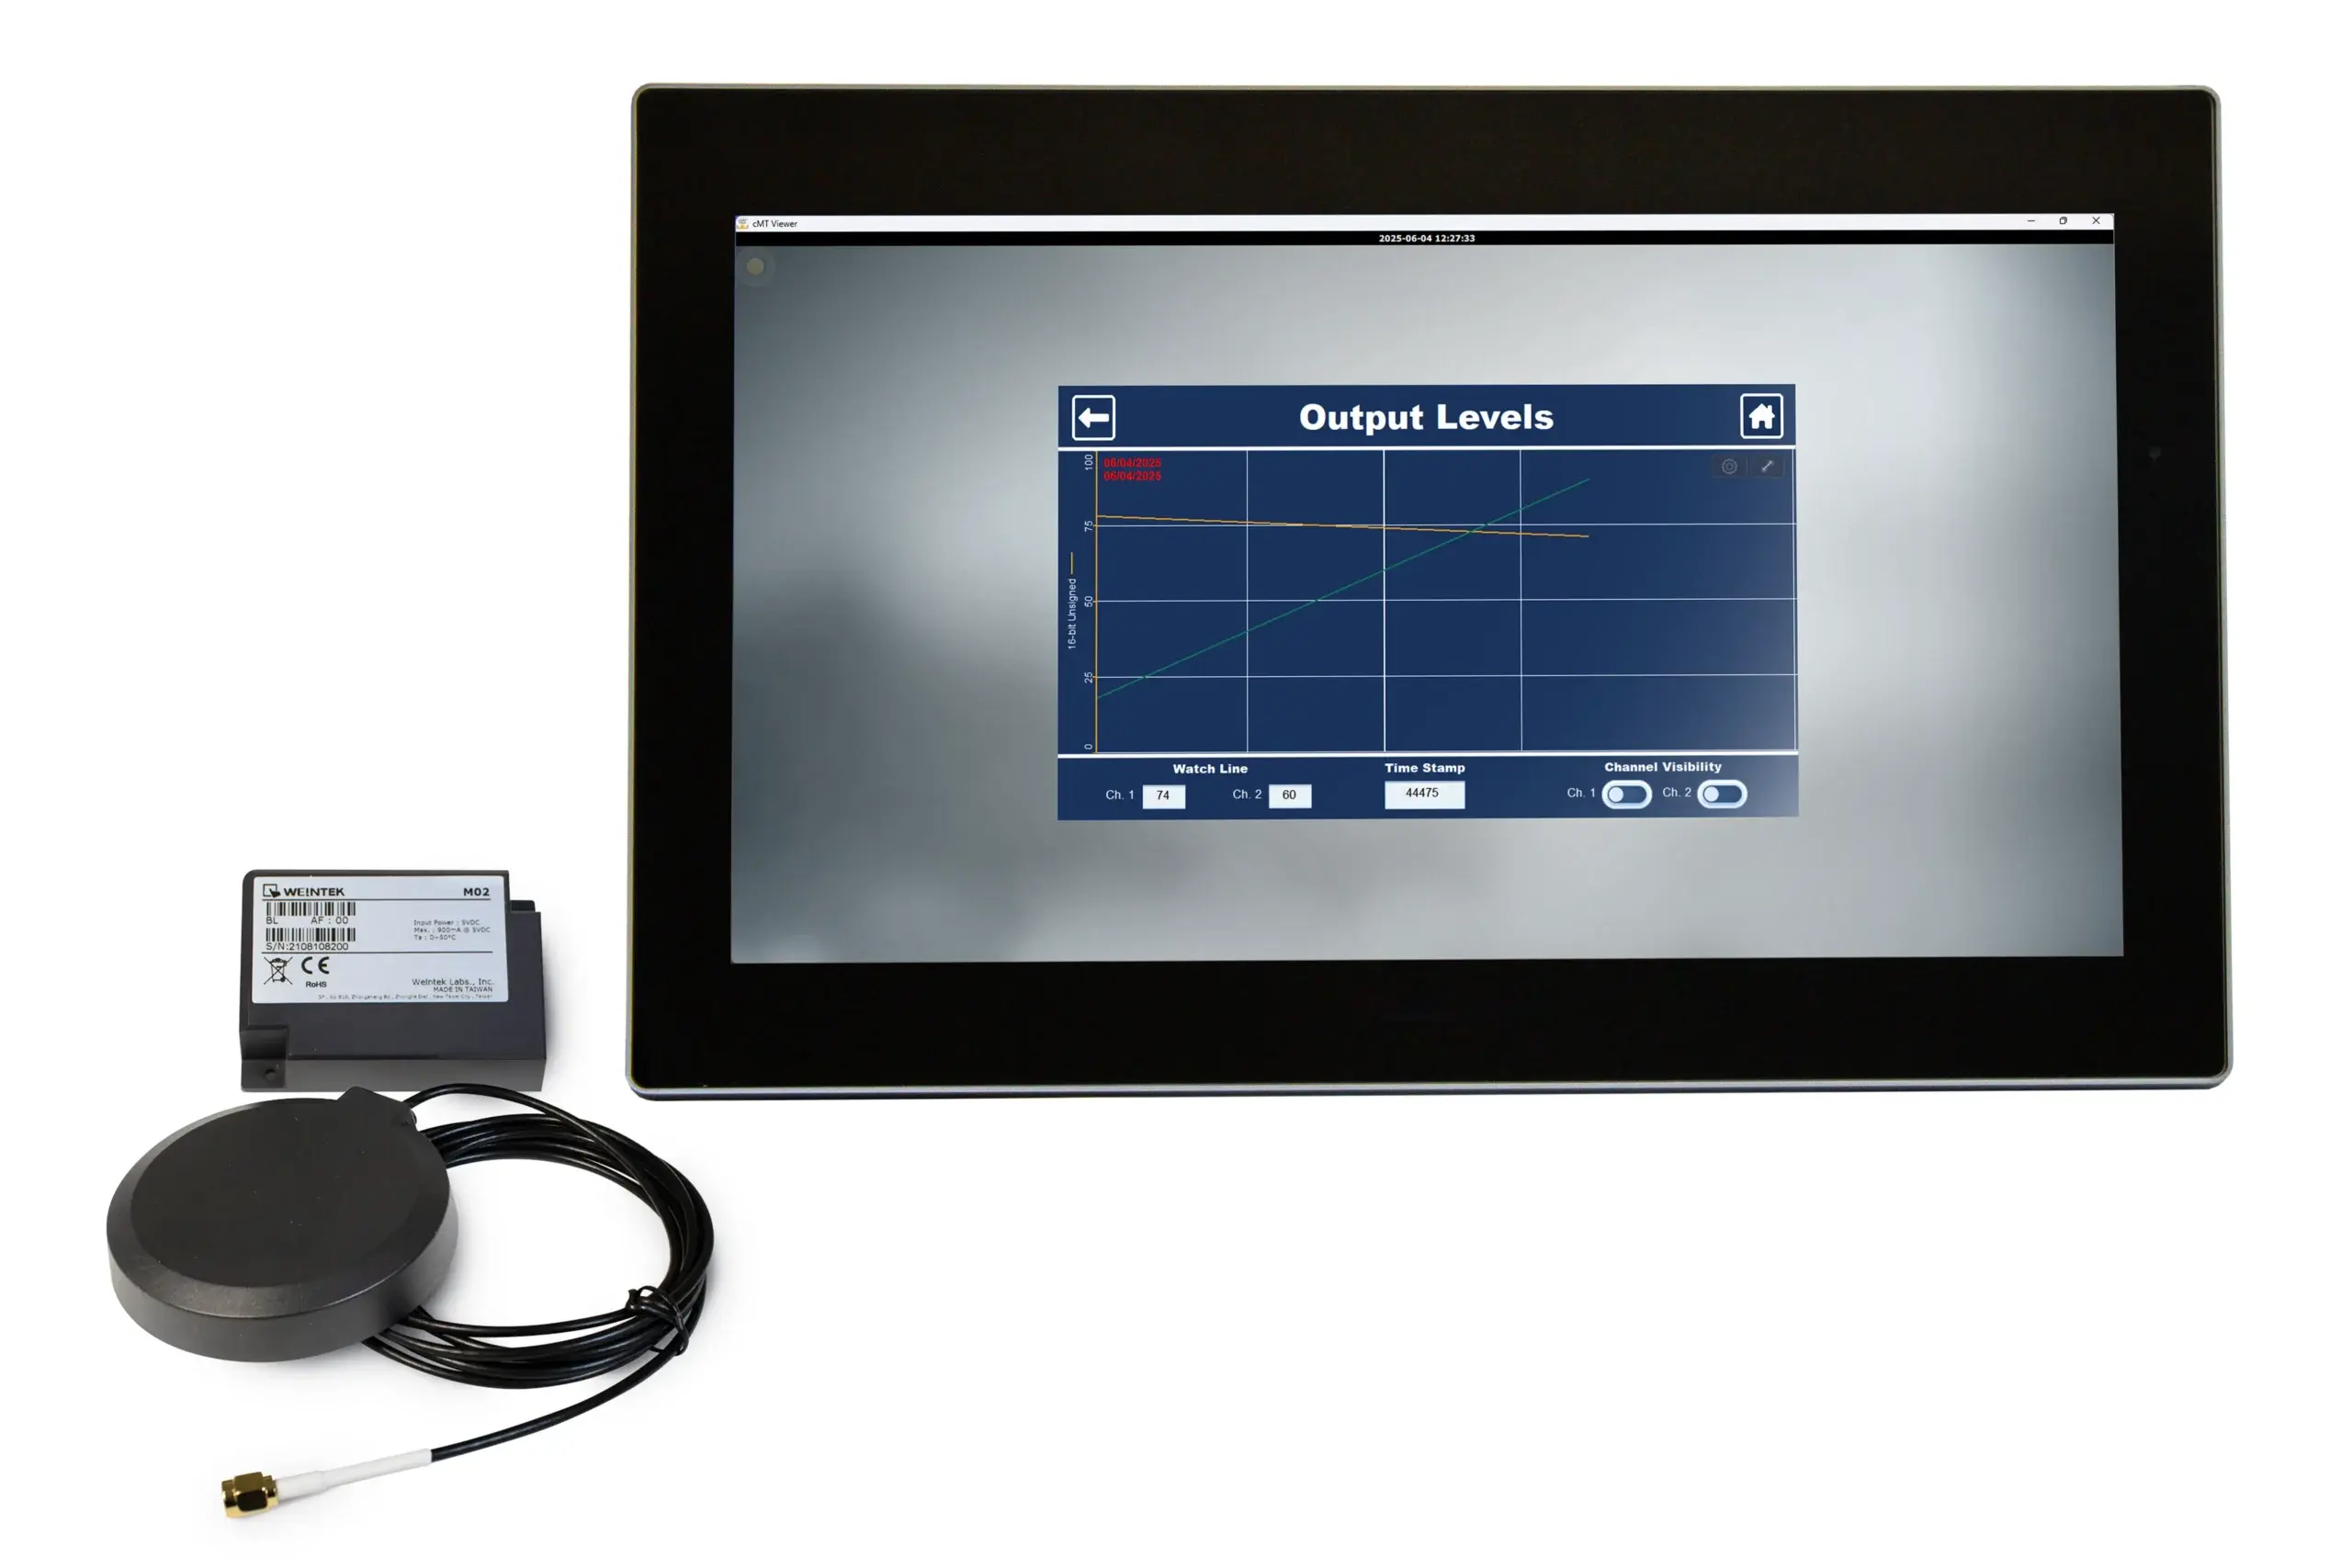
Imagine you are in a manufacturing facility commissioning a new machine or troubleshooting an existing one on the production floor. Instead of opening control panels or running temporary Ethernet cables, engineers and maintenance technicians connect wirelessly to a Maple Systems HMI from a laptop, phone, or tablet using built in Wi-Fi.

This makes it easier to download projects, monitor live PLC data, and adjust parameters directly at the machine, reducing setup time and minimizing downtime. Wi-Fi is also valuable in industrial automation applications where portable or mobile HMI installations are required, such as swing-arm operator panels or equipment that is frequently moved or reconfigured.
In these cases, the HMI remains hard-wired to the PLC for reliable control, while Wi-Fi provides wireless HMI access for monitoring, alarm visibility, and tools like cMT Viewer. Used this way, Wi-Fi improves flexibility and system visibility without impacting control network reliability.

Direct Wi-Fi Access to the HMI (No Router Required)
In another scenario where the plant router or switch does not provide Wi-Fi, you would typically use the HMI’s built-in wireless interface in access-point (AP) mode and connect your laptop directly to the HMI instead of to the facility network.

The Maple Systems HMI creates its own temporary Wi-Fi network, the technician connects the laptop to that SSID, and the laptop is assigned an IP address on the HMI’s wireless subnet; from there, the engineering software can download or upload the project straight to the HMI over the wireless link. The HMI still remains hard-wired to the PLC and control network through Ethernet for real-time control, while the Wi-Fi connection is used only for maintenance access, project downloads, online monitoring, parameter changes, and other tools, so no plant router or wireless infrastructure is required and no temporary Ethernet cables need to be run during commissioning or troubleshooting.
Software Required
Hardware Required
- Any Wi-Fi capable Maple Systems HMI
- Wi-Fi Expansion Module (M02)
Connecting the Wi-Fi Expansion Module
The WiFi Module (M02) adds built in wireless connectivity to compatible Maple Systems HMIs without external adapters.
Once installed, it enables WiFi access for monitoring and diagnostics while the HMI remains hard wired for reliable control.
Wi-Fi Module Installation Instructions
This guide walks you through installing a Maple Systems Wi-Fi Module (M02) on the back of a Maple Systems HMI.
Instructions: Wi-Fi Module Installation Instructions
Power off the HMI
The M02 Wi-Fi expansion module must be installed with the HMI powered down.
Mount the M02 module to the HMI
On the back of the compatible Maple Systems HMI, align the M02 with the expansion connector and press it firmly into place.
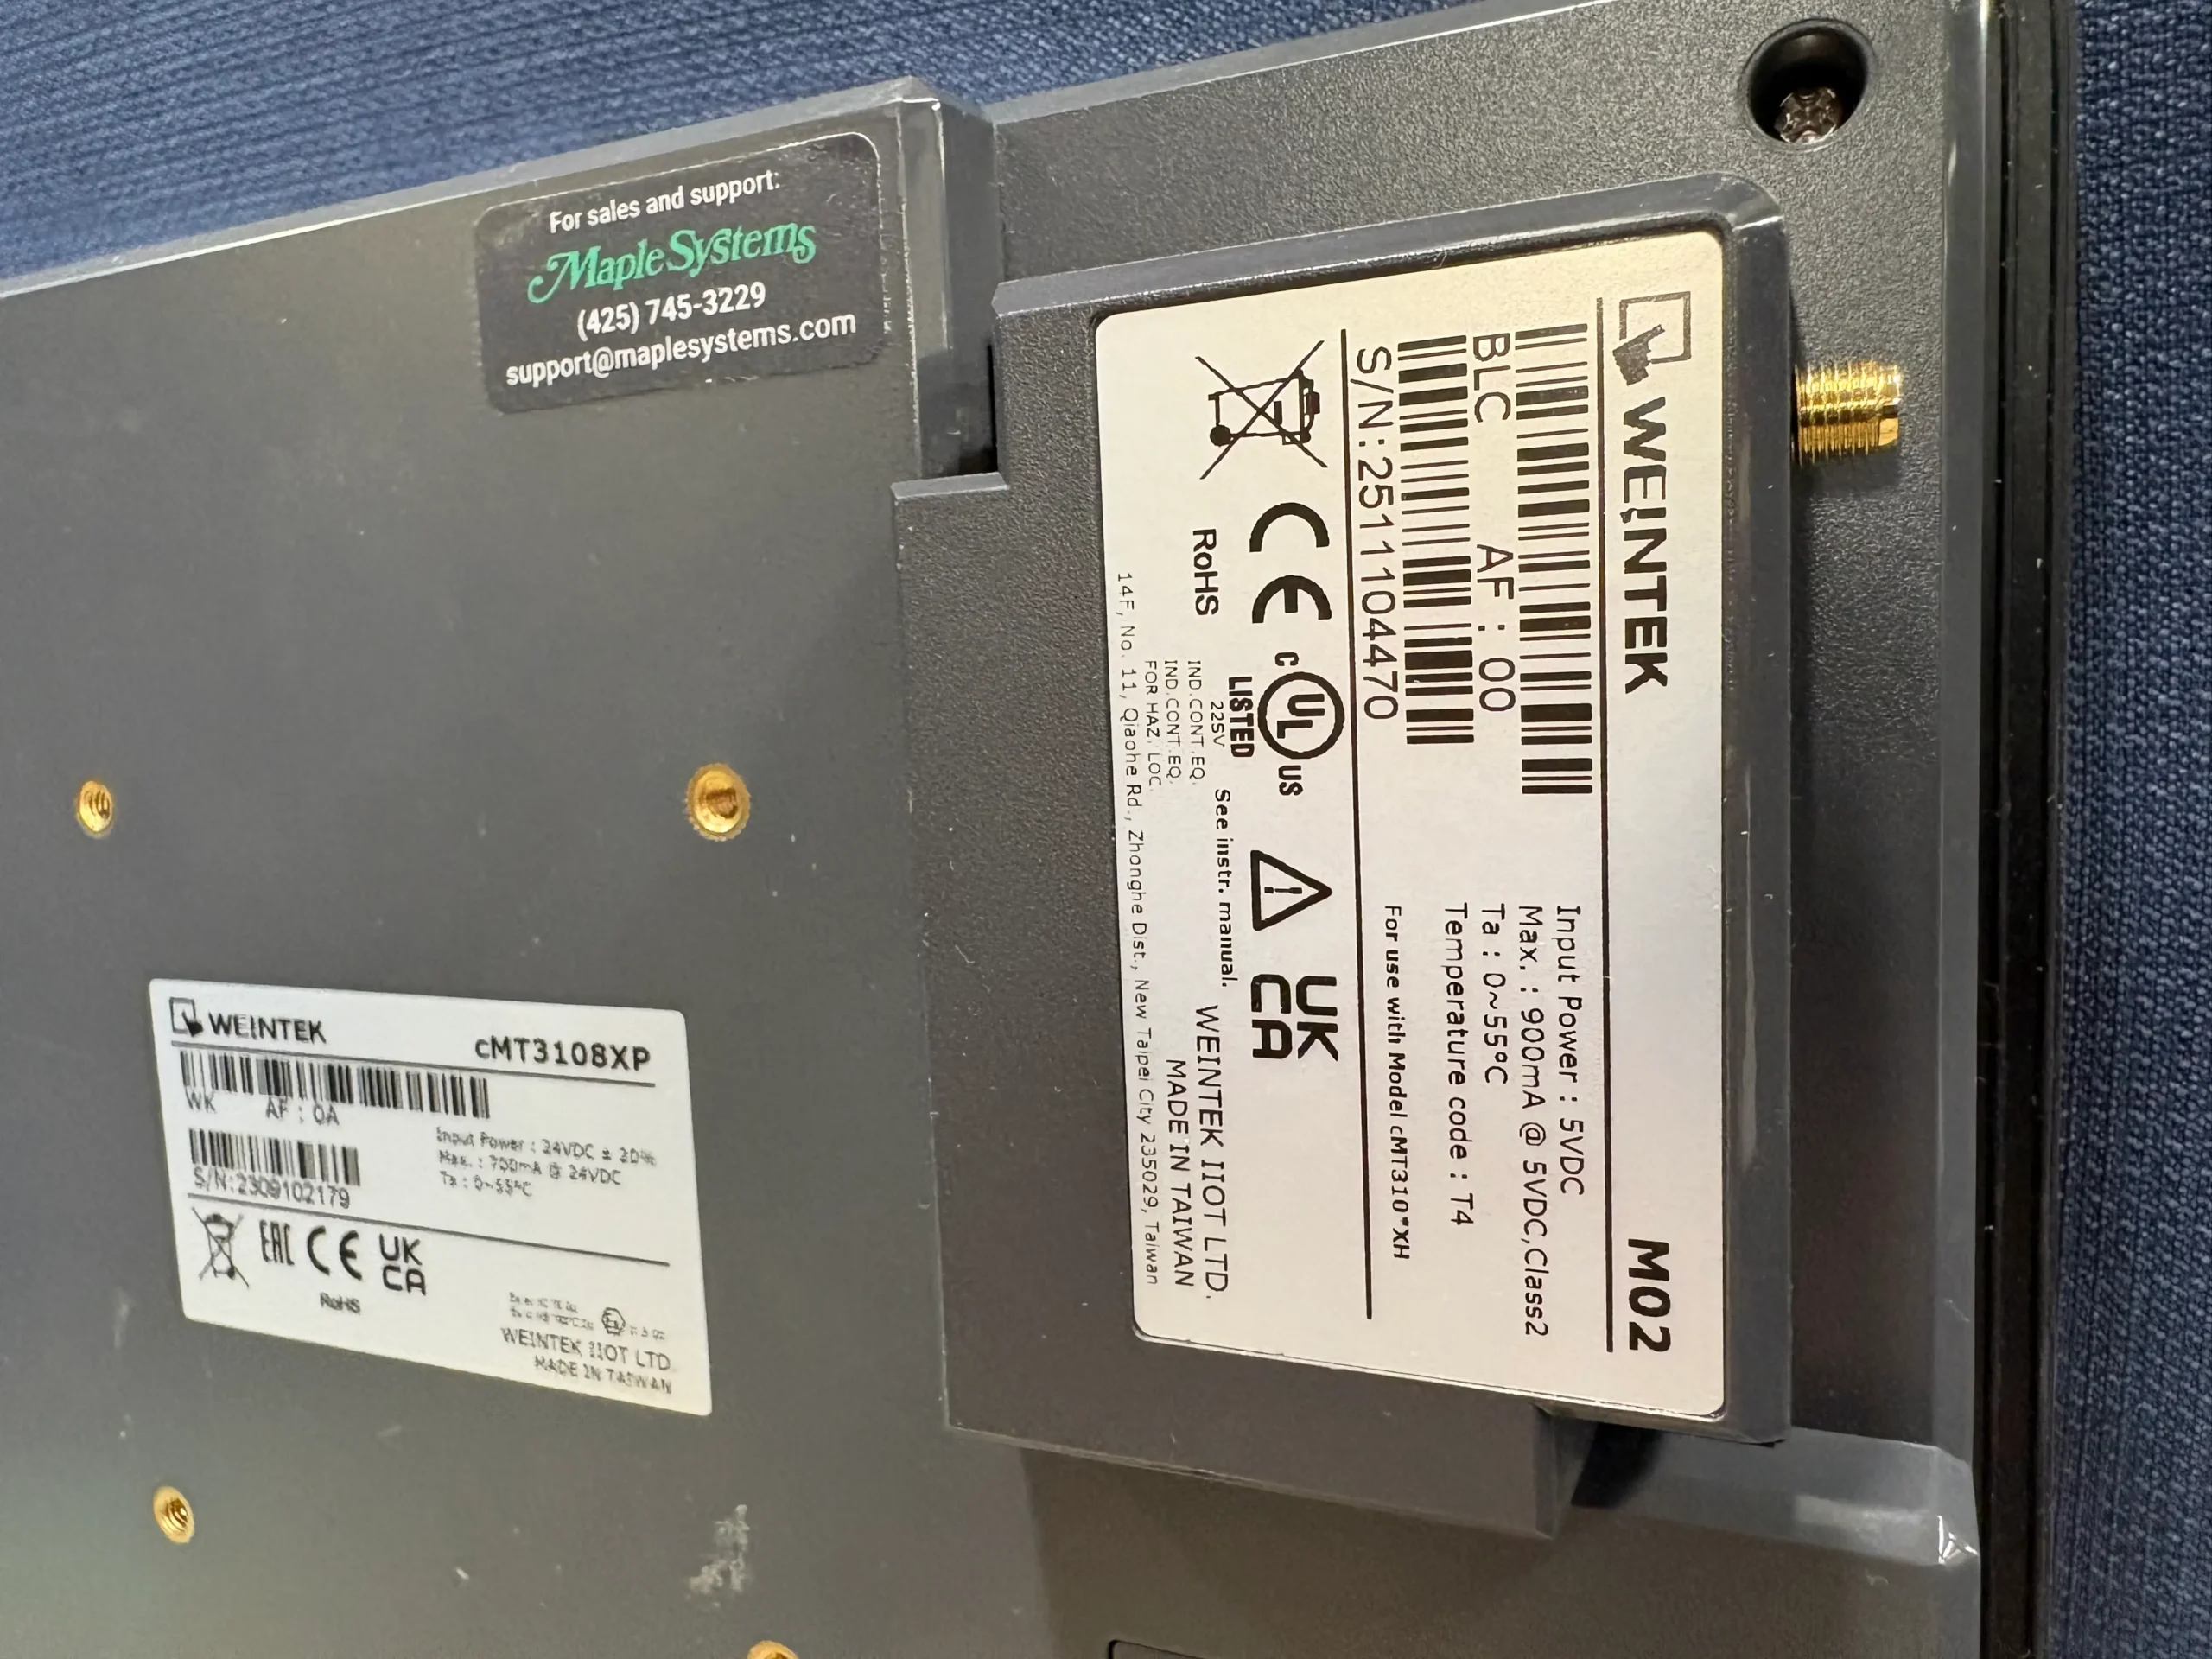
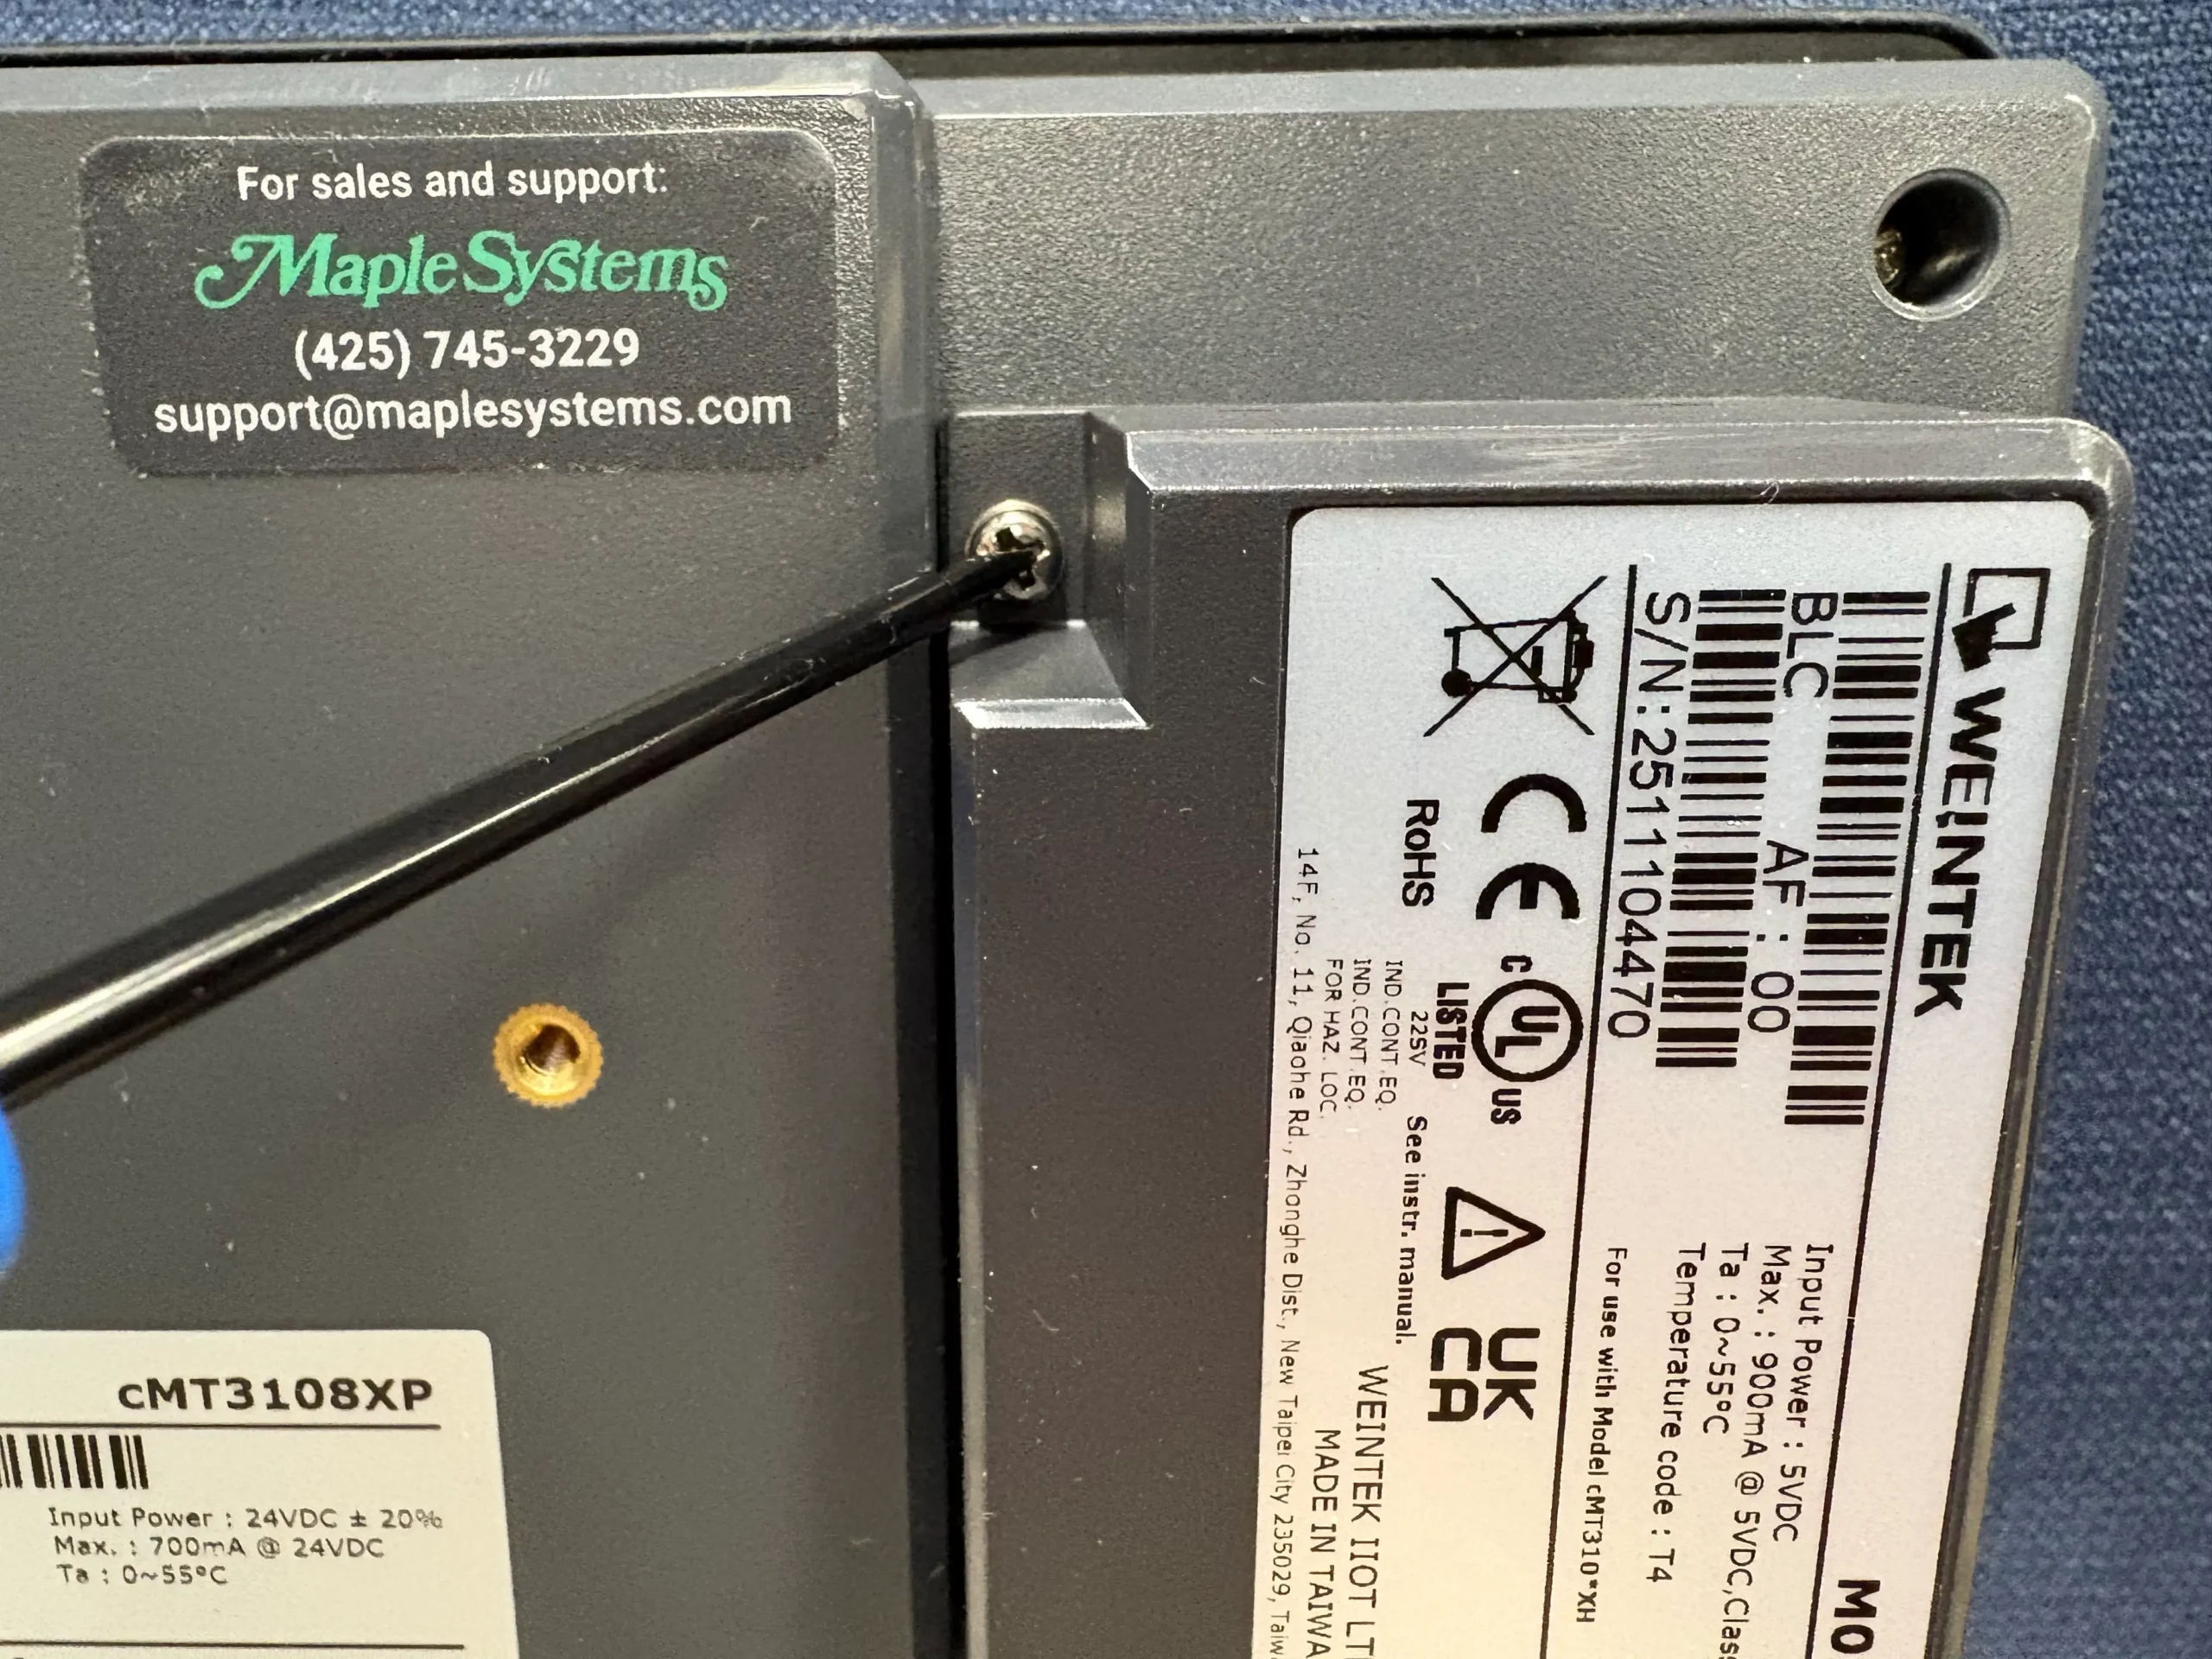
Secure the Module
Use the supplied screws to fasten the module to the HMI housing so it is mechanically stable.
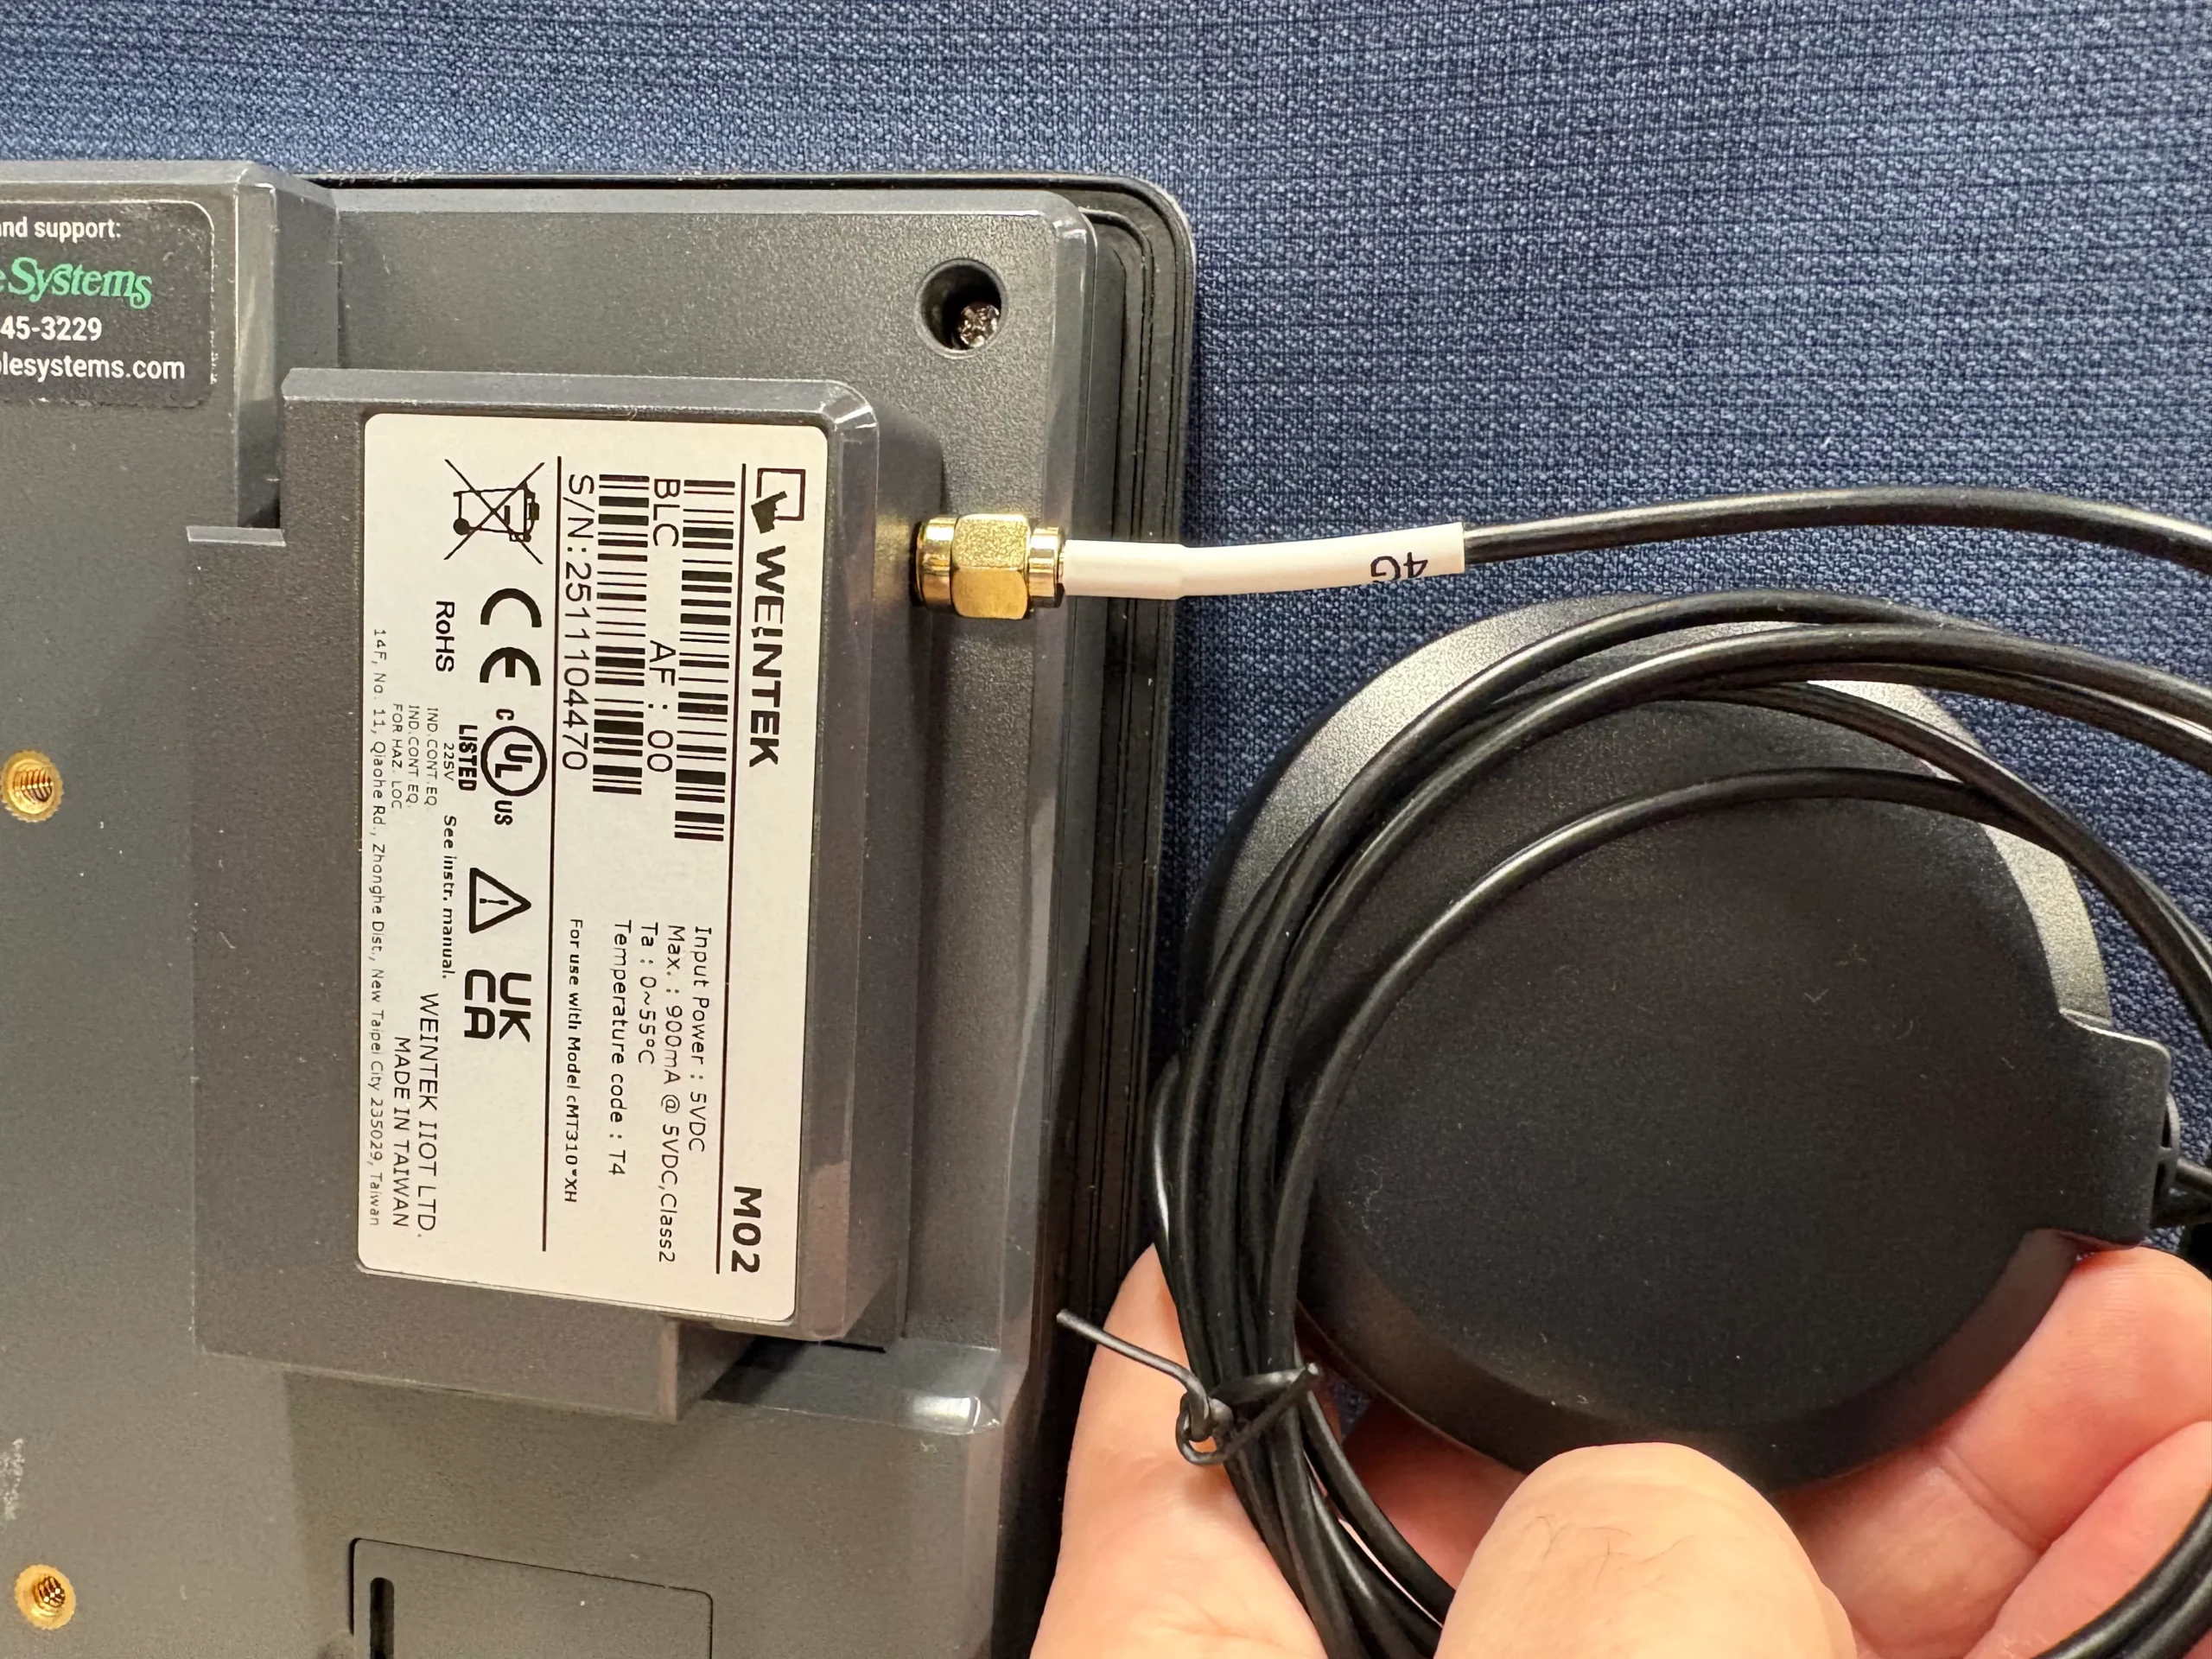
Attach the Wi-Fi antenna
Screw the external antenna onto the connector on the module and position it for good signal strength.
Power the HMI back on
Once powered up, the HMI automatically detects the installed Wi-Fi module.
Configure Wi-Fi Settings on the HMI
With the WiFi module installed, engineers can enable wireless monitoring, project transfers, and diagnostics while the HMI remains hard wired to the PLC.
Wi-Fi Configuration Instructions
This guide walks you through the Wi-Fi configuration settings on a Maple Systems HMI.
Instructions: Wi-Fi Configuration Instructions
Open the System Settings
On the touch screen, tap the settings icon or system menu to access the HMI settings.
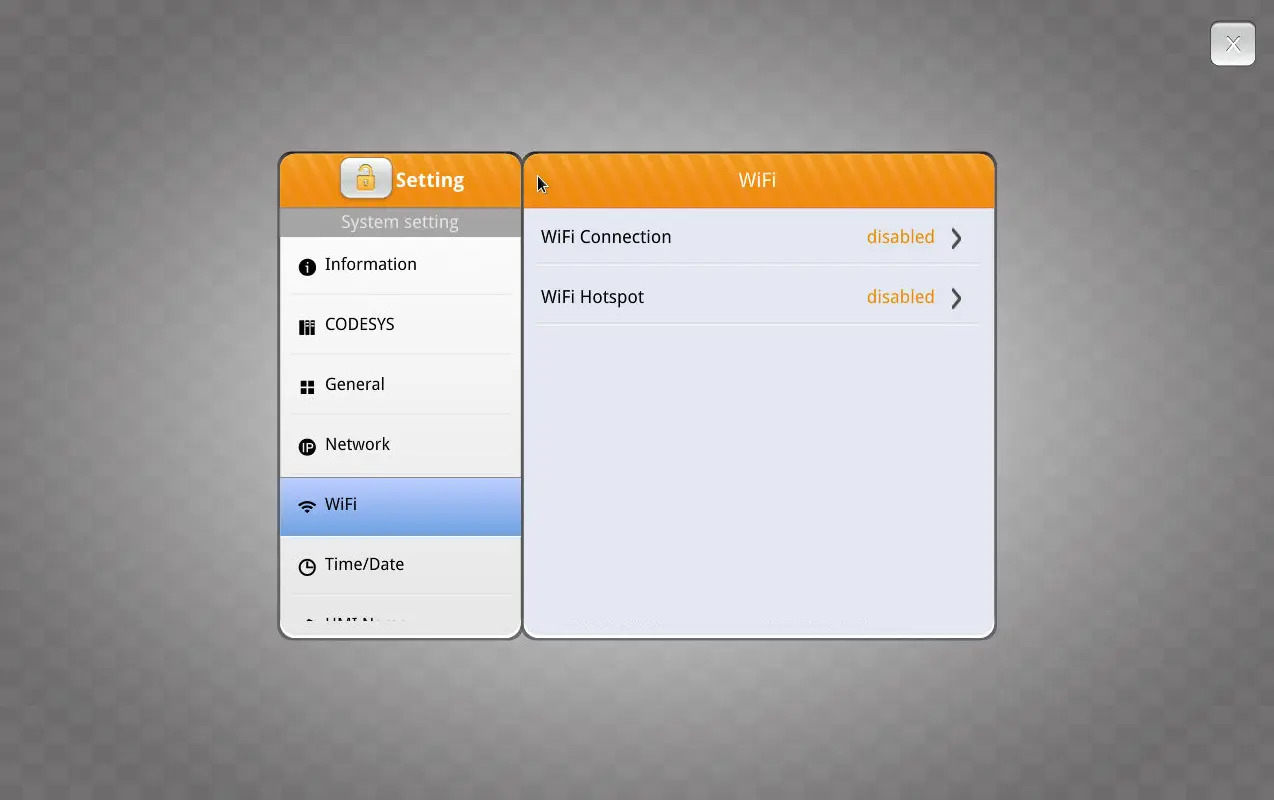
Navigate to the Network or Wireless Tab
Within the settings, go to the Wi‑Fi or Wireless configuration area.
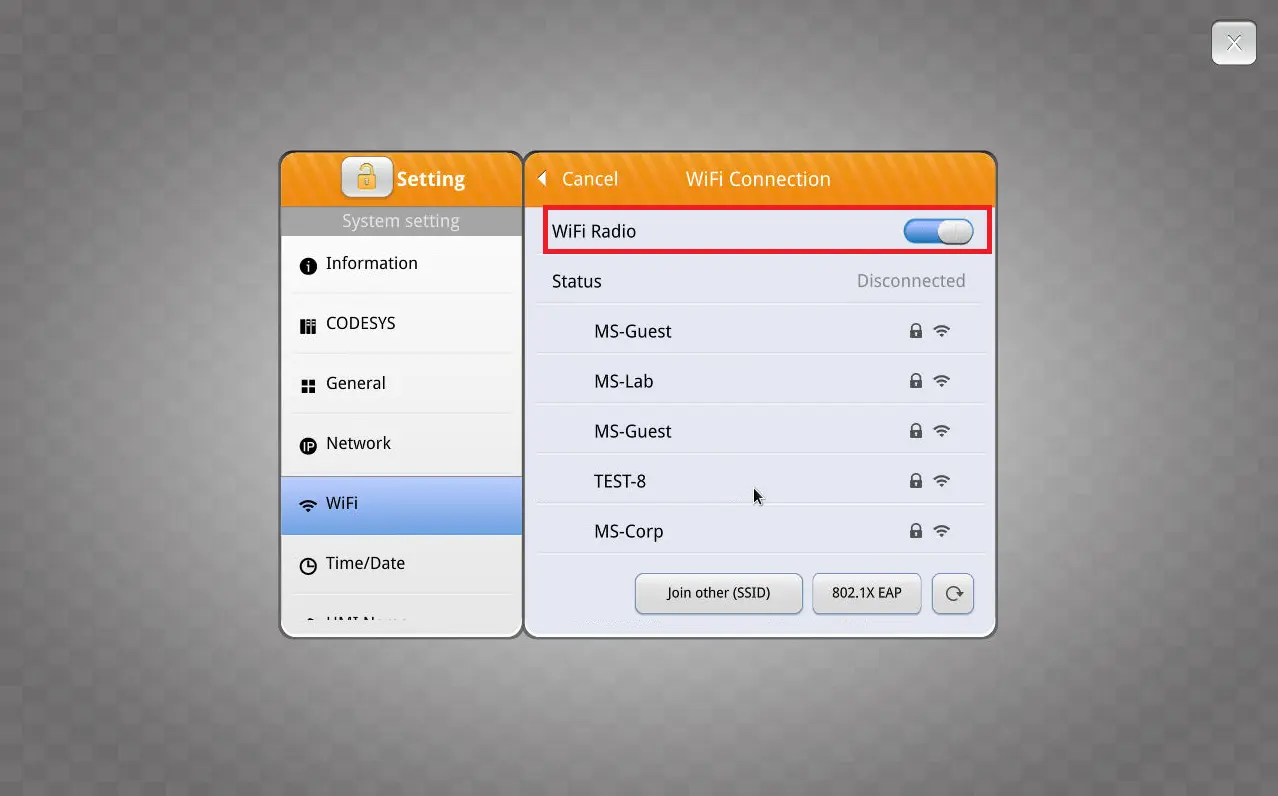
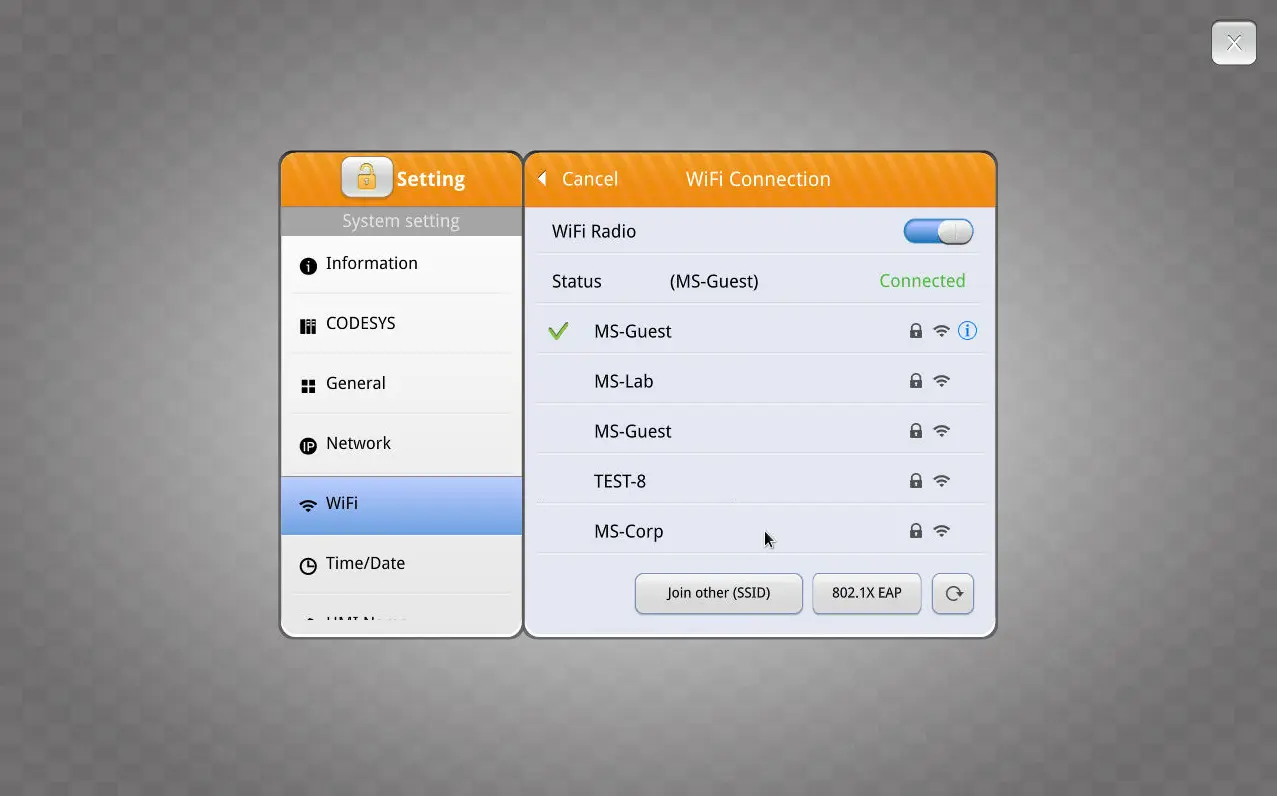
Enable the Wi-Fi Radio
From the list of available Wi‑Fi networks shown on screen, tap the SSID (network name) you want to connect to.
Enter Wi-Fi Password & Security
Type the network password and choose the correct encryption mode (e.g., WPA2‑PSK). These settings must match the router’s configuration.
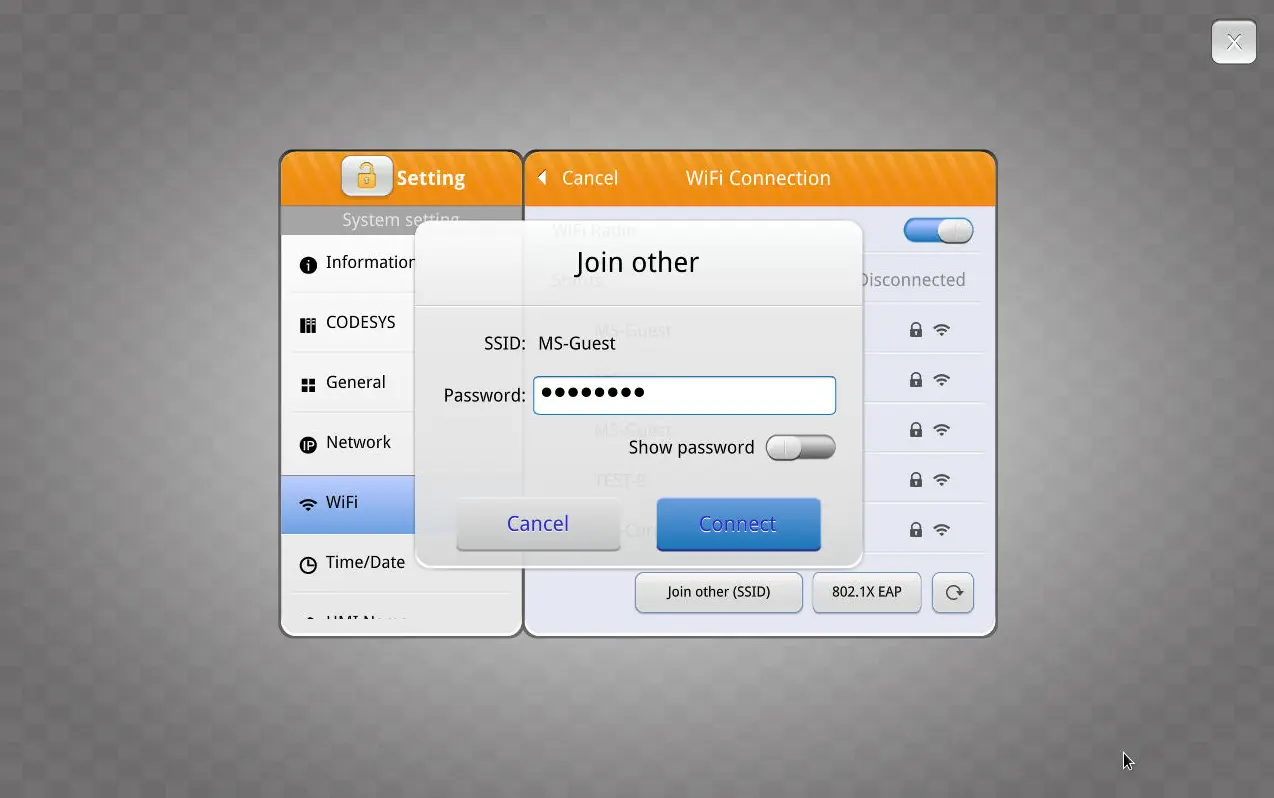
Connect to the Network
Tap Connect. Once connected, the status will show “Connected” and you may see signal strength information.
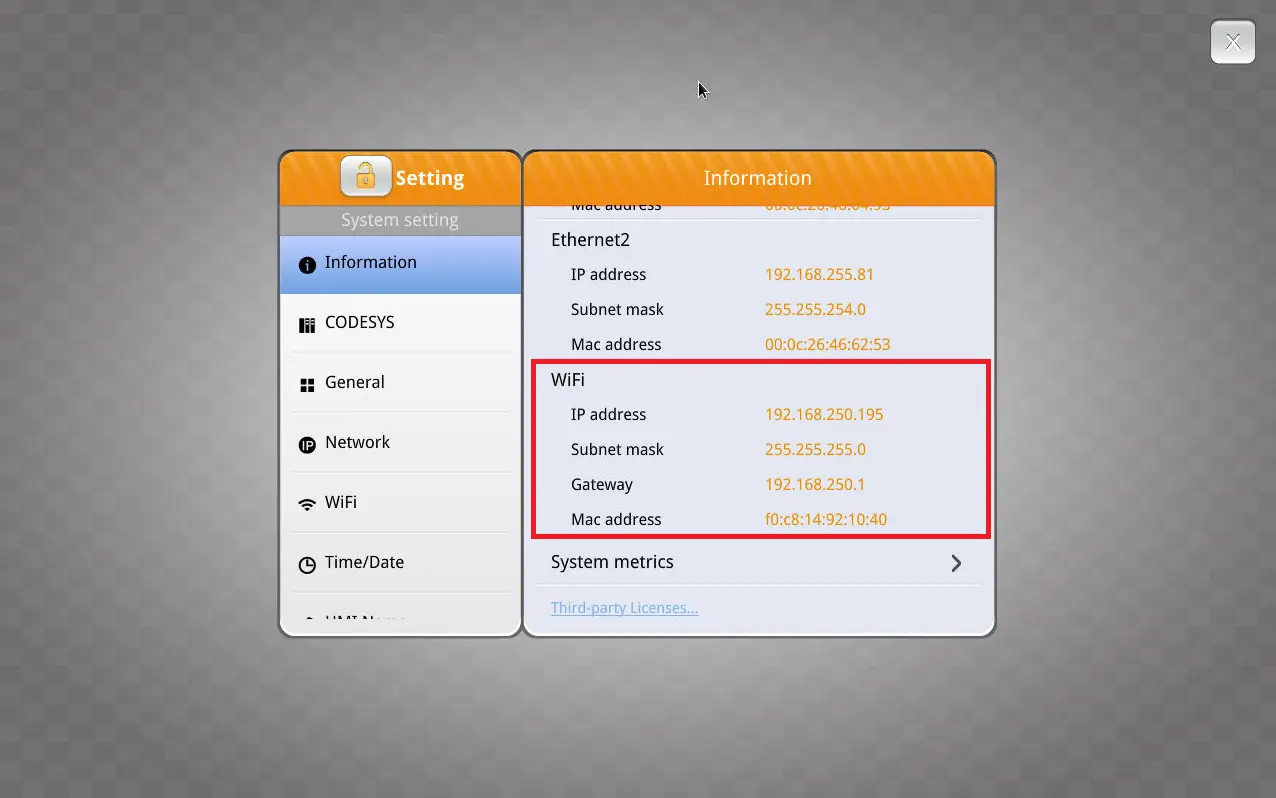
Verify Network Settings
You can view the Wi‑Fi’s IP address and connection status in the system information screen if needed for troubleshooting.
Recap
In this tutorial, you learned how WiFi on a Maple Systems HMI enables wireless access for commissioning and maintenance without opening control panels. This allows you to connect from a laptop, phone, or tablet. You installed the WiFi module and antenna, then connected the HMI to a wireless network using EBPro. Finally, you verified the network and IP settings to ensure reliable operation.
Next Steps
Now that your Maple Systems HMI is connected to WiFi, check wireless access from a laptop, phone, or tablet using tools such as cMT Viewer. Confirm that project downloads, live data, and alarms all work as expected. If you use remote I/O over Modbus, test communication while the HMI remains hardwired to the PLC. This ensures that control performance does not change.
Resources & Documentation
The following guides and documentation are specific to the hardware used in this integration tutorial and will help you with setup, configuration, and programming:
- M02 Wi-Fi Kit Installation Instruction
- Wi-Fi Expansion Module with Antenna Datasheet
- EBPro (version 6.09.02.315 or later)
- EBPro Programming Manual
Looking for additional learning resources? Explore our library of tutorials, example projects, and software tools to help you get the most out of your system:
Also, browse our Support Center for a complete list of installation guides, FAQs, and additional technical documentation.
About the Author
Trusted source for industrial automation & control solutions
Follow Maple Systems:
Share:


