An Access Control List (ACL) is a list of permissions attached to an object. It specifies who or what is allowed to access the object and which operations are permitted.
The Layer 2 (L2) ACL function allows users to configure rules that reject packets from specific ingress ports or all ports. These rules inspect the packets’ source and destination MAC addresses. If a packet matches one of these rules, the system will perform the action “deny,” which means rejecting the packet.
Layer 3 (L3) is the Network Layer in the OSI model.
At this layer, the focus is on logical addressing and routing — how data moves between different networks.

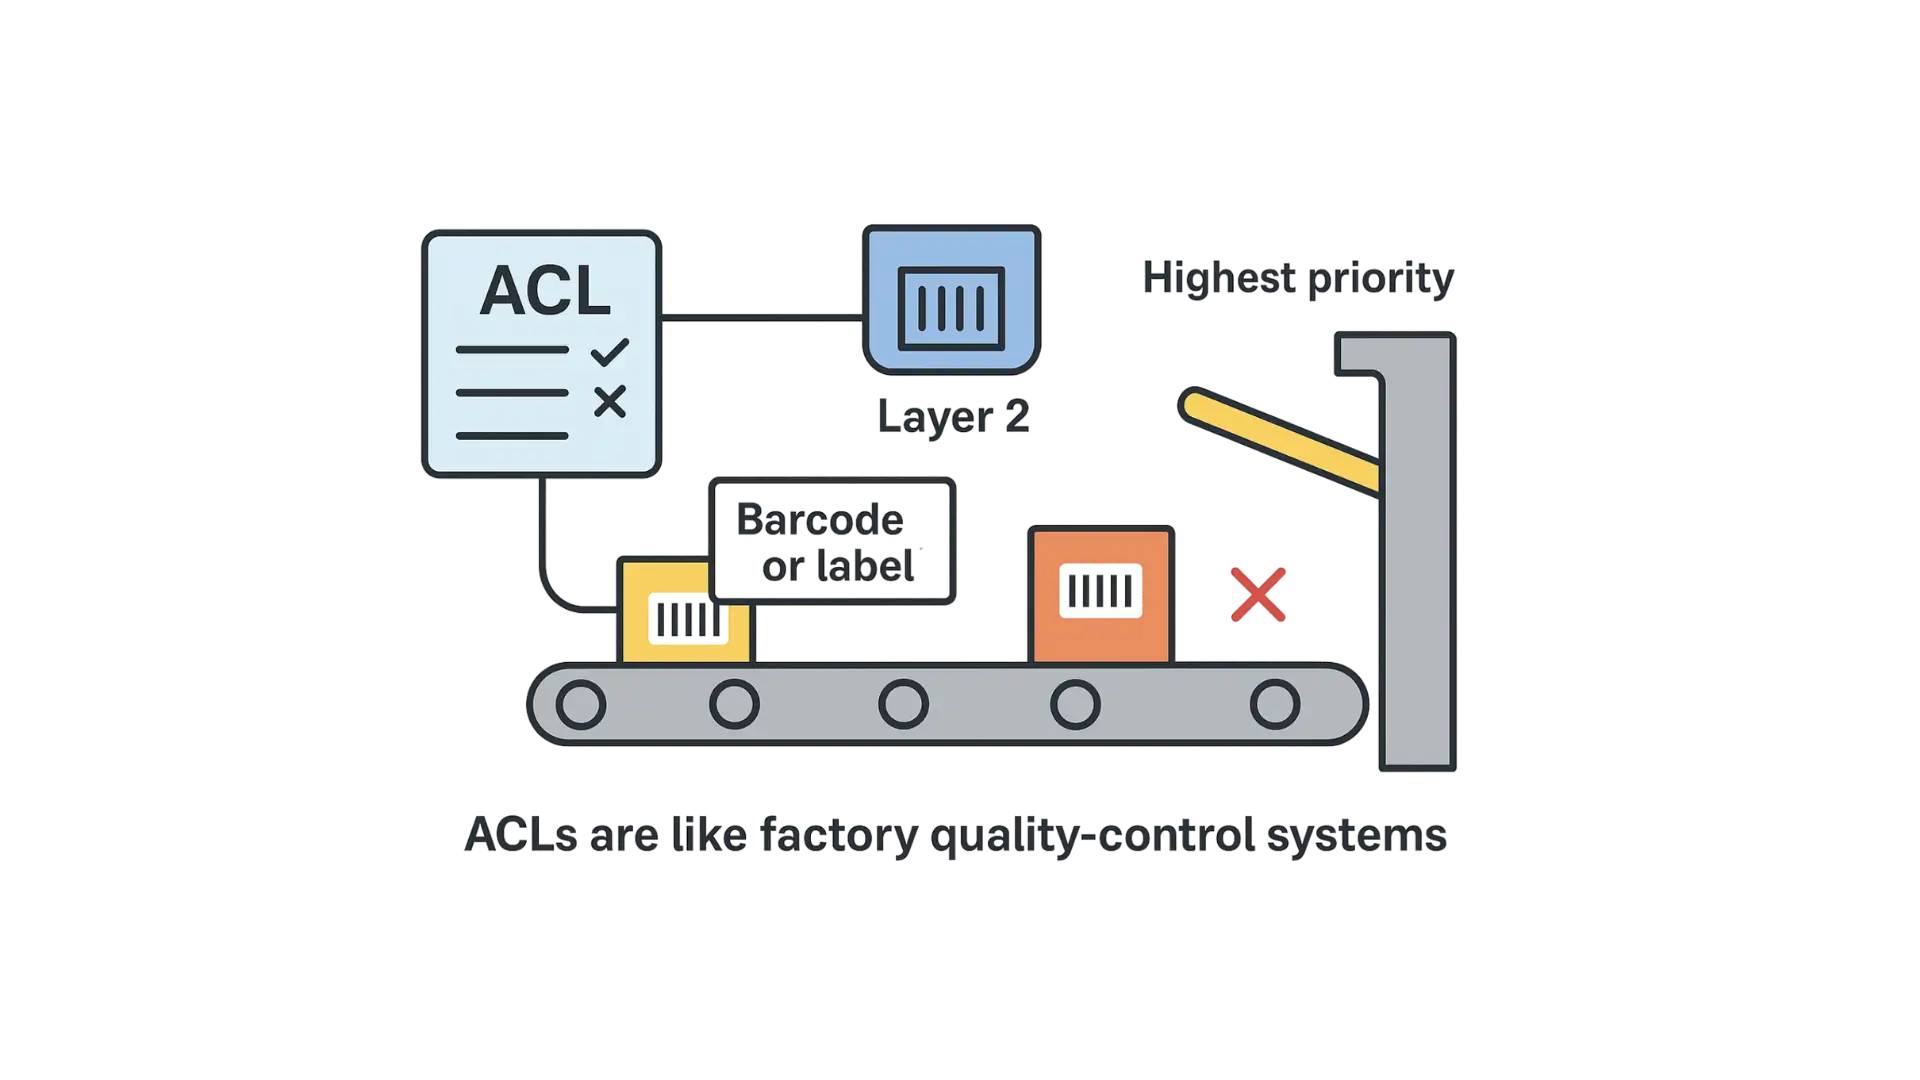
Imagine a factory conveyor system with sensors and gates.
- The ACL is like the set of rules programmed into the control system that decides which products are allowed to move down the conveyor and which should be rejected.
- At Layer 2, the system checks the product’s barcode or label (MAC address). If it matches a “reject” rule, the gate pushes it off the line (deny).
- If a product triggers multiple sensors or rules, the system follows the highest-priority rule to decide whether the product passes or gets rejected.
- In short: ACLs in networking work like a factory quality-control system—automatically deciding which items (packets) continue on and which get removed.

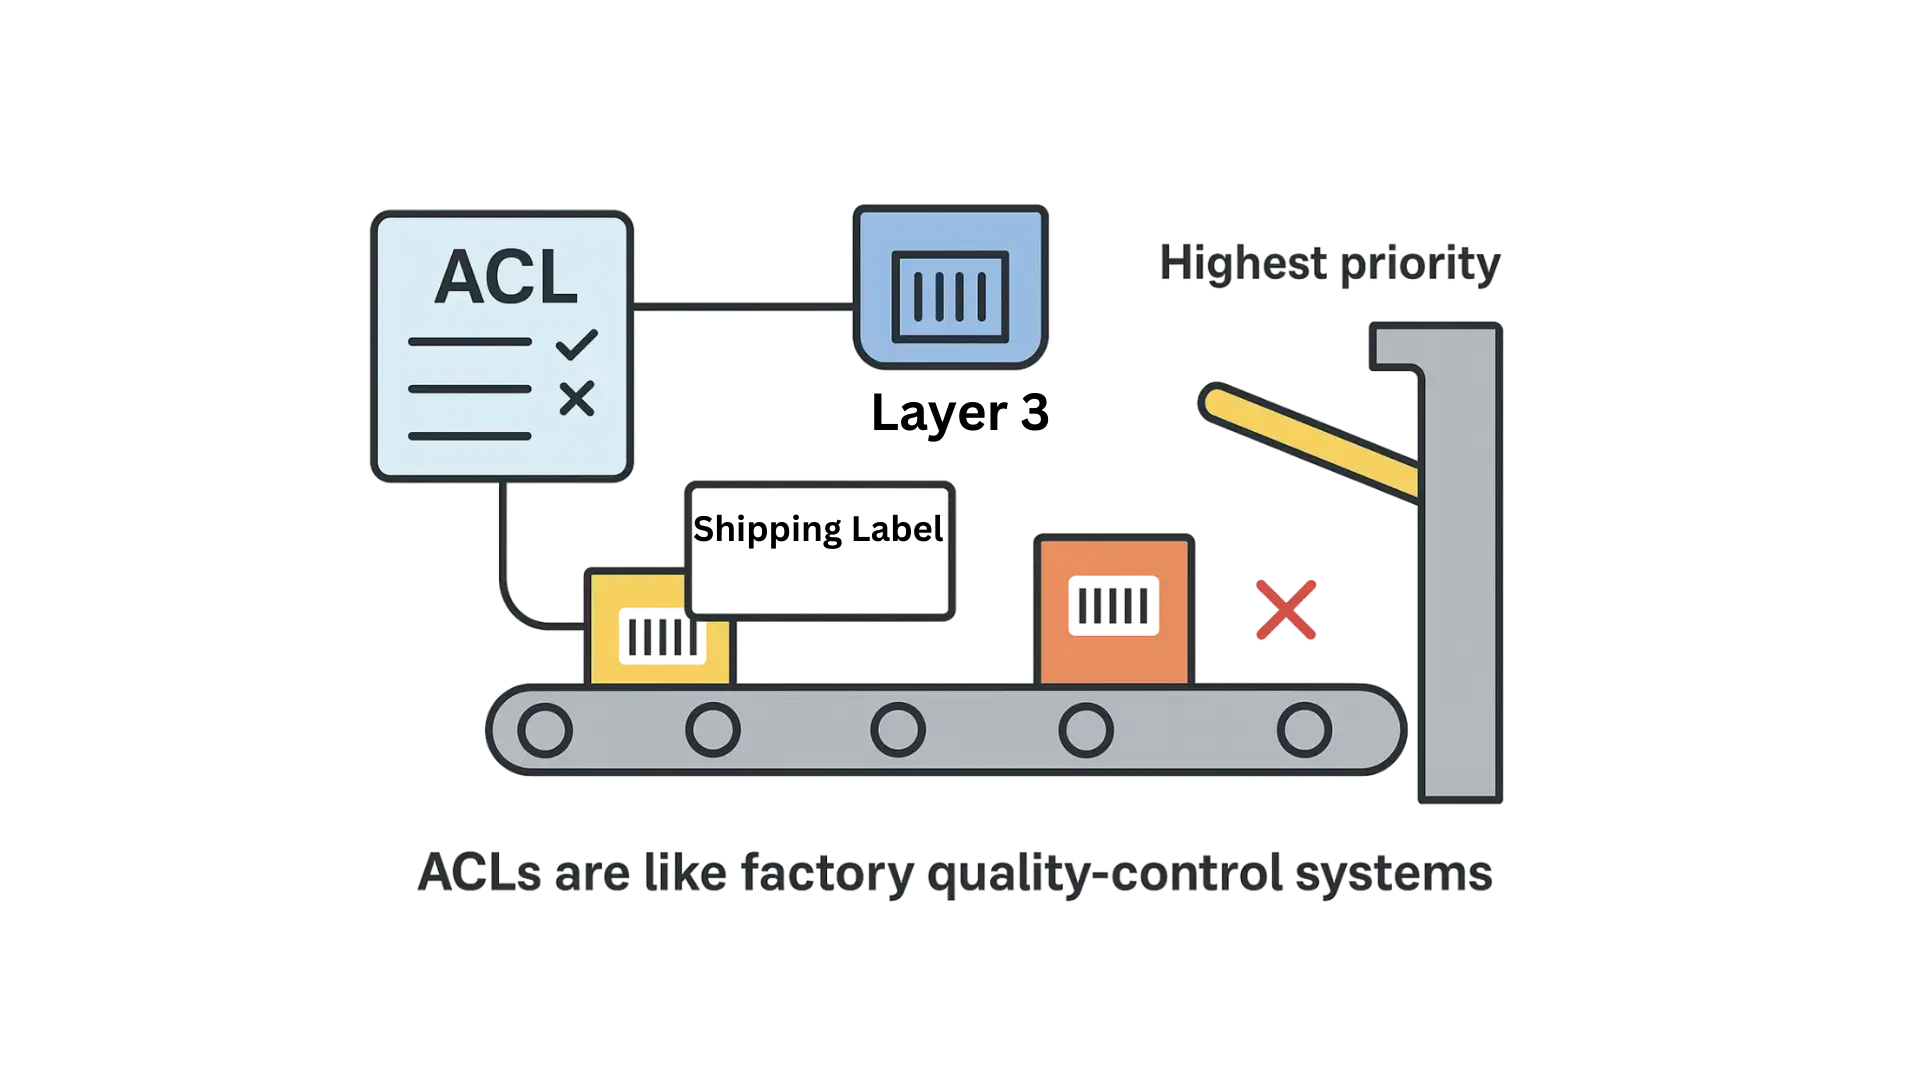
At Layer 3, instead of just checking the product’s barcode or label, the system looks at the shipping address and destination information printed on the package (like an IP address). If the address matches a “reject” rule, the gate diverts it off the line (deny).
If a product matches multiple rules, the system applies the highest-priority rule to decide whether the package continues or is rejected.
In short: Layer 3 ACLs act like a quality-control system that makes decisions based on where the package is coming from and where it’s going, not just what it looks like on the outside.
Software Required
MapleLink Lite User Interface (Enter the network switch’s IP address into a web browser to access its web interface.
Hardware Required
- MS1-L05G01F
- MS1-L08G
- Embedded Industrial Box PC (A web browser is required. Use one of our Industrial Box PCs.)
Configuration
The ACL name should be the combination of the digit or the alphabet.
| Node | Command | Description |
| enable | show access-list | This command displays all of the access control profiles. |
| configure | no access-list STRING | This command deletes an access control profile. |
| acl | show | This command displays the current access control profile. |
| acl | action (disable|drop|permit) | This command actives this profile. disable – disable the profile. drop – If packets match the profile, the packets will be dropped. permit – If packets match the profile, the packets will be forwarded. |
| acl | action dscp remarking <0-63> | This command actives this profile and specify that it is for DSCP remark. And configures the new DSCP value which will be override to all packets matched this profile. |
| acl | action 802.1p remarking <0-7> | This command actives this profile and specify that it is for 802.1p remark. And configures the new 802.1p value which will be override to all packets matched this profile. |
| acl | 802.1p VALUE | This command configures the 802.1p value for the profile. |
| acl | dscp VALUE | This command configures the DSCP value for the profile. |
| acl | destination mac host MACADDR | This command configures the destination MAC and mask for the profile. |
| acl | destination mac MACADDR MACADDR | This command configures the destination MAC and mask for the profile. |
| acl | destination mac MACADDR MACADDR | This command configures the destination MAC and mask for the profile. The second MACADDR parameter is the mask for the profile. |
| acl | no destination mac | This command removes the destination MAC from the profile. |
| acl | ethertype STRING | This command configures the ether type for the profile. Where the STRING is a hex-decimal value. e.g.: 08AA. |
| acl | no ethertype | This command removes the limitation of the ether type from the profile. |
| acl | source mac host MACADDR | This command configures the source MAC and mask for the profile. |
| acl | source mac MACADDR MACADDR | This command configures the source AMC and mask for the profile. |
| acl | no source mac | This command removes the source MAC and mask from the profile. |
| acl | source ip host IPADDR | This command configures the source IP address for the profile. |
| acl | source ip IPADDR IPMASK | This command configures the source IP address and mask for the profile. |
| acl | no source ip | This command removes the source IP address from the profile. |
| acl | destination ip host IPADDR | This command configures a specific destination IP address for the profile. |
| acl | destination ip IPADDR IPMASK | This command configures the destination IP address and mask for the profile. |
| acl | no destination ip | This command removes the destination IP address from the profile. |
| acl | l4-source-port IPADDR | This command configures UDP/TCP source port for the profile. |
| acl | no l4-source-port IPADDR | This command removes the UDP/TCP source port from the profile. |
| acl | L4-destination-port PORT | This command configures the UDP/TCP destination port for the profile. |
| acl | no l4-destination-port | This command removes the UDP/TCP destination port from the profile. |
| acl | vlan VLANID | This command configures the VLAN for the profile. |
| acl | no vlan | This command removes the limitation of the VLAN from the profile. |
| acl | source interface PORT_ID | This command configures the source interface for the profile. |
| acl | no source interface PORT_ID | This command removes the source interface from the profile. |
Where the MAC mask allows users to filter a range of MAC in the packets’ source MAC or destination MAC.
For example:
- source mac 00:01:02:03:04:05 ff:ff:ff:ff:00
- The command will filter source MAC range from 00:01:02:03:00:00 to 00:01:02:03:ff:ff
- Where the IPMASK mask allows users to filter a range of IP in the packets’ source IP or destination IP.
For example:
- source ip 172.20.1.1 255.255.0.0
- The command will filter source IP range from 172.20.0.0 to 172.20.255.255
Example:
- L2SWITCH#configure terminal
- L2SWITCH(config)#access-list 111
- L2SWITCH(config-acl)#vlan 2
- L2SWITCH(config-acl)#source interface 1
- L2SWITCH(config-acl)#show
- Profile Name: 111
- Activate: disabled
- VLAN: 2
- Source Interface: 1
- Destination MAC Address: any
- Source MAC Address: any
- Ethernet Type: any
- Source IP Address: any
- Destination IP Address: any
- Source Application: any
- Destination Application: any
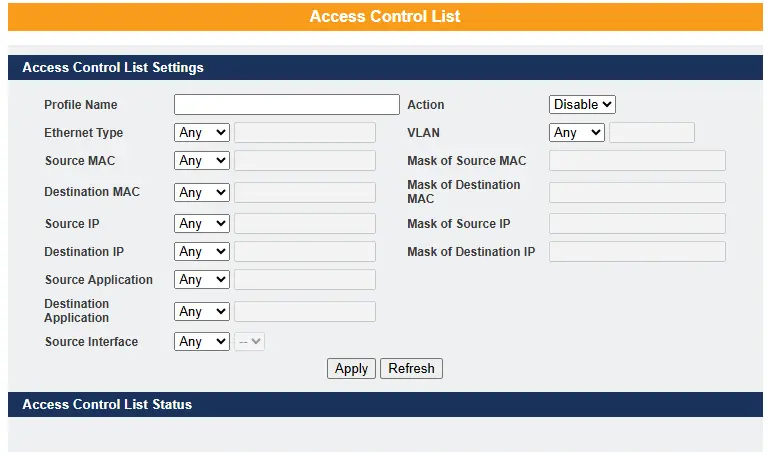
ACL Web Configuration

| Parameter | Description |
| Profile Name | A custom name you give this ACL rule (so you can recognize it later). Example: “Block_Guest_WiFi”. |
| State | Selects Disables / Drop / Permits/ DSCP action for the profile. |
| Ethernet Type | Lets you filter traffic based on what kind of data it is at the Ethernet layer. For example, IPv4, IPv6, ARP, etc |
| VLAN | Lets you apply the rule only within a certain VLAN (Virtual Local Area Network). Useful if you want different rules for different groups of devices. |
| Source MAC | The unique hardware address of the device sending the traffic. You can filter traffic coming from a specific computer or device. |
| Mask of Source MAC | Configure the bitmap mask of the source MAC of the packets that you want to filter. If the Source MAC field has been configured and this field is empty, it means the profile will filter the one MAC configured in Source MAC field. A way to apply the rule to a group/range of MAC addresses instead of just one device. |
| Destination MAC | The hardware address of the device receiving the traffic. You can control traffic going to a specific device. |
| Mask of Destination MAC | Configures the bitmap mask of the destination MAC of the packets that you want to filter. If the Destination MAC field has been configured and this field is empty; it means the profile will filter the one MAC configured in Destination MAC field. Similar to the source mask, but for destination MACs (groups of devices instead of just one). |
| Source IP | Configure the source IP of the packets that you want to filter. The IP address of the device sending the traffic. Example: 192.168.100.50. |
| Mask of Source IP | Configures the bitmap mask of the destination IP of the packets that you want to filter. If the Destination IP field has been configured and this field is empty; it means the profile will filter the one IP configured in Destination IP field. Defines how many IP addresses should be included (like a range or network). Example: 192.168.1.0/24 would cover an entire subnet of devices. |
| Destination IP | The IP address of the device receiving the traffic. Example: a server or printer you want to restrict access to. |
| Mask of Destination IP | Just like the source mask, but for destination IPs. It lets you apply the rule to an entire range or subnet. |
| Source Application | Configure the source UDP/TCP ports of the packets that you want to filter. Lets you filter traffic based on the type of application or service being used (like HTTP for web, FTP for file transfer, etc.). |
| Destination Application | Configure the destination UDP/TCP ports of the packets that you want to filter. Same as above, but for the application/service that the destination device is using. |
| Source Interface(s) | Configures one or a rage of the source interfaces of the packets that you want to filter. The physical port or interface on the switch where the traffic enters. This lets you restrict rules to certain switch ports. |
| Apply | Click Apply to add/modify the settings. Saves and activates the ACL rule you created or changed. |
| Refresh | Click Refresh to begin configuring this screen afresh. Reloads the page to show the most current ACL settings. |
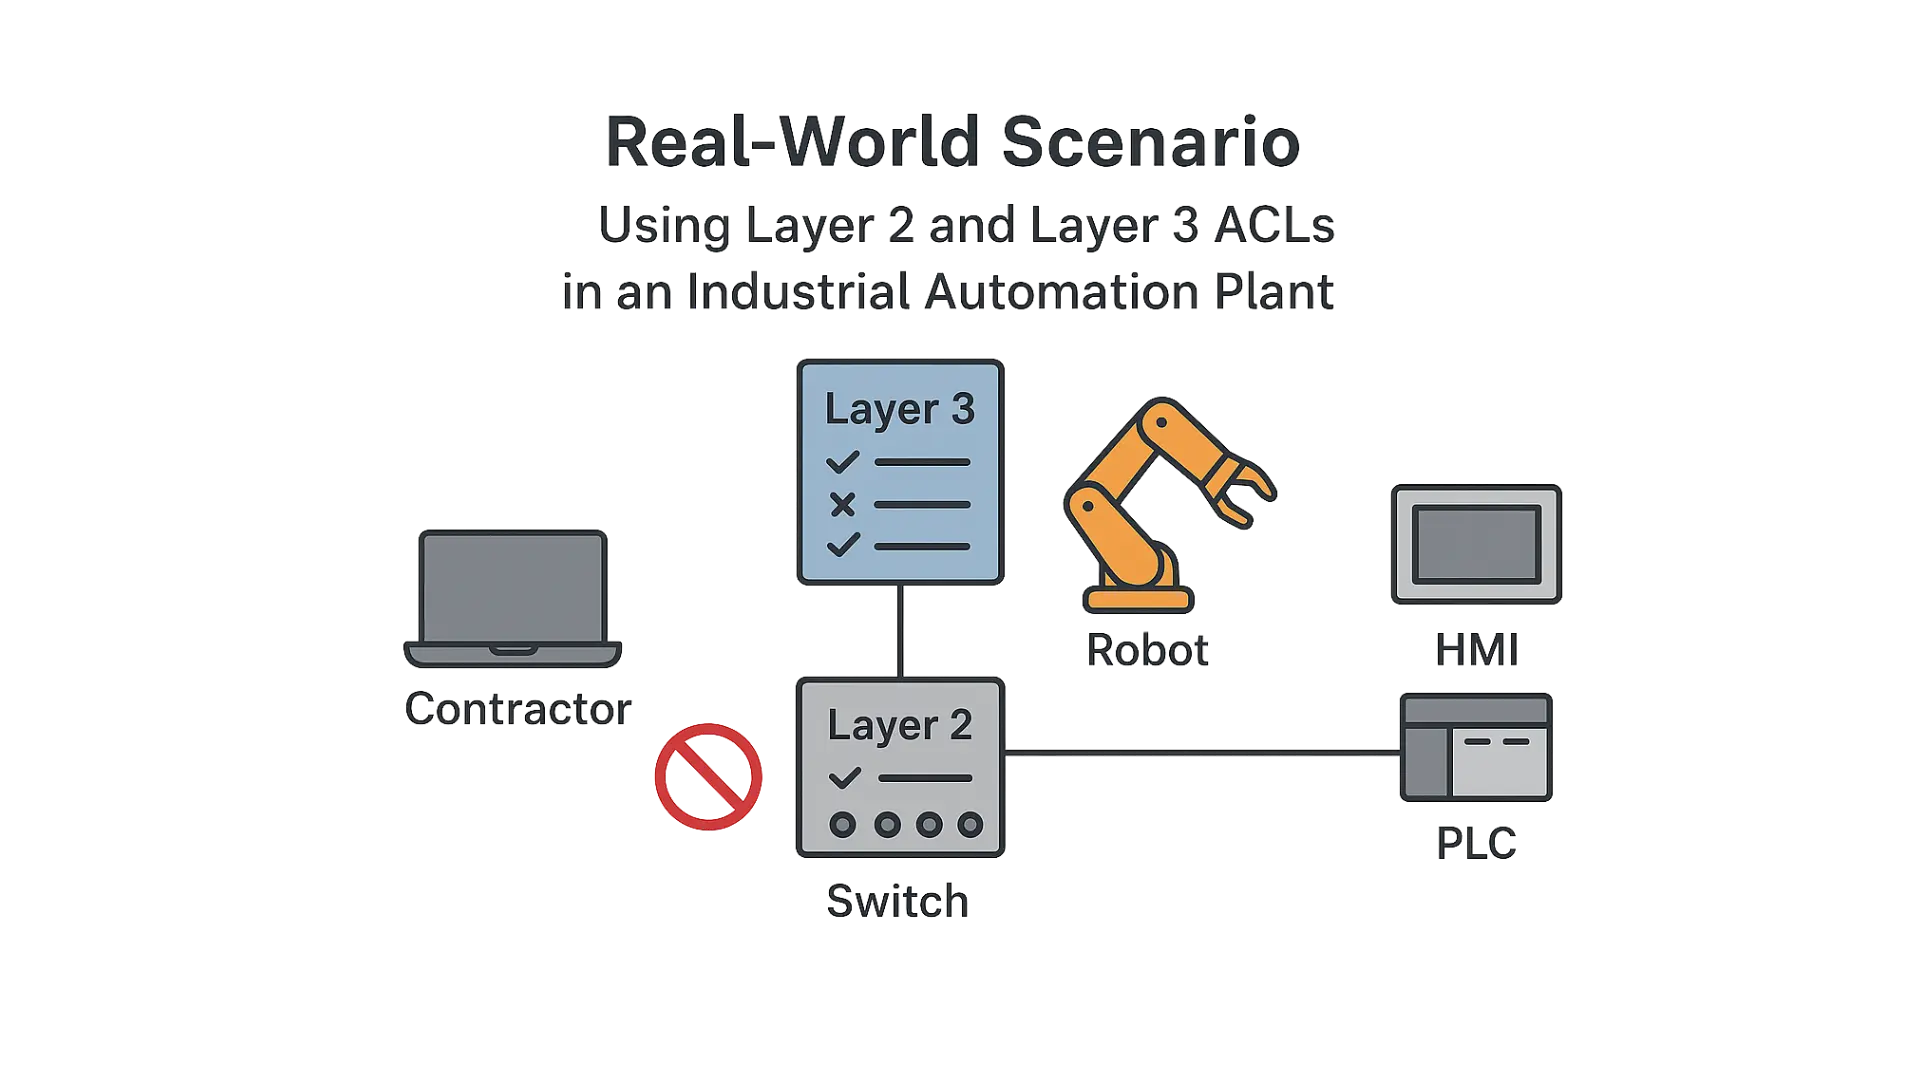
Real-World Scenario
Using Layer 2 and 3 ACLs in an Industrial Automation Plant.

Setting:
A large automotive manufacturing facility runs a centralized Ethernet network that interconnects production line controllers, robotic arms, HMI stations, and engineering laptops. VLANs are already in place to segment critical systems, but third-party vendors are sometimes given temporary wired access for diagnostics and maintenance.
The Problem:
During a maintenance window, a contractor connects their laptop to a port in the production VLAN to monitor a robot controller. Due to misconfiguration, the laptop begins sending network scans, probing PLCs, SCADA servers, and safety relays. Although no systems are compromised, the extra traffic adds jitter to time-sensitive control flows, raising concerns about lateral movement and operational disruption.
The Solution: Layer 2 and Layer 3 ACLs
To strike a balance between security and vendor access, the plant’s network engineer applies ACLs directly at the switch ports where non-production devices may connect.
How it Works:
- Layer 2 ACLs (MAC-based):
- Ingress ACLs are configured to deny frames from contractor MAC addresses attempting to reach MACs belonging to critical automation assets (robot controllers, safety PLCs, historians).
- This prevents unauthorized device-to-device communication at the Ethernet frame level, before IP or higher-layer traffic is even considered.
- Layer 3 ACLs (IP-based):
- IP ACLs restrict contractor devices from sending traffic to sensitive IP subnets used by production controllers and SCADA servers.
- Permits are included for legitimate destinations, such as a test PLC or remote support tools, ensuring authorized vendor work isn’t interrupted.
- Priority Handling:
- Safety-critical devices (e.g., safety relays, interlock PLCs) are covered by explicit deny rules that override general access rules.
- Normal plant traffic remains unaffected because ACLs only act on untrusted ingress ports.
Outcome:
If a contractor laptop attempts to scan or communicate with protected production assets, the switch drops the frames or packets locally, depending on whether the violation is caught by the Layer 2 or Layer 3 ACL. Critical operations remain unaffected, while vendors still retain access to their approved resources.
By using Layer 2 ACLs to stop unwanted traffic at the frame level and Layer 3 ACLs to enforce subnet- and IP-based restrictions, the facility creates a layered defense. This approach provides fine-grained access control without costly redesigns or full network re-segmentation—ensuring both security and operational continuity.
Resources & Documentation
Lite-Managed Network Switches Resources:
- Industrial Network Switches
- Industrial Lite-Managed Network Switches – MS1 Series Datasheet
- MS1-L05G01F Quick Start Guide
- MS1-L08G Quick Start Guide
- What is a network switch?
- Industrial Network Switch Operations Manual – Lite-Managed Series
More
Tutorials
Sample Projects
Software Downloads
See our Support Center for a complete list of Quick Start and Installation Guides
About the Author
Trusted source for industrial automation & control solutions
Follow Maple Systems:
