* These high-quality images were designed to be implemented into any of your needs for your HMI/PLC combo application.
Note: The Maple image library is natively implemented into all MAPware versions July 2024 and above.
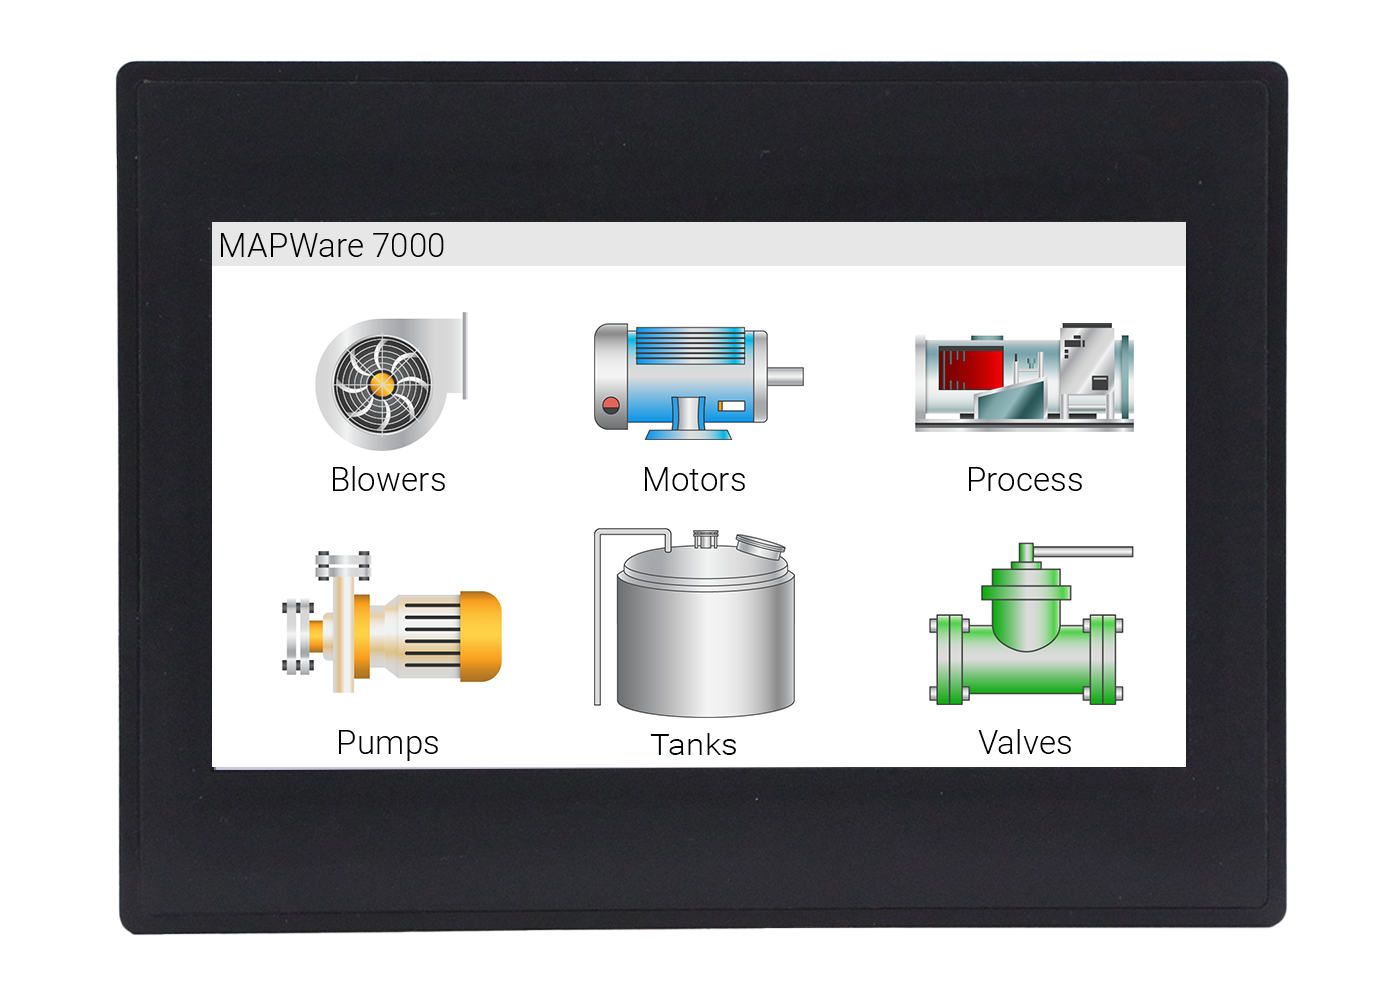
1. Download and Import the Image Files into the MAPware-7000 Picture Library
The first step is to download the image library.
Image File Download
Download the zipped .BMP images
How to import the downloaded Picture Files into the MAPware-7000 Images Directory
- Copy and paste or move the downloaded .BMP files into the corresponding folders
- Windows (C:) > Program Files (x86) > Maple Systems > MAPware-7000 > Images

- Example of moving the images over.

- Move the Images into the Lamps and Rectangular folders as well. Bit Lamps in MAPware-7000 use the Lamps file directory.

- Set Bits, Reset Bits, Momentary and Toggle use the Rectangular file directory.

Old vs New
2. Add and Edit the Images in a MAPware-7000 Project
After moving over the downloaded images to the correct file directory, add and edit the images in your MAPware-7000 project.
How to Add the Image Files into your MAPware-7000 Project
- Open your MAPware-7000 project.
- Add a Picture, Bit Lamp, Set Bit, Reset Bit, Momentary or Toggle onto the Base Screen


3. In the Picture Properties, select Picture Library.

4. Click the ellipsis to open the Picture Library

5. The newly added images are now in the MAPware-7000 Picture Library. Select a picture to add onto the base screen.

Bit Lamp Picture Library – ON state

Bit Lamp Picture Library – OFF state

6. The picture is added onto the Base Screen.

Bit Lamp Picture is added to base screen – ON state

Adding pictures to a Set Bit, Reset Bit, Toggle, Momentary would be the same process.

How to Edit the Images in an HMC4000 Series Project
- While the image is selected, in the Picture Properties, select the ellipsis next to Bitmap Edit

2. Click the background of the Original Image

3. Modify the color of the Background

4. Click Apply to save the color edit to the original image

5. The New Background color is added to the Original Image

6. The New Image is added to the Base Screen

How to Edit the Images in an HMC2000 Series Project
- While the image is selected, in the Picture Properties, select the ellipsis next to Bitmap Edit
2. Click the background of the Original Image. Select HMI color palette to modify the color

3. Click Apply to save the color edit to the original image

4. The new image is added to the base screen

3. Download and View the Images on the User Interface
Now we can view the images on our HMC device.
How to download and view the images on the User Interface
- In the project, go to Mode > Go Online > With Download

2. Select Application and click Download

3. View the Online Application on VNC Viewer

If you need further support call our support team at 425-745-3229 or email us at [email protected] with any issues you have.
We are open 6:00AM-4:30PM PST Monday-Friday.
About the Author
Trusted source for industrial automation & control solutions
Follow Maple Systems:
Share: