Uploading a Project from an HMI to a PC via a USB Flash Drive or SD Card
Technical Note 5057
Applicable Model(s)
HMI5000 Series
cMT Series
Title
Uploading a Project from an HMI to a PC via a USB Flash Drive or SD Card
Date
10/03/2022
Rev
03
P/N
0907-5057
Summary
When a project is uploaded to a USB flash drive or SD card from a HMI5000, the file format will not allow EBPro to decompile or open the file. This Technical Note explains the process for uploading, decompiling, and opening the project file. As well as the process for uploading, decompiling, opening a file from a cMT Series unit.
Solution
1.
Insert the USB flash drive in the HMI’s USB port or insert the SD card in the SD card slot. The Download/Upload dialog box will appear.
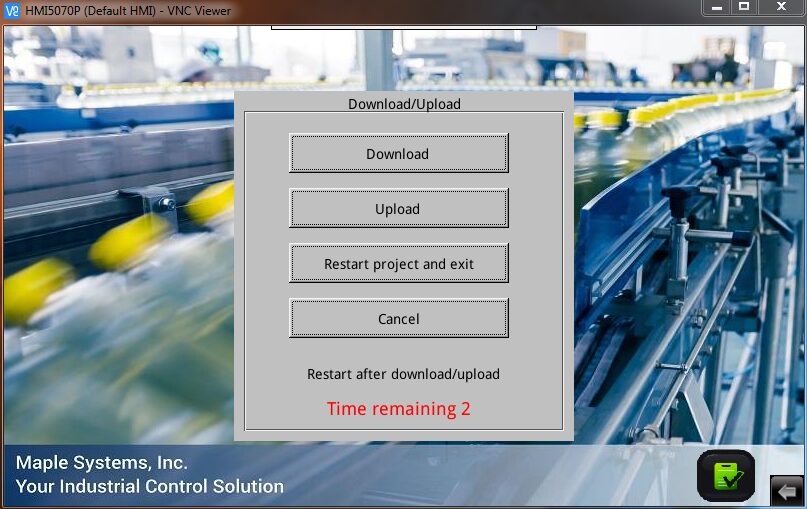
HMI Series
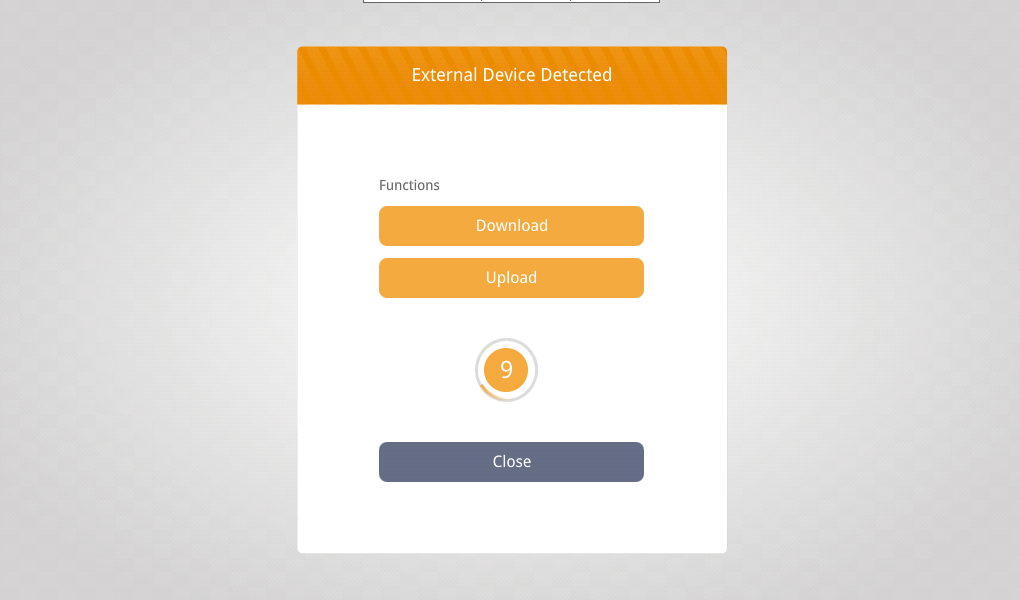
cMT Series
NOTE: The Download/Upload dialog box can be disabled. If it does not pop up when the USB flash drive or SD card is installed, open the System Settings in the HMI and enable it on the Miscellaneous tab.
| Download | Transfer data from the flash drive to the HMI. |
| Upload | Transfer data from the HMI to the flash drive. |
| Restart Project and Exit | Close the dialog and restart the HMI. |
| Cancel | Close the dialog without transferring. |
| Time Remaining | The dialog will automatically close after 10 seconds if no selection is made; shows the time remaining. |
2.
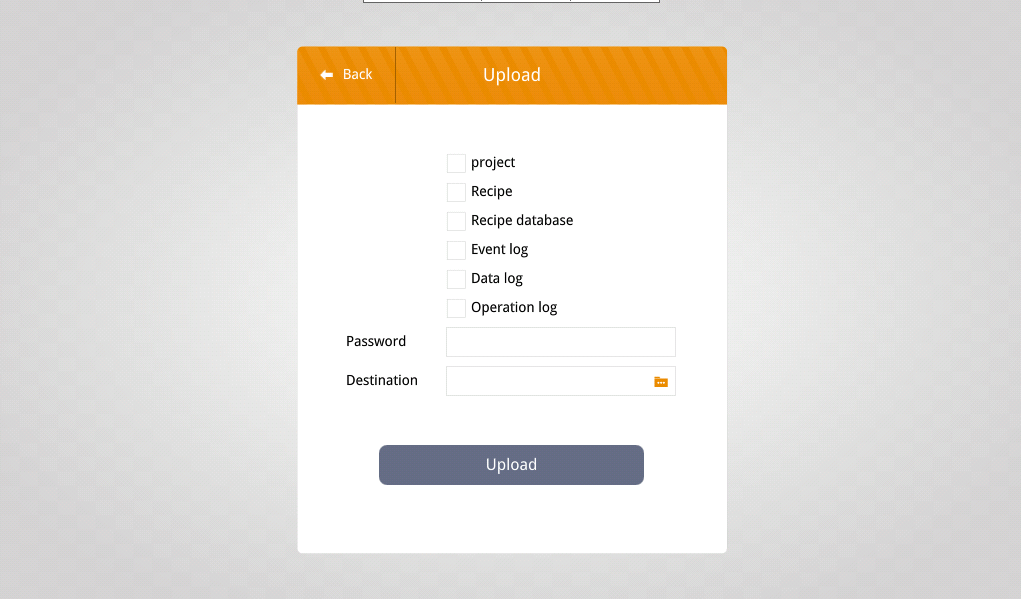
Select Upload and enter the Upload password (111111 is the default).
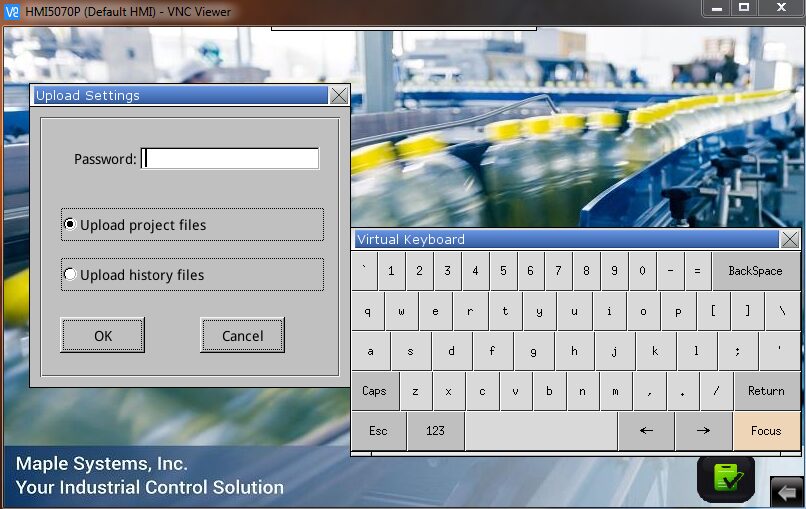
HMI Series
cMT Series
3.
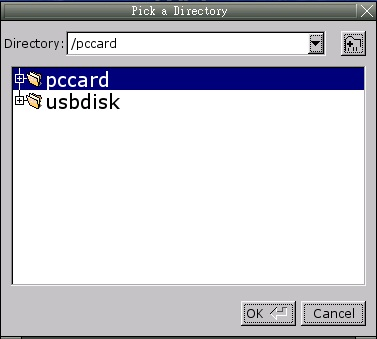
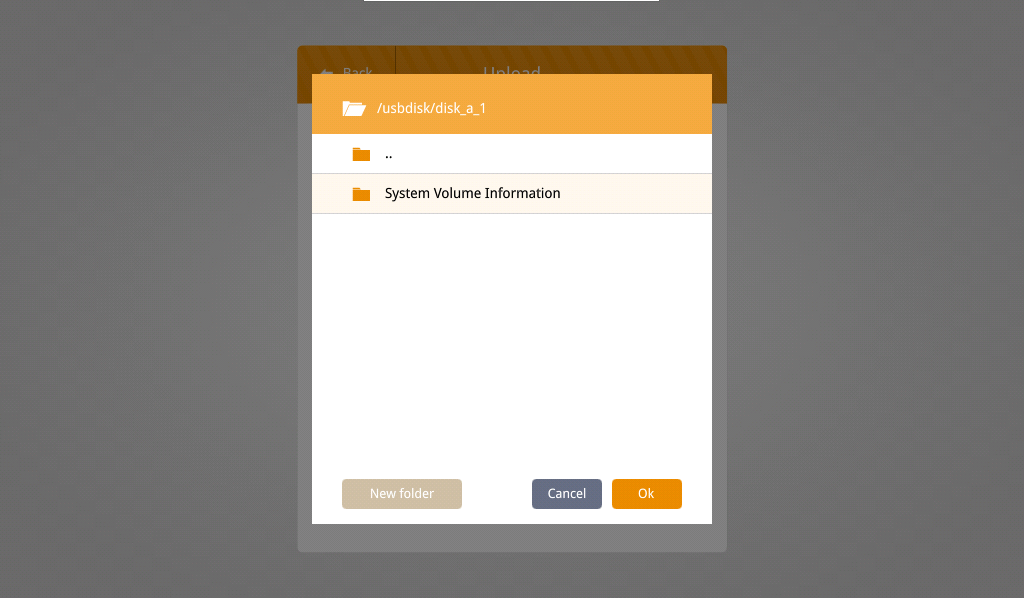
In the “Pick a Directory” window, select the location where you want the data to be stored.
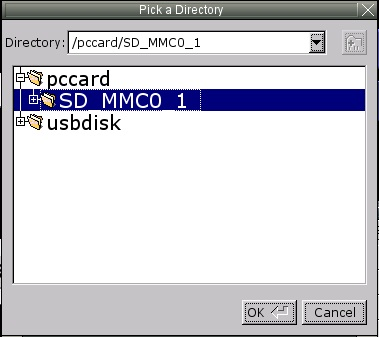
For an SD card: Expand the pccard selection by double tapping or selecting the “+” sign in front. Select “SD_MMCO_1” and select OK.
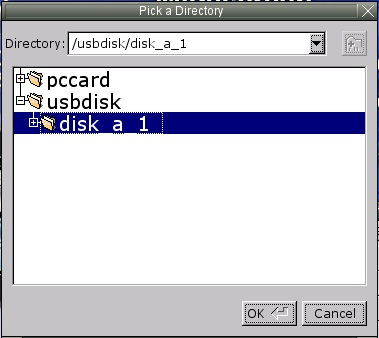
For a USB flash drive:
Expand the usbdisk selection by double tapping or selecting the “+” sign in front. Select “disk_a_1” and select OK.
HMI Series
cMT Series
4.
A folder named emt3000 (or mt8000) will be created by the HMI on the root (main) directory of the USB flash drive or SD card. If you Uploaded from a cMT series device then the compiled file will be in the main directory.
5.
Remove the storage device from the HMI and connect it to a PC. Using Windows Explorer, open the 001 folder located in the emt3000 folder on the USB flash drive or SD card. The file named mt8000 is the project file. The mt8000 file does not have an extension on the file name. For the cMT series, the file will be named project.cxob and you can skip step 6.

6.
Rename the file and add the “*.exob” extension. For a file from a cMT series, this step is not necessary since the file already has the proper extension.

7.
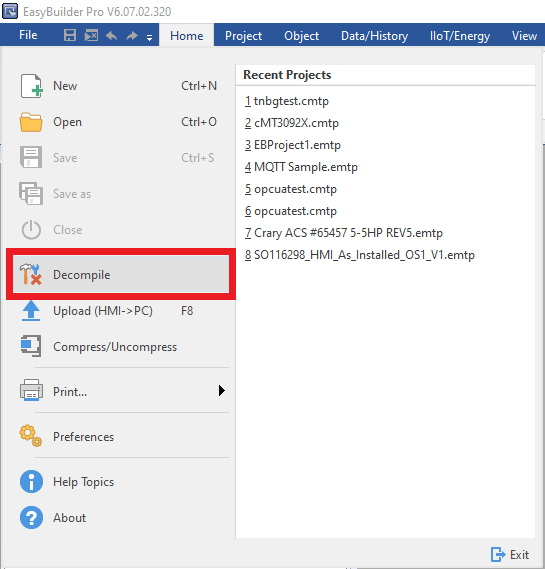
Open EBPro and select File > Decompile.
8.
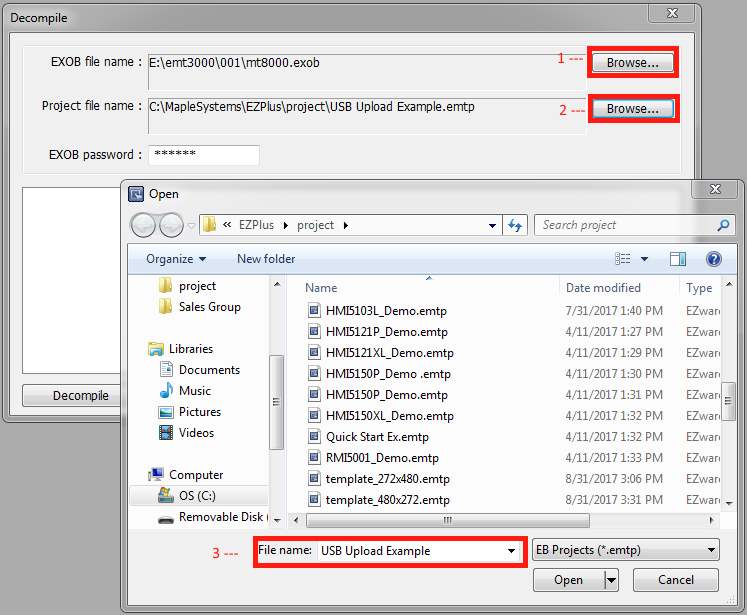
Click the Browse (1) button next to “EXOB file name,” navigate to the *.exob/*.cxob file and click Open. Click the Browse(2) button next to “Project file name,” navigate to the folder where you want to save the project file (this can be on the USB disk or the local hard drive), enter the name for the project file (3), and click Open.
9.
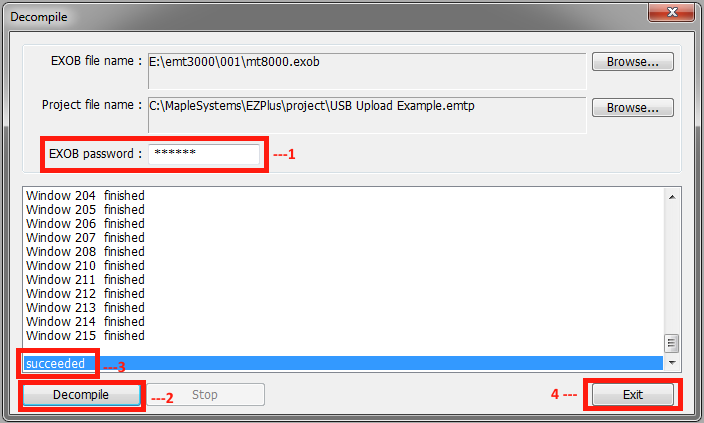
When the .exob/.cxob file is selected, make sure that the EXOB password (1) is the factory default password (111111) or the password used when the project was compiled. Click the Decompile button (2) to start the process. When the “succeeded” message (3) appears, the project is finished decompiling. Click the Exit button (4).
10.
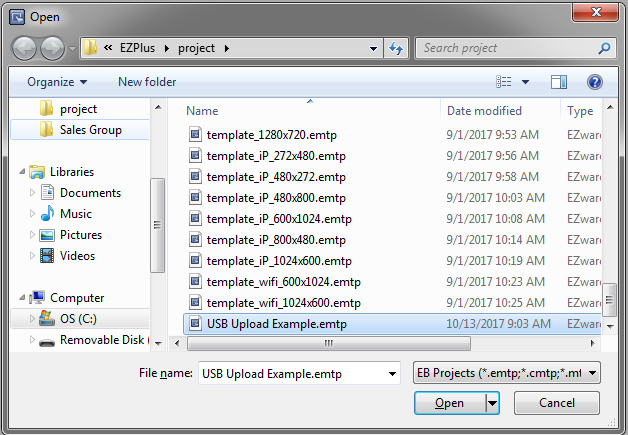
After the file is decompiled, open the decompiled *.emtp/*.cmtp file in EBPro by selecting File > Open. Select the *.emtp/*.cmtp file and click Open.
